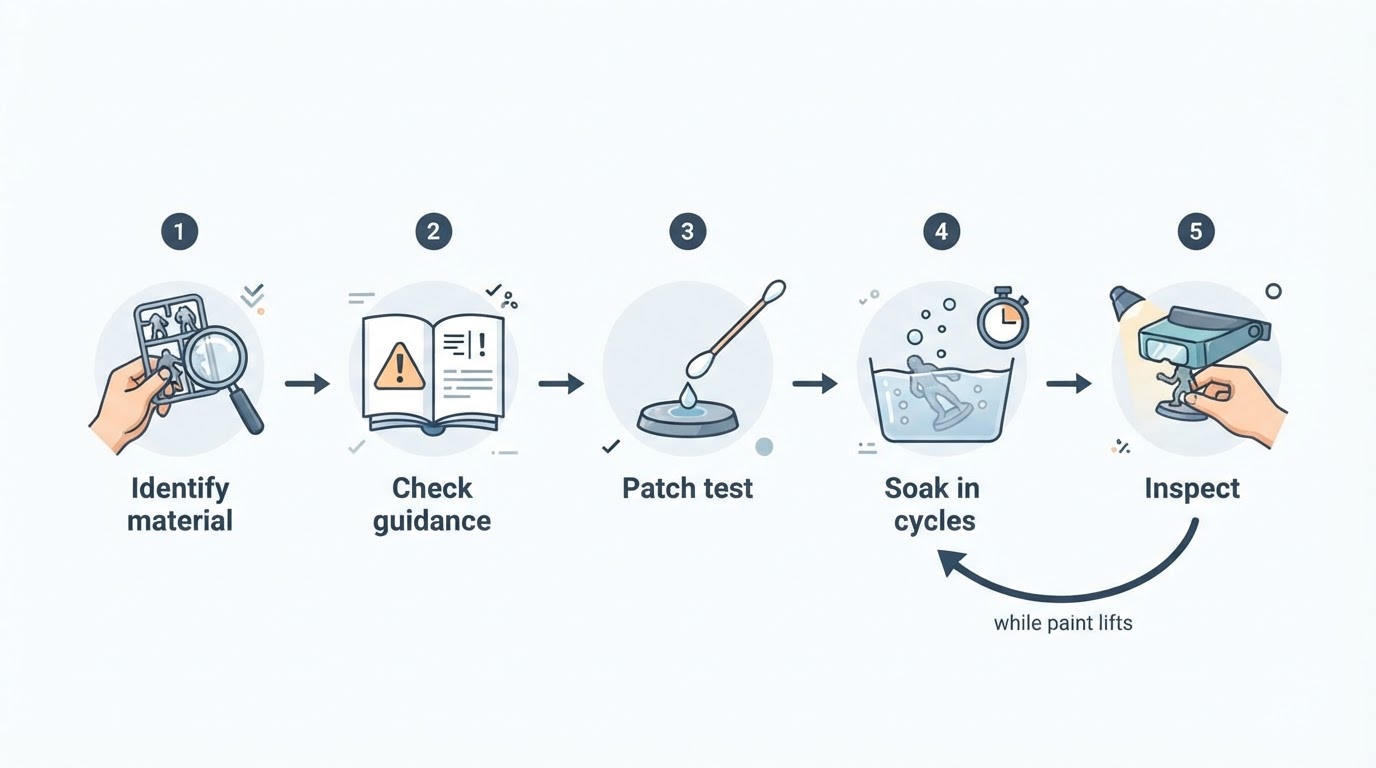
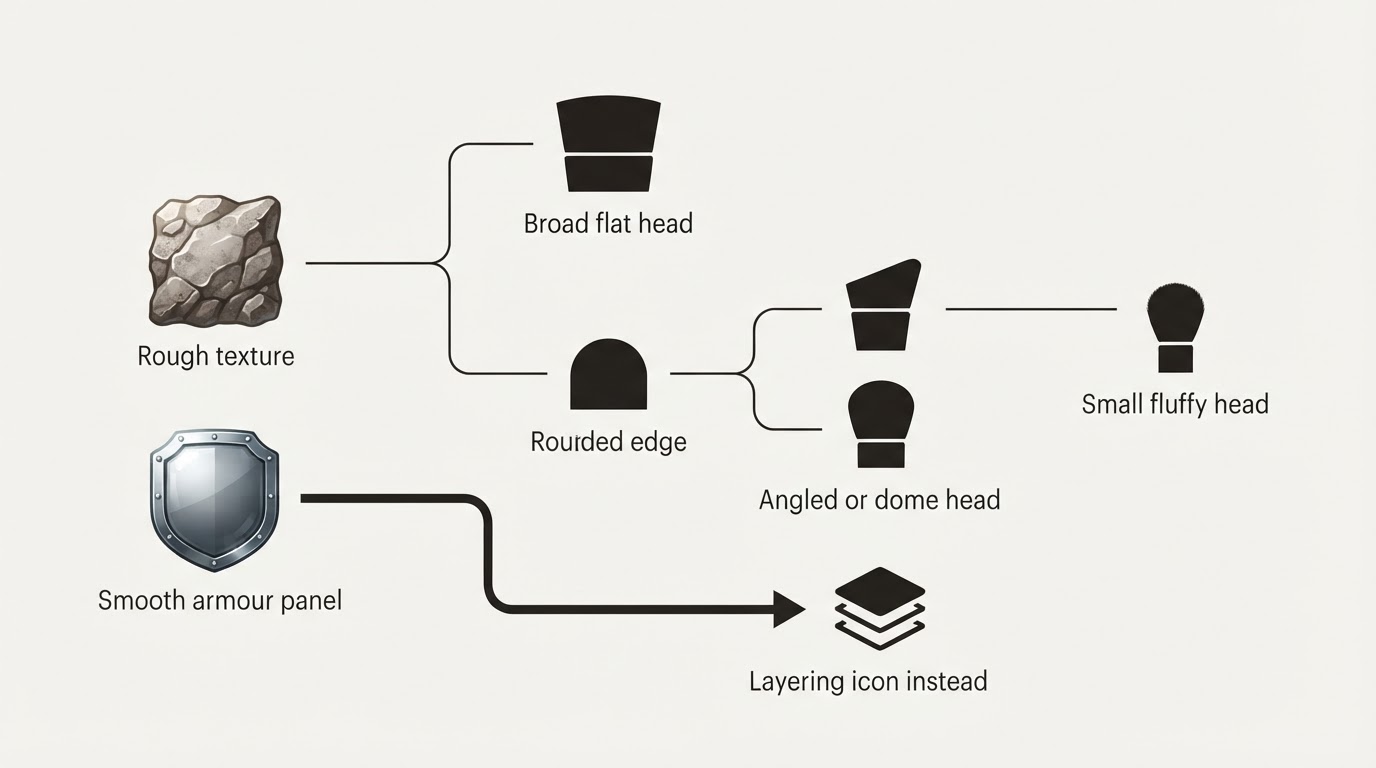
Why dry brushing magnifies FDM layer lines
Dry brushing touches only what sticks up. You load a flat brush, wipe it on a paper towel until almost no paint remains, then drag it lightly across the model. Paint stays on the raised edges and leaves the recesses darker.
On a resin miniature or injection-molded kit those raised edges were sculpted on purpose: fur, chainmail, rivets, cloth folds.
An FDM print has a different set of high points. Every visible layer step leaves a ridge, so a vertical wall can become a stack of tiny ledges and a curved surface a staircase - exactly what a dry brush catches. A highlight aimed at a shoulder pad may land on layer ridges instead, and the lines you hoped to cover gain contrast. Formlabs likewise notes that FDM miniatures may need extra sanding to reduce this staircase effect.
Dry brushing therefore does not hide layer lines: it either uses them as texture or advertises them as defects, depending on the surface you hand to the brush.
Decide before you paint: a prep matrix
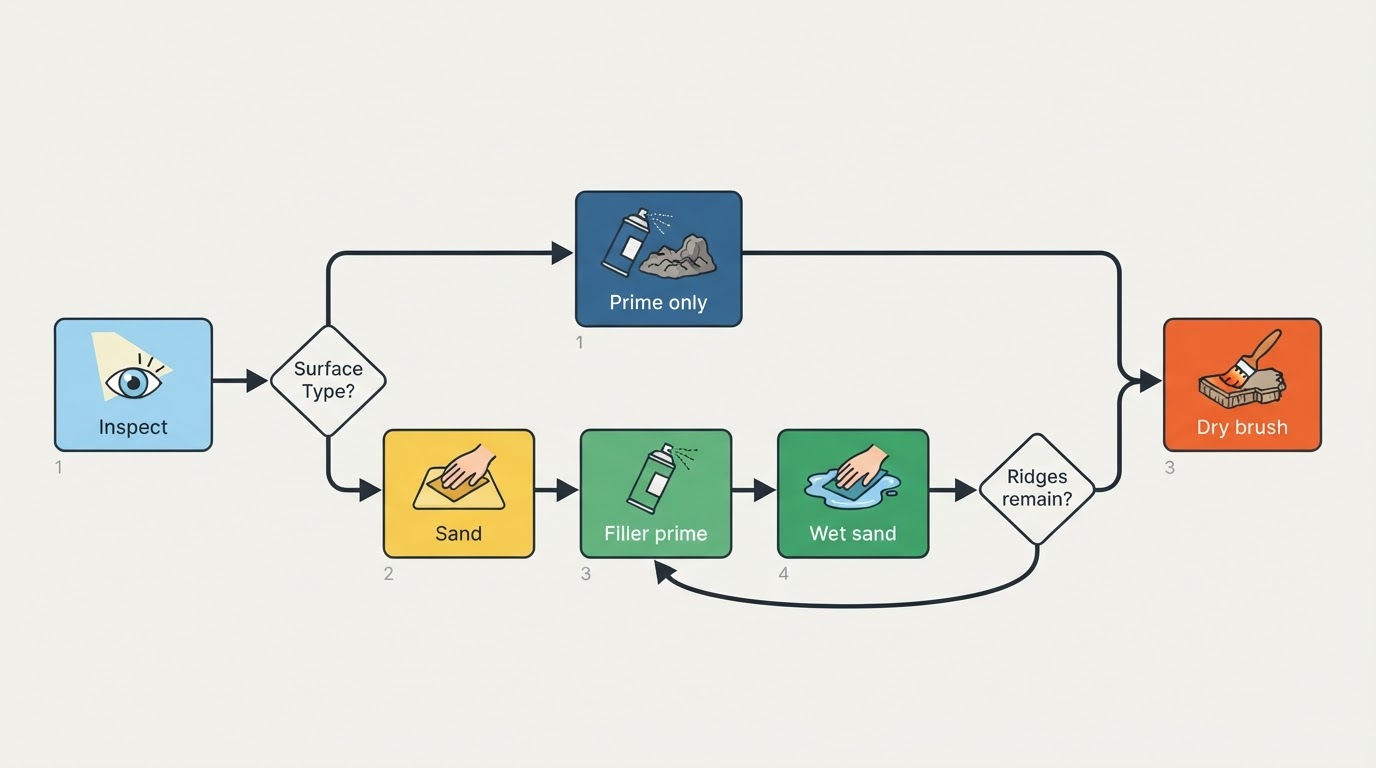
Use the surface, not the model's backstory, to choose the prep route.
What you are looking at | What to do before the dry brush pass | Why |
|---|---|---|
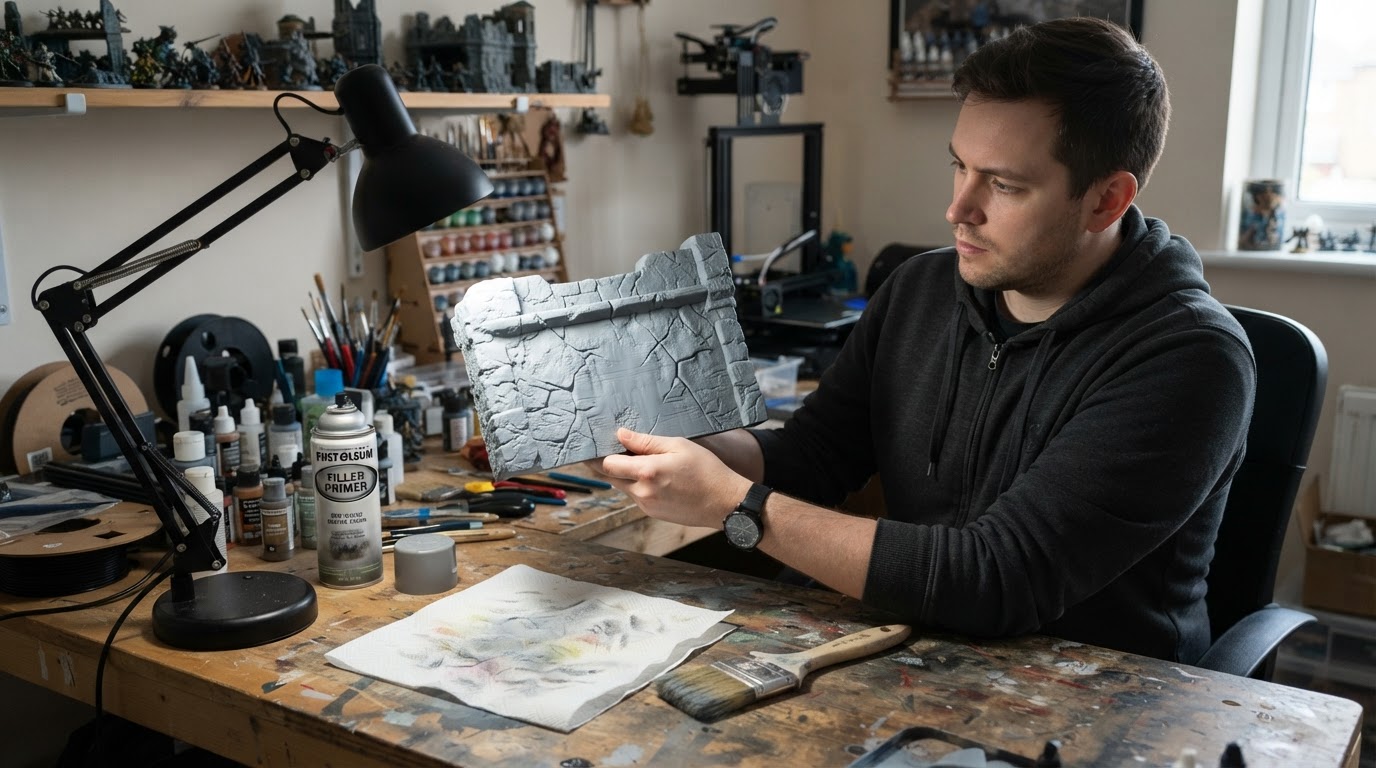
Textured terrain: brick, bark, cobbles | Prime only, then dry brush | Ridges and sculpted relief read as stone, not print error |
Large flat or gently curved panel: armor, vehicle hull, floor | Sand 220 then 400 wet, then dry brush | Flat areas have no sculpt to hide the ridges |
Fine lines still visible after sanding | Two or three thin filler-primer coats, wet sand 600-800, re-prime | Filler fills the valleys; you sand the coat, not the plastic |
Small detail miniature printed at a fine layer height | Skip coarse sanding; a light filler-prime pass only if lines show | Coarse grit rounds over the detail you printed for |
Deep seams or gaps wider than the layer lines | Spot putty or epoxy filler first, sand flush | Primer cannot bridge a real gap |
Parts where fit matters: pegs, sockets, threads | Mask them and prep only the visible faces | Filler and paint change dimensions |
Printing choices matter more than any brush: lower the layer height for surfaces seen up close, orient parts so layer lines run along a flat face, and use variable layer height on visible curves.
The prep and dry brush pass, step by step
- Wash the print: warm water, a little dish soap and a soft brush remove skin oils and residue that fight primer and paint. Let it dry fully.
- Sand only where the surface is meant to be smooth. Work 220 grit to knock the ridges down, then 400 grit wet to even the surface. Keep the paper moving parallel to the layer direction and stop before edges and fine detail round over.
- Prime the whole piece; the uniform coat shows every ridge the bare plastic hid. Spray thin coats at roughly 20-25 cm and let each flash off instead of flooding.
- If ridges still show, switch to filler primer: two or three thin coats fill the valleys, then wet sand at 600-800 grit to level the coat and re-prime lightly. That filler-sand-reprime loop produces a genuinely flat surface; sanding bare plastic alone rarely gets there.
- Lay down the base coat. Dry brushing straight onto bare primer looks chalky, because the porous primer drinks the highlight pigment.
- Dry brush last and lightest. Load the brush, wipe it until it looks almost empty, then drag it in one direction at a shallow angle. Two or three soft passes beat one heavy one.
- Check from viewing distance. Hold the piece at arm's length under a lamp set low and to the side. If the flat panels read as one even tone with highlights only on the edges you care about, the pass is finished. If you can still count layer bands, the problem is the surface, not the brush: put it down, sand and re-prime, then start again.
FDM prints versus resin miniatures
Resin printers can also show layer lines and support marks, but those marks are often less prominent than on a coarse-layer FDM print. Inspect the actual surface before assuming the sculpt is the only high point. Three consequences matter when you pick up a brush:
- On resin the pass is forgiving: extra paint lands on sculpted edges, not a rough plane. On FDM a heavy pass over a badly prepped surface turns chalky and banded.
- On resin you can skip filler primer, but keep a normal primer for adhesion, because cured resin is glossy and slick.
- On FDM, expect most of your time to go into prep and a few minutes into the brush pass.
Resin is not better in every case. For terrain, FDM layer texture is an asset: a brick wall gets its variation for free, and a quick base coat, dry brush and wash often looks more convincing than a smooth cast.
Limits worth knowing before you start
- No amount of dry brushing will make a visible layer stack read as smooth. Prep removes or masks ridges; paint only makes them lighter.
- Filler primer fills fine detail as well as lines when applied heavily or repeated too often.
- Over-sanding flat surfaces can cut through edges and flatten the crisp shapes that make a miniature read.
- A brush that still carries paint leaves streaks and tide marks. When in doubt, wipe off more.
- Primer and sanding dust belong in the read-the-label-first category: ventilate the workspace, follow the can's spray instructions, and wear a dust mask while sanding.
FAQ
Can you dry brush FDM prints without sanding or priming?
Yes, when the surface is meant to be rough: terrain, rocks, bark, ruined walls. There the layer ridges become texture you would otherwise sculpt. On flat panels, armor or display pieces, skipping prep lets the layer lines pick up the highlight and become the most visible feature.
Does primer hide layer lines?
Standard primer does not fill them, and its uniform color makes them easier to see. High-build or filler primer fills shallow lines and sanding scratches, and you then sand that coat level and re-prime. Deep stair-stepping from thick layers usually needs the filler-sand-reprime loop, or a lower layer height on the next print.
Do you dry brush resin miniatures the same way?
The motion is identical, but resin may have finer layer lines and support marks. Smooth those if visible, prime with a product compatible with the cured resin, then highlight sculpted detail with a light brush pass. For a different prep problem, see the site's mold-line removal guide.