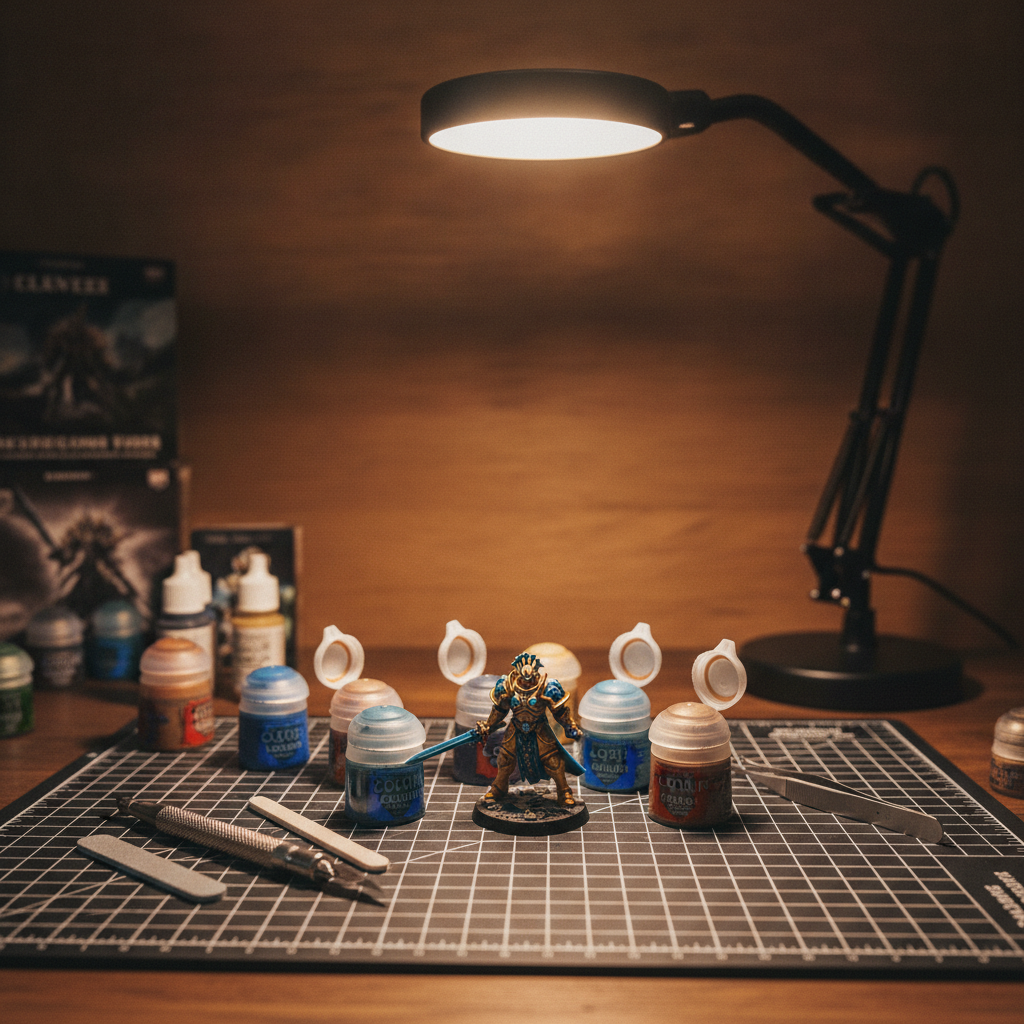
How to Remove Mold Lines from Miniatures Without Damaging Detail
Mold lines can be safely removed from plastic, resin, and metal miniatures before priming using a hobby knife, scraper, fine sanding sticks, or small files, but only after inspecting with angled light and while protecting details.
How to find mold lines
Shine angled light across the miniature surface before priming; raised or recessed lines will be visible as shadows.
It's a simple trick, but it's the best way to catch those pesky seams before they're locked in by paint.
Practical tool-selection chart
| Tool | Best For | When to Use |
|---|---|---|
| Hobby knife | General cutting | Removing large mold lines |
| Mold-line scraper | Precision scraping | Fine lines on detailed areas |
| Fine sanding sticks | Smoothing and shaping | After initial removal |
| Small files | Touching up edges | Final refinement |
Step-by-step instructions
Plastic Miniatures
- 1 Inspect for mold lines with angled light.
- 2 Use hobby knife or scraper for initial removal.
- 3 File or sand gently.
- 4 Check for damage.
Resin Miniatures
- 1 Same inspection.
- 2 Careful with knife/scraper to avoid cracking.
- 3 Use files for edges.
- 4 Avoid heat or aggressive pressure.
Metal Miniatures
- 1 Inspect pre-priming.
- 2 Use knife for larger seams.
- 3 File or sand for finish.
- 4 Be gentle on thin parts.
Working around fragile details
Work in small sections with minimal pressure. Support fragile parts on a stable work surface or with a miniature holder, and never place your fingers in the blade path. Stop if the detail begins to erode. We're talking faces, fingers, cloth folds, and armor edges—the stuff that makes the mini look great.
Safety Guidance
- Use blade carefully, cut away from body.
- Wet-sand resin whenever possible and wear suitable respiratory and eye protection. Avoid blowing or dispersing resin dust, and clean the work surface afterward.
Troubleshooting table
| Issue | Possible Cause | Solution |
|---|---|---|
| Gouges | Too aggressive scraping | Switch to finer tools, sand lightly |
| Scratches | Dull blade or wrong tool | Replace blade, use scraper |
| Fuzzy plastic | Over-sanding | Use sanding sticks lightly |
| Missed seam lines | Not inspected well | Re-check with angled light |
| Mold lines after priming | Primed too early | Carefully scrape or spot-sand the line, smooth the repaired area, then apply a light coat of primer again. |
Common mistakes
- Scraping too aggressively and damaging details.
- Using a dull blade that tears plastic.
- Sanding away sharp edges or fine details.
- Priming before fully inspecting and removing all mold lines.
Final inspection checklist
Frequently Asked Questions
How do I know if I've removed all mold lines?
Use angled light; lines should disappear.
Can I use a hobby knife on resin?
Yes, but with care.
What if I damage a finger on the miniature?
Repair small damage with modeling putty; pin or replace fragile parts when necessary.
Is it okay to sand metal miniatures?
Lightly, for smooth finish.
What if the mold line is on a cloth fold?
Be extra gentle.
How do I store my miniatures after preparation?
In dry, dust-free place.
Ready to get painting? There’s a lot more to explore when it comes to getting your minis game-ready.
We invite you to check out Tactile Hobby’s other miniature preparation and painting resources to keep your project moving forward.