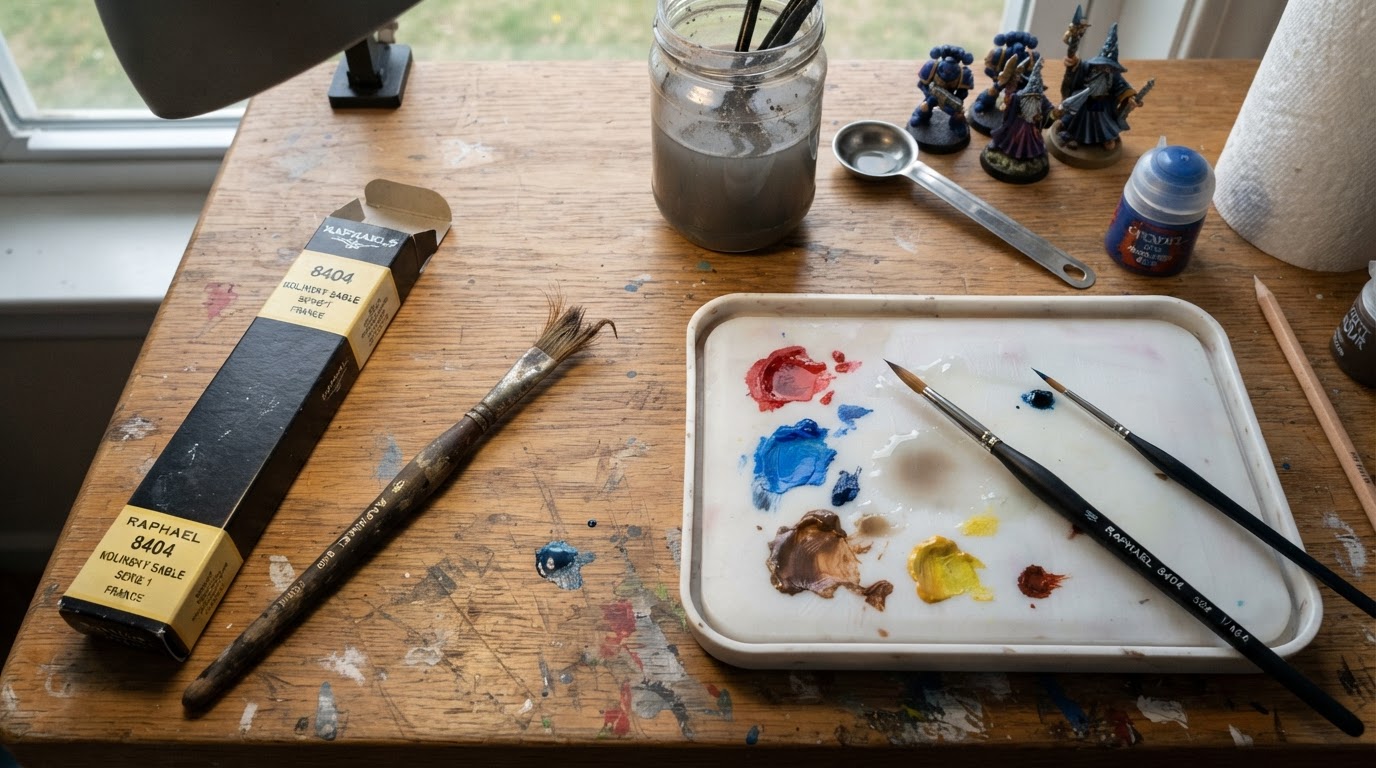
What Tamiya paint brushes are, and who they suit
Tamiya is a model company first. Kits are why the brand's paints, tools, and brushes exist, and the brush line reads that way: flat and pointed shapes meant for hand-painting plastic parts, interiors, figures, and small assemblies rather than canvas-style artwork. The range leans synthetic, with higher-grade options for painters who want a tip that keeps its point after repeated use.
That makes Tamiya paint brushes a low-risk default if you are already building a Tamiya kit. You are matching a brush to a paint system the company also makes, instead of guessing at an artist-brush aisle where the sizes are aimed at canvas painters. For someone returning to the hobby after years away, a known compatible brush removes one decision from a hobby that is already full of them.
They suit a few kinds of buyers well:
- Model builders painting plastic parts, cockpit interiors, figures, and small sub-assemblies.
- Tabletop and miniature painters who want a synthetic brush they can use hard with acrylics.
- Gift buyers who want a brand the recipient already recognizes.
They are a weaker fit for two groups. Painters chasing the finest natural-hair point for competition-level detail work will outgrow a general modeling brush quickly, and anyone who mostly sprays will only need one brush for touch-ups. As with most hobby tooling, the exact lineup a retailer carries shifts by market and by year, so treat the product listing, not last year's set, as the source of truth for sizes and shapes.
Match the brush to the job before you match it to a price
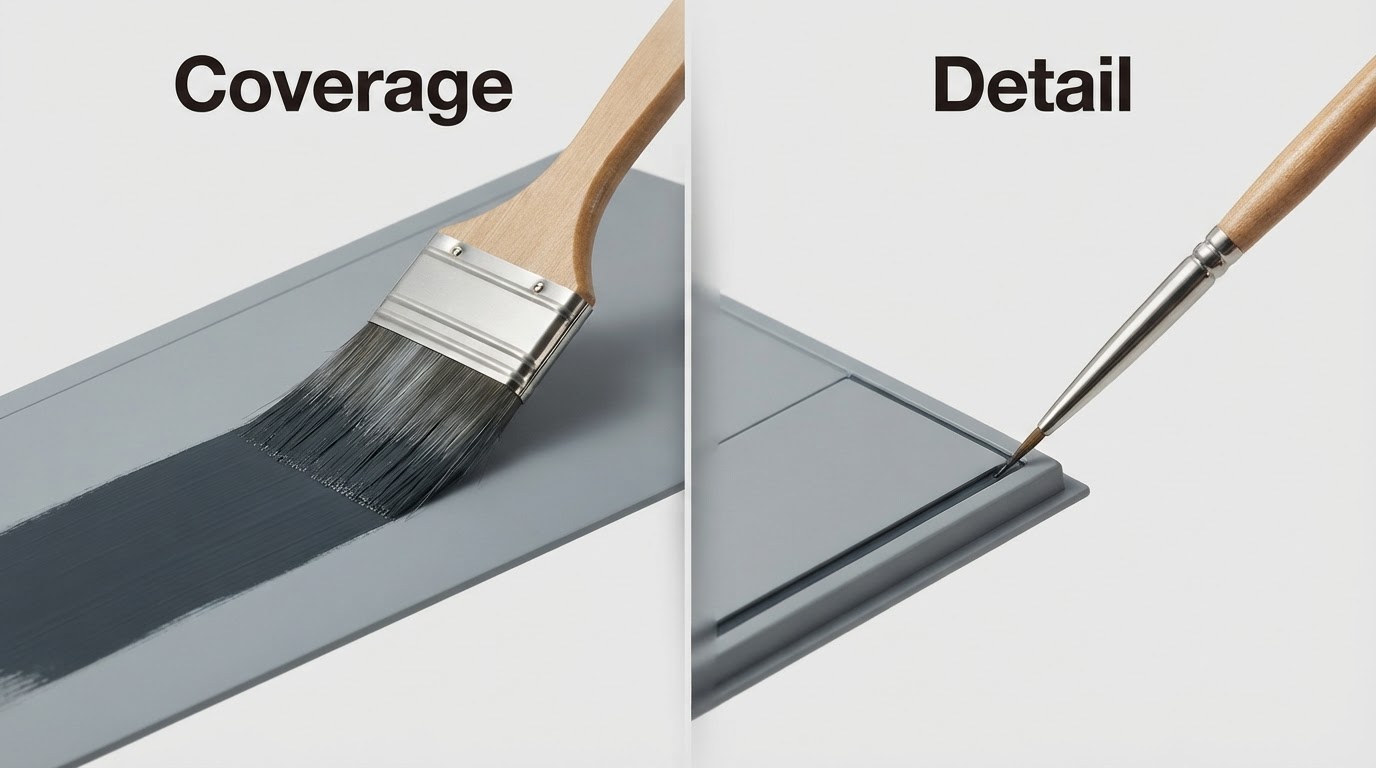
Most disappointing brush purchases go wrong at the task step, not the brand step. A brush that basecoats a large panel will ruin a fine edge, and a detail brush cannot cover a flat surface without leaving streaks. Work out what you actually paint, then pick the shape.
Job | What works | What to check |
|---|---|---|
Broad coverage on flat parts | Wide flat with firm, springy bristles | Bristle width in millimeters, not the size number |
Edges, panel lines, faces, eyes | Pointed round with a tip that springs back | A wet tip should form one clean point |
Shading and washes | Larger round or flat with a belly that holds thin paint | Bristle length and how much paint it loads |
Drybrushing and weathering | An old flat you no longer care about | Retire a worn brush instead of buying new |
Metallic or pigment work | A dedicated brush used only for that job | Keeping it separate avoids contamination |
If you paint one kit at a time, the table above is the whole decision. If you paint a mix of vehicles, figures, and terrain, buy for the job you do most often and let the rest wait.
Shapes and sizes: what the numbers really tell you
Hobby brush numbering is not standardized. A size 0 from one line can be wider than a size 1 from another, and a set's contents can change between releases. The number is a label, not a measurement.
Judge by dimensions instead. Look for the bristle width and hair length in the listing, then think in millimeters:
- A flat around 6 to 10 mm wide covers larger surfaces and lays down base coats.
- A pointed round around size 1 to 2 handles most general work on kits and minis.
- A fine point at roughly 1 mm or less is for eyes, dials, panel lines, and thin trim.
Treat that as a starting ratio rather than a rule, and adjust it to the scale you paint. Three brushes in those roles cover most plastic-kit work. A fourth, wider flat is a luxury until you start painting large terrain or vehicle hulls.
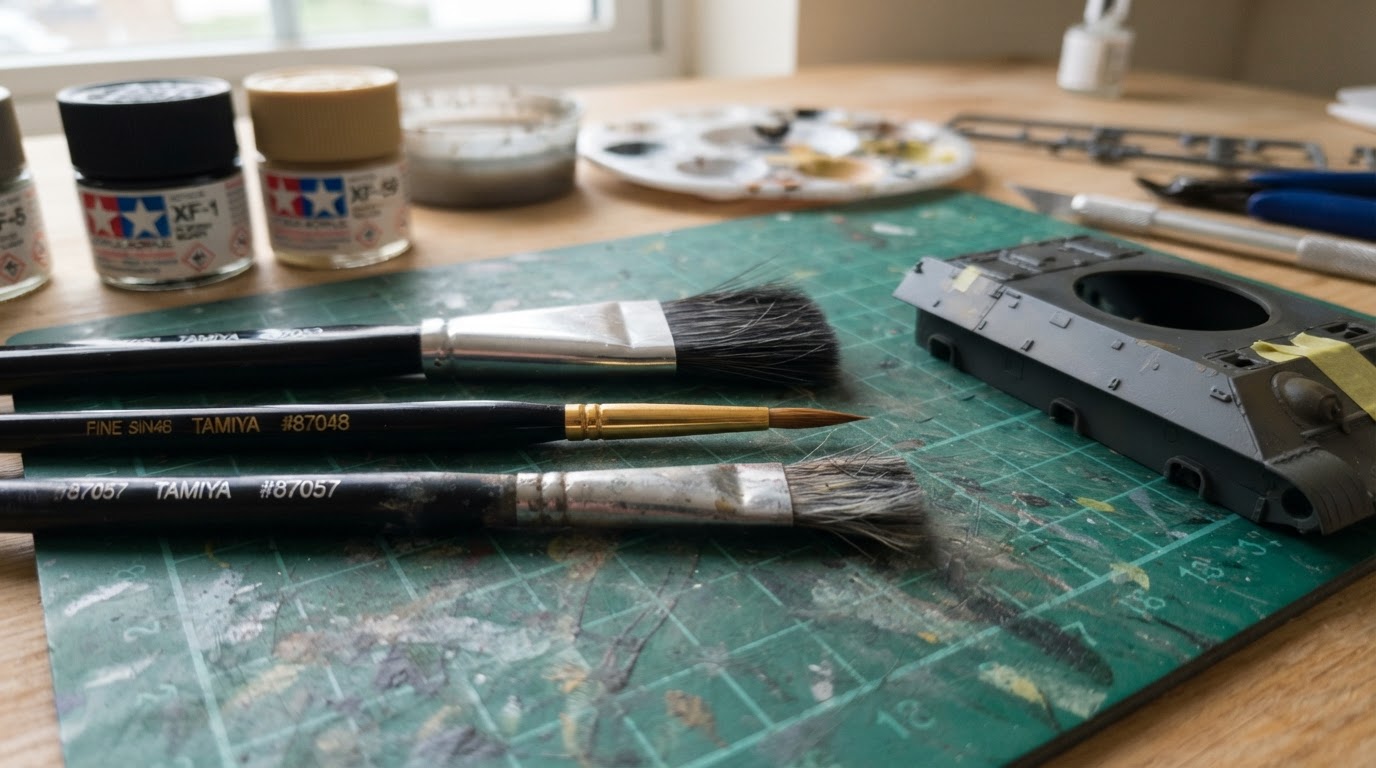
Two physical details are worth testing before you commit to a set. First, the tip: dip the bristles in clean water, roll the tip against your palm, and see whether it comes back to a single point. Stray or hooked hairs do not improve with use. Second, the ferrule, the metal band that holds the bristles. Look for a tight, seamless crimp and a handle length that gives you control. A loose ferrule means bristles shedding into your paint.
Will Tamiya brushes work with Tamiya acrylics and other paints?
Yes, and that compatibility is the main reason to buy them with the rest of a Tamiya kit. Tamiya's acrylics come in gloss and flat lines, and they are made for both airbrush and hand-brush work. The paints are not water-only, so the thinner the label recommends does part of the cleaning work; check the bottle rather than assuming a rinse under the tap is enough.
The same brushes handle other water-based acrylics without drama, so you are not locked into one paint brand. What you should avoid is mixing them into solvent work. Enamels, lacquers, and strong cleaners attack both bristles and the glue inside the ferrule, and the brushes you use with acrylics should stay clear of those chemicals. Keep a separate, cheaper set for solvent-based paints and for pigments that stain.
Thinning matters more than the brush. Two thin coats that level out will beat one thick coat every time, and a brush that feels like it is dragging is usually a sign the paint needs a drop of thinner, not a new tip. Tamiya kit instructions commonly call for brush work on small parts and interiors while large body panels are sprayed, so a detail brush plus a flat covers much of what the sheet asks for.
Cleaning and care decide how long the brushes last
Clean while the paint is wet. Once acrylic dries inside the ferrule, the bristles splay and the brush stops forming a point, no matter how expensive it was.
Match the cleaner to the paint. Tamiya acrylics clean up with the manufacturer's thinner; water-based acrylics come out with water and a little mild soap. Wash the bristles in the palm of your hand rather than scrubbing them against the bottom of a cup, rinse, then reshape the tip between your fingers and dry the brush flat or bristles-up.
Four habits shorten a brush's life faster than any paint choice, so skip all of them:
- Standing brushes bristles-down in a jar, which bends and crushes the tip.
- Soaking the whole brush so water or thinner creeps into the handle and softens the glue.
- Using hot water, which loosens the ferrule.
- Leaving paint to dry in the bristles overnight.
Store brushes in a roll or the tube they came in, and keep a cheap synthetic for drybrushing so your good tips do not get scrubbed against a textured surface. Detail brushes wear first; when a tip hooks or splits, move it to drybrush duty and promote a fresh one rather than fighting it.
Starter path and upgrade path
A first purchase does not need to be large. One pointed round for general work, one small flat for coverage, and one inexpensive flat for drybrushing covers the jobs most beginners actually do. Add brush soap at the same time, because the care item is what keeps the set usable past the first kit.
The sensible upgrade order is by problem, not by price. If coverage feels streaky, a wider flat helps. If detail work feels shaky, a finer tip and thinner paint help. If the tip dries mid-stroke, your paint is too thick for the brush you have. Upgrading the brush only pays off when the technique around it is already sound.
Gift buyers should check the contents of a set rather than the number of brushes in it. A small set that includes one genuine detail brush plus a flat is a better present than a large pack of near-identical sizes, and a set that ships with a storage tube survives longer in a drawer.
The trade-offs worth knowing before you spend
A few honest limits are worth stating up front.
More brushes do not produce better paint jobs. Thinning, loading, and brush control do most of the work, and a technique problem will follow you into a more expensive brush.
Fine points and durability pull against each other. The sharper the tip a brush can hold, the more careful you need to be with it; synthetic bristles trade a little of that ultimate point for tolerance of repeated cleaning.
A cheap multi-pack is not automatically value. Ten brushes look generous, but most painters use three, and quality varies from brush to brush inside an inexpensive pack. One mid-priced general brush plus one decent fine tip often costs less than a large set and gets used more.
Brush versus spray is a real trade-off, not a skill gap. On large flat surfaces, a brush will usually show strokes, and a spray can or airbrush is the honest answer. Brushes win on control and on small parts.
The most common mistakes are easy to avoid: using a detail brush to cover large areas, overloading the bristles so paint floods the ferrule, and buying a set before checking whether the sizes match the scale you paint.
What to check on the retailer page before you buy
Product listings for brushes are inconsistent, so use the page to answer a short list of questions:
- Bristle material and tip shape, so you know whether it is built for acrylics or for solvent paints.
- Actual bristle width and length, rather than the size number alone.
- Whether it is a single brush or a set, and if a set, which sizes it contains.
- Whether the listing describes it as a modeling brush or a general craft brush.
- Reviews that mention shedding, hooked tips, or ferrules that come loose.
- The return policy for a brush that arrives with a crushed ferrule, which is one defect a tip-reshaping trick cannot fix.
- For a gift, whether the set includes a fine detail brush rather than several wide flats.
The short version
Tamiya paint brushes are a compatible, no-guessing choice for plastic models, miniatures, and detail work, especially if you already use the brand's paints. Buy for the job first, judge a brush by its bristles and measurements rather than its size number, and clean it while the paint is wet. Two or three well-chosen brushes plus a bar of brush soap will take you further than a big set and a shelf of dried-out tips.