Can a makeup brush actually drybrush a miniature?
Yes, on textured surfaces. A stiff synthetic makeup brush with a broad, blunt head can highlight fur, chainmail, stone, base grit, and rough cloth much the way a hobby drybrush does. It is also a practical choice for slapchop-style undershading, where you want to sweep one colour across a whole model quickly.
No, on smooth armour panels, flat vehicle hulls, and faces where you want a clean gradient. There a drybrush either does almost nothing or leaves visible streaks, which is why layering and glazing remain the better tools. The reason a makeup brush can substitute at all is that drybrushing does not need a sharp point; it needs stiffness and surface area. A cheap makeup brush is a wide, inexpensive synthetic brush, and the best brush for dry brushing acrylic paint on miniatures is usually whichever one has the right bristle and the widest usable head, not the most expensive one.
Match the bristle first
Bristle stiffness decides whether paint stays on the peaks or sinks into the recesses. Press the brush head against the back of your hand and watch what happens.
- Soft, springy bristles (natural hair, sable or squirrel blends) bend under light pressure and release paint in a soft, wide halo. They push pigment into low points, which is the opposite of what drybrushing needs.
- Medium synthetic bristles splay slightly and snap back. They suit lightly textured surfaces but still leave a faint haze unless you wipe them hard.
- Stiff synthetic bristles stay mostly straight as they drag, so they skip hollows and catch raised detail. That is the behaviour to look for, and community drybrushing guides such as Age of Miniatures give the same advice about stiff synthetic brushes.
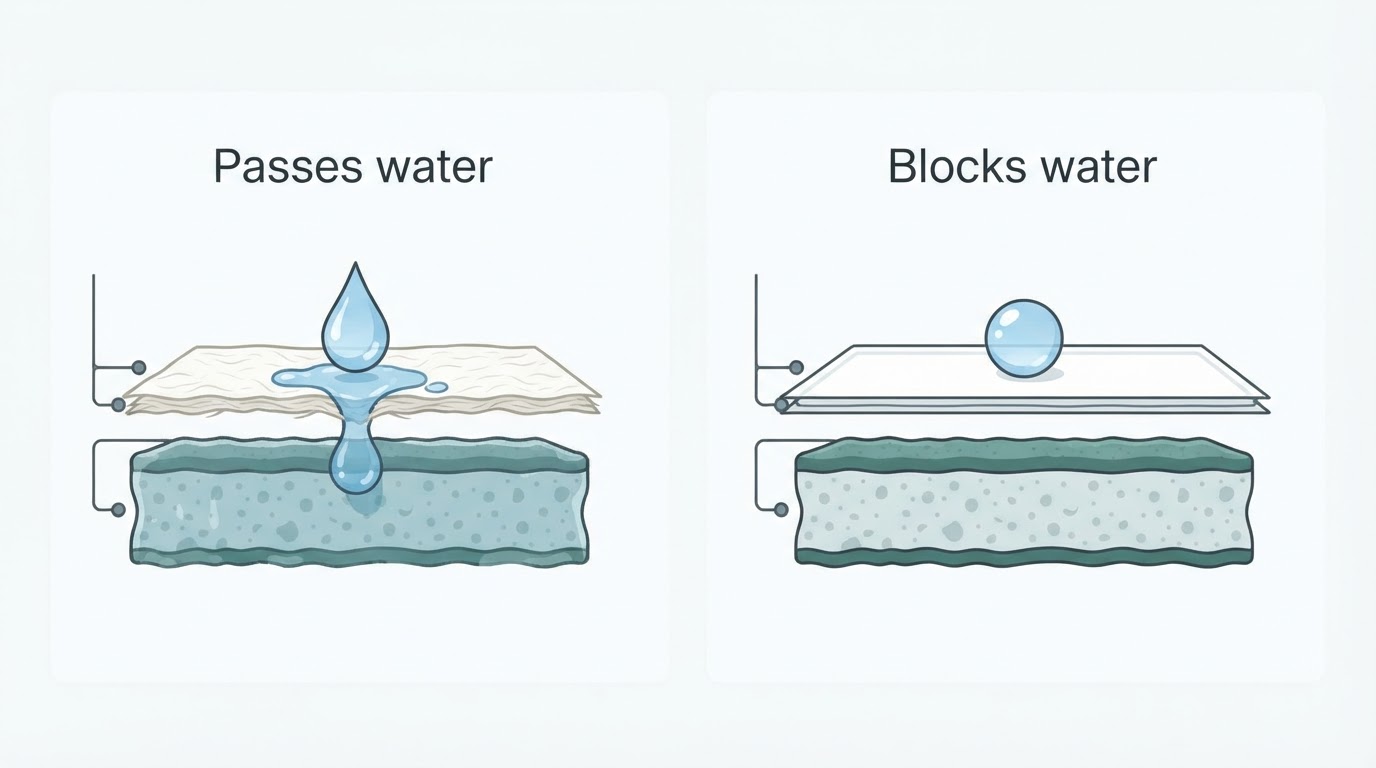
Acrylic paint is the other half of the equation. Water-based hobby acrylics dry by evaporation into a film, so they work best at near-pot consistency for this technique. Thinning the paint with water makes it flow into recesses and defeats the whole point.
Match the head shape to the surface
Head shape controls the footprint of every stroke, so choose it for the surface rather than the label on the handle.
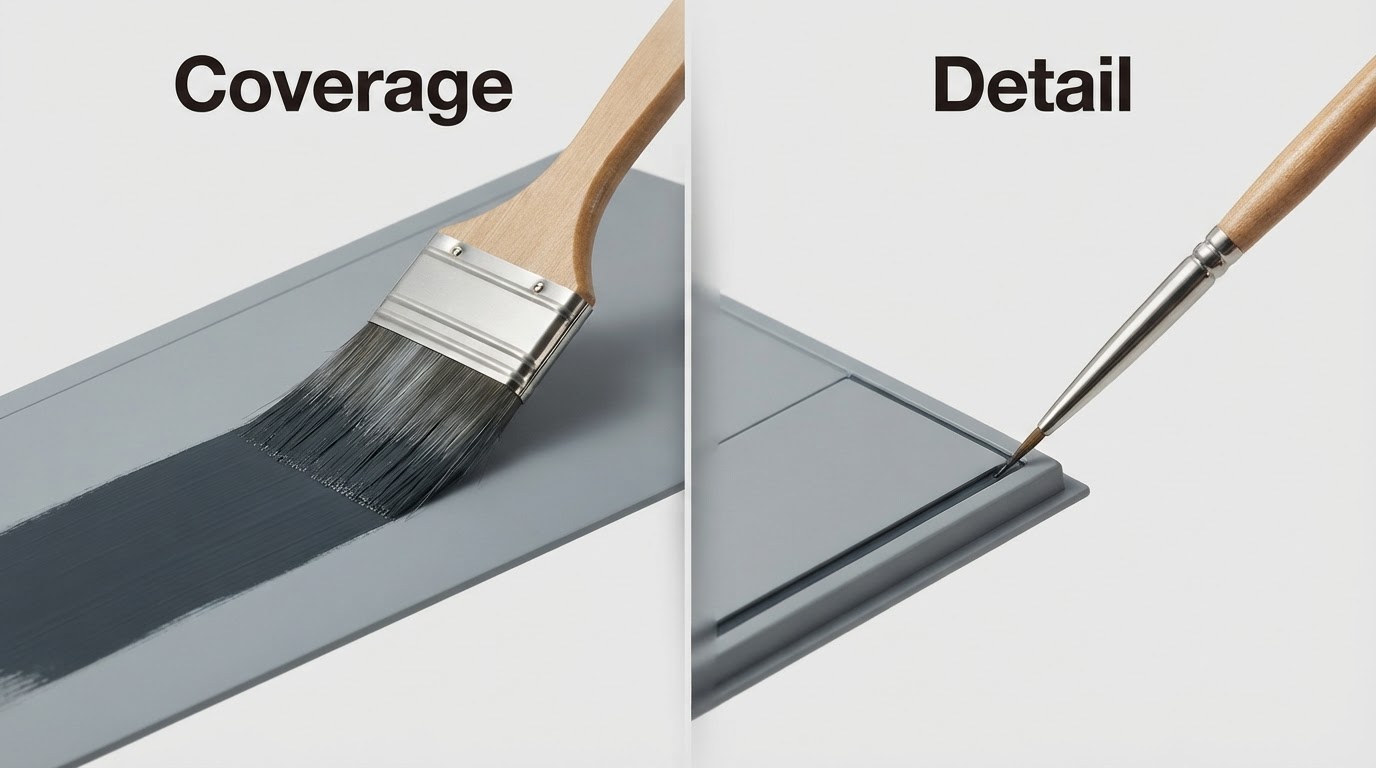
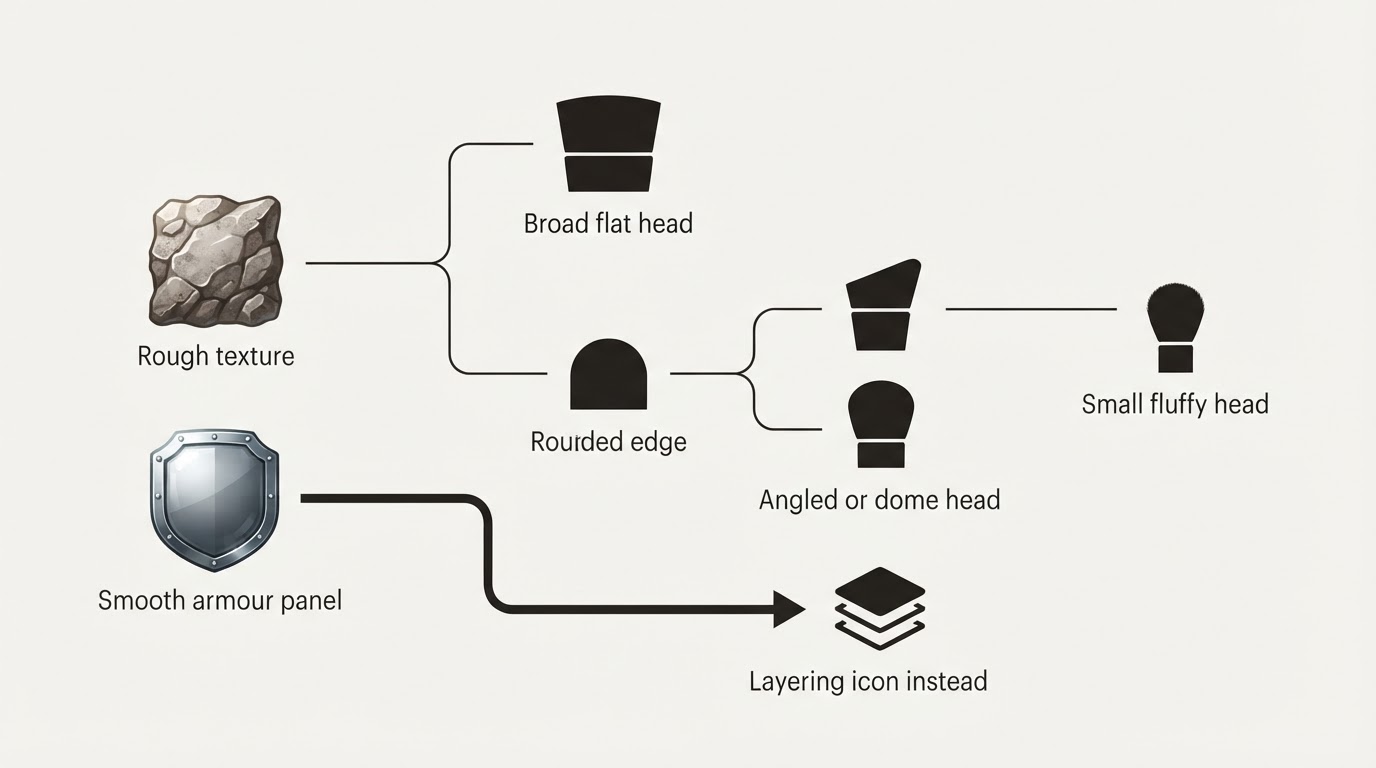
- Broad flat or paddle heads cover a lot of ground: tank hulls, cloaks, large base rocks, and whole squads.
- Angled and dome-shaped heads reach rounded edges, shoulder pads, and curved vehicle trim.
- Small fluffy heads in eyeshadow and concealer sizes get into fingers, faces, tiny chainmail links, and small-scale detail.
- Short, dense heads stay controlled and give crisper edges, while long, loose heads build a softer, more diffuse highlight.
Size the head to the model. A brush as wide as the miniature's torso will flood detail, while a small eyeshadow brush on a large base takes far too long. When you are deciding what brush to use for dry brushing miniatures, reach for the wider head on texture and the smaller head on edges, then test both on scrap before committing to a finished model.
Unload the paint: the step that decides the result
Paint quantity, not brush choice, ruins most first attempts.
- Dip only the tip of the bristles into the paint.
- Wipe back and forth on a dry paper towel or a piece of cardboard until a test stroke barely leaves a mark.
- Aim for a faint ghost of colour, not a wet streak. You should feel slight resistance as the towel drags while seeing almost no pigment transfer.
- Reload and re-wipe before every pass. Never paint from a brush that still looks wet.
Light pressure matters as much as the wipe. Drag the bristles across the surface in quick, short sweeps and let them graze the peaks; pressing flattens them and pushes paint down into the recesses you want to keep dark. Build the highlight in three or four light passes rather than one heavy one. If the result looks chalky or paint is sitting in every crevice, the brush still held too much paint or you pressed too hard.
Quick decision table
Surface | Brush to reach for | Expected result |
|---|---|---|
Fur, chainmail, stone, base grit | Stiff synthetic, broad flat head | Bright speckled highlights on raised texture, recesses still dark |
Rounded edges and trim | Angled or dome head, short bristles | A controlled line of highlight that follows the curve |
Rough cloth and broad panels | Wide flat head, medium stiffness | A soft, even highlight across the weave |
Small details and faces | Small fluffy eyeshadow or concealer head | A fine highlight without flooding detail |
Smooth armour or vehicle panels | None — switch to layering | A seamless gradient instead of streaks |
Whole-model slapchop undercoat | Large stiff head, heavy wipe | Fast, broad coverage over the undercoat |
Demonstration: test the brush on a spare base
New brush, unfamiliar paint, uncertain technique — spend five minutes on a spare base before touching a finished model.
- Basecoat a primed spare base or an unused piece of scenery in a mid-tone such as mid-brown, mid-grey or dark green, then let it dry fully.
- Pick a stiff makeup brush with a head roughly as wide as the textured area you are testing, and load it with a paint one to two shades lighter than the base.
- Load the tip, then wipe on paper towel until the brush leaves only a faint ghost stroke.
- Sweep lightly across the texture in one direction. Keep the brush nearly parallel to the surface and let the bristles do the work.
- Stop after three or four passes and look at the base under normal room light.
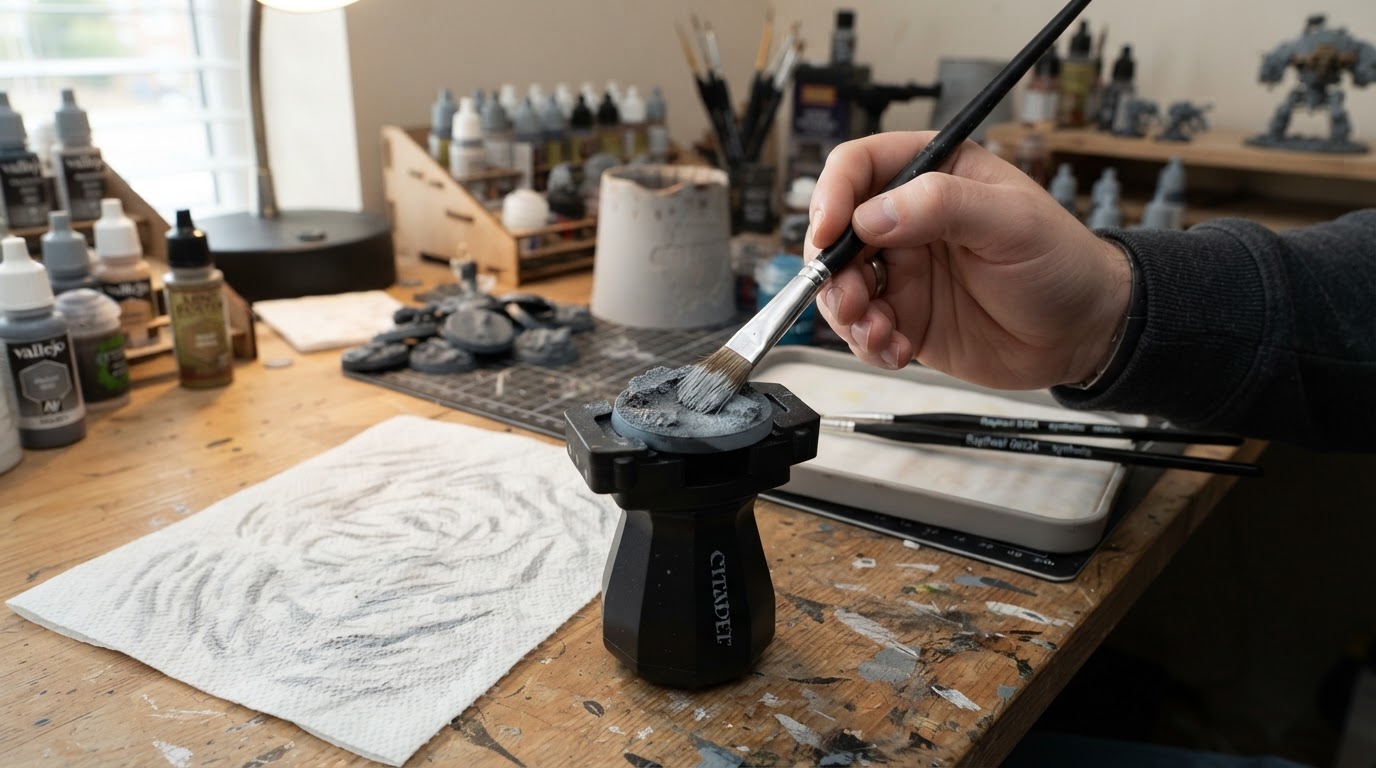
Completion check: the raised grit and edges are clearly lighter, the recesses still read as the original mid-tone, and no patch looks chalky or streaky. If the surface looks washed out or paint has filled the low points, wipe the brush drier and reduce pressure. If almost nothing changed, add one controlled pass with slightly more pigment rather than pressing harder. Once the test passes that check, repeat the same steps on the model. For a final edge highlight, switch to a colour two shades lighter again and catch only the sharpest points.
Cleaning: keep the bristles from setting hard
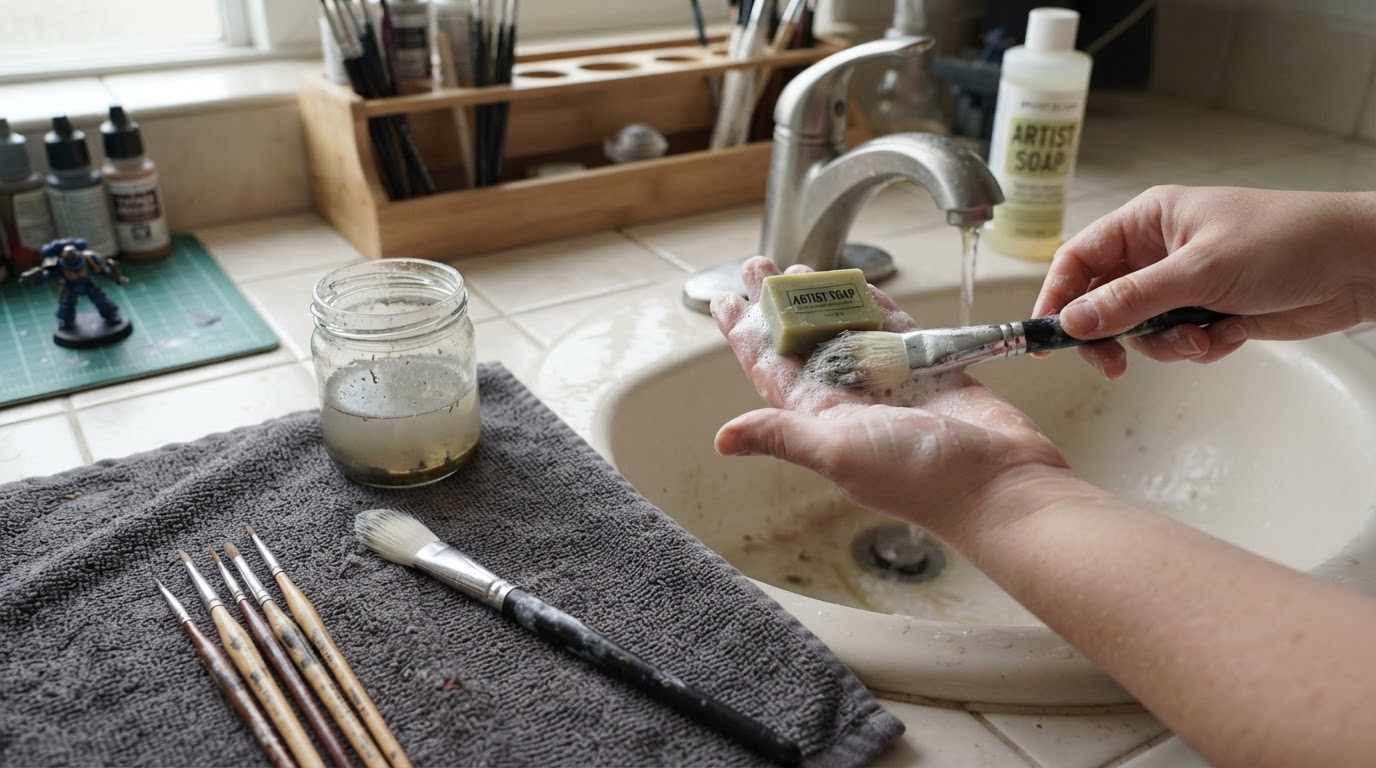
Acrylic paint cures quickly, and a thin film left near the ferrule can stiffen the base of the bristles within minutes. The routine is short: wipe excess paint onto a rag, rinse in lukewarm water, lather mild soap through the bristles while avoiding the ferrule, rinse until the water runs clear, reshape the head with your fingers, then dry the brush flat or bristle-down. Never leave a wet brush standing bristles-up in a jar and never soak it in hot water, since both habits push water into the ferrule and shorten the brush's working life, as the brush-care walkthrough at Crafty by Numbers explains.
If paint has already dried, submerge only the bristles in warm water for 15 to 20 minutes, work in soap, and repeat if needed. For stubborn patches, a short soak in 70 to 90 percent isopropyl alcohol can help, but condition the bristles afterwards and keep acetone away from synthetic heads.
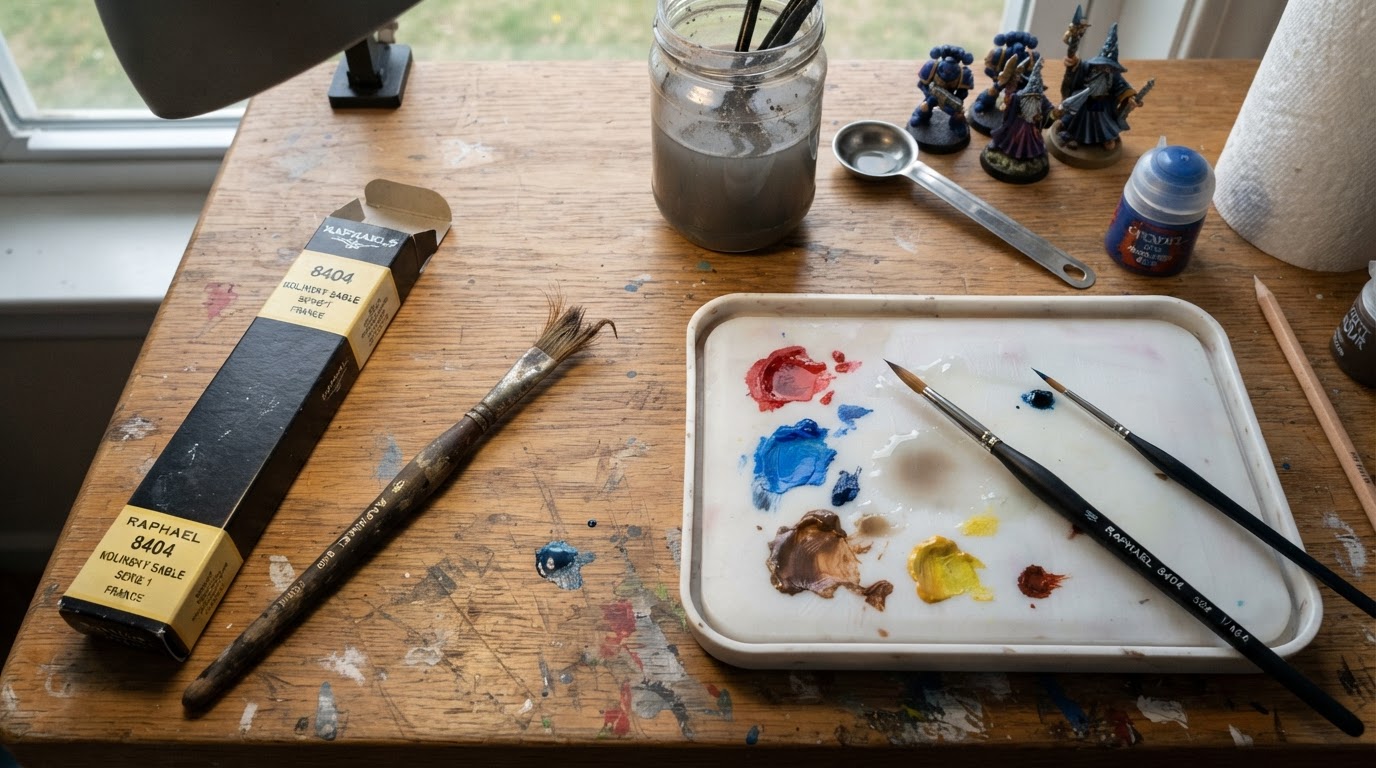
Drybrushing splays and scuffs bristles by design, so expect a makeup brush to lose its neat shape over time. That is why committed painters keep a dedicated drybrush and leave their detail brushes out of the technique. A named brush is not required for any of this: stiffness, head width and paint load do more for the result than the label on the handle, so treat the demonstration above as a technique test rather than a shopping decision.
If you are comparing a purpose-made set with a repurposed brush, our separate Artis Opus brush overview covers that product-specific question; the shape-and-paint-load test here works with either option.
When a makeup brush is the wrong tool
- Smooth armour and vehicle panels: drybrushing leaves streaks instead of a gradient.
- Faces, eyes and freehand detail: a wide cosmetic head is simply too blunt.
- Very small models where the head is wider than the whole figure.
- Wet blending and soft transitions: those need thin paint and soft brushes, not stiff synthetics.
FAQ
Do I need a special drybrush, or will any makeup brush work?
Any stiff synthetic makeup brush with a broad, blunt head can do the job. Soft natural-hair brushes bend too easily and push paint into recesses, so check the bristles before you buy or repurpose one.
How much paint should be left on the brush?
Almost none. Wipe until a stroke on paper towel leaves only a faint ghost of colour; if you can see a wet streak, keep wiping. Less paint and more passes give control, while more paint and fewer passes give a chalky finish.
Should I keep a separate brush just for drybrushing?
Yes. The technique splays bristles and wears the head, so a brush used for drybrushing will not stay precise enough for detail or blending later. Keep one cheap makeup brush or a retired brush in a dedicated drybrush slot.