Primer for Miniatures:
Choose the Right Method
Your primer method should match how many models you paint, where you paint, and whether you plan to use an airbrush later. This guide compares the three main methods, shows how to prepare plastic, resin, and metal models, and explains how your primer color changes the final look.
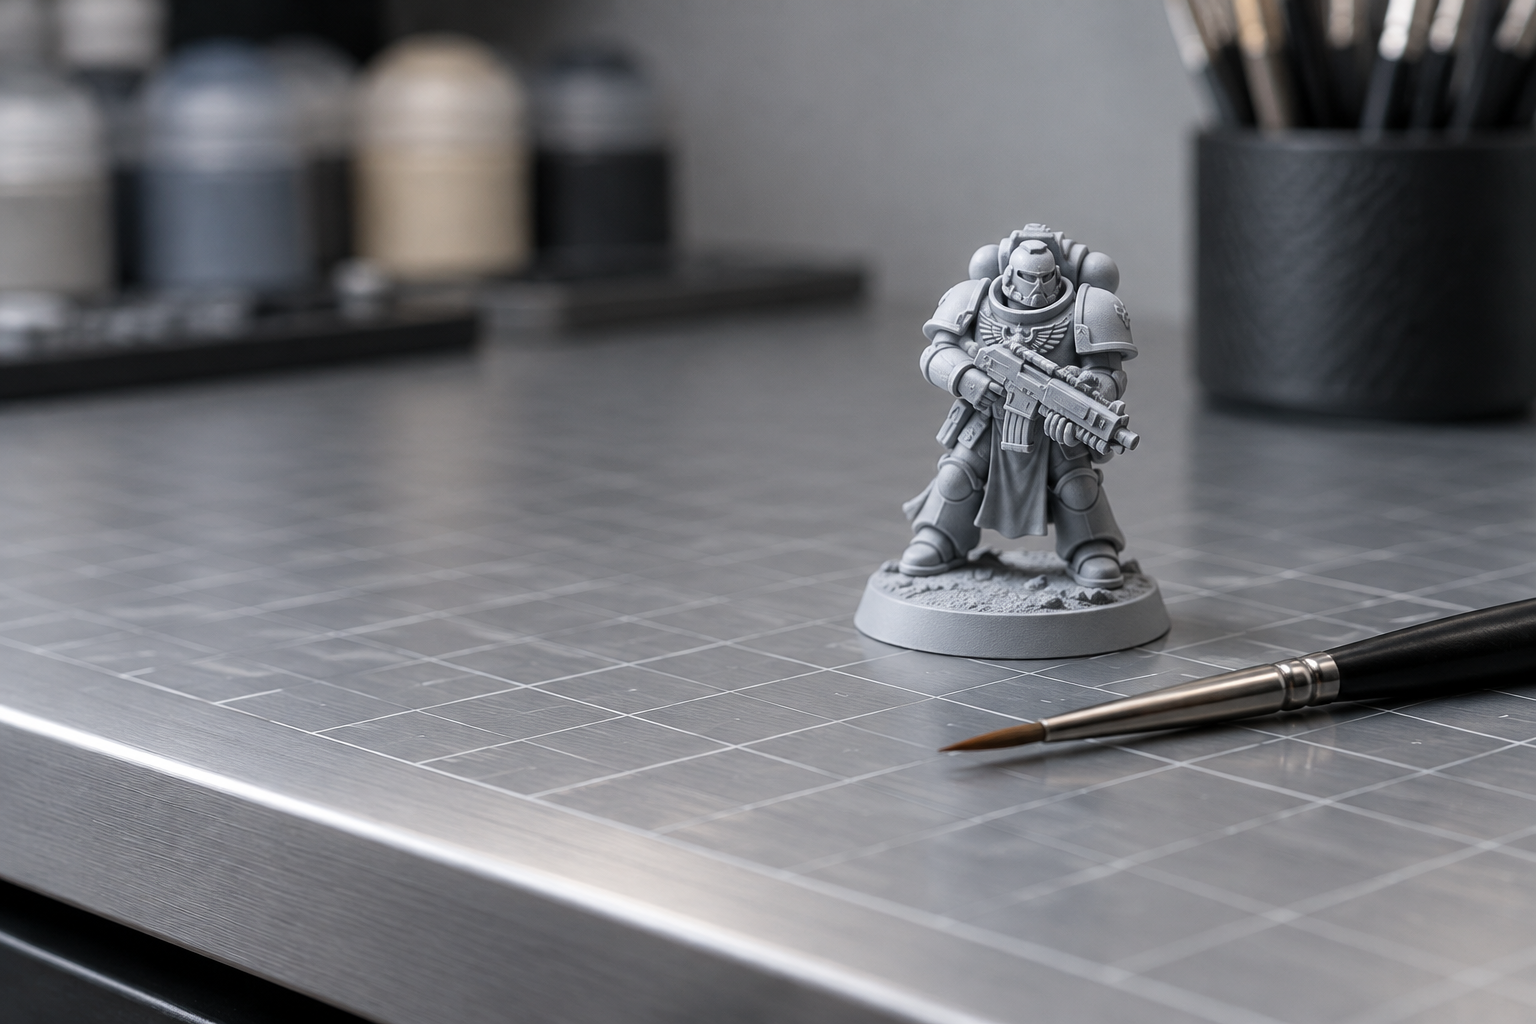
Four questions to choose your primer
Answer these questions before you buy anything. Your answers point to one method, and the rest of this guide explains the steps.
How many models?
A few figures suit a bottle and brush. A full squad or a stand of figures is easier with a spray can or airbrush.
For batch planningVentilated space?
Spray primers need ventilation and a dry, dust-free area to dry.
For workspace safetyFuture airbrush?
If yes, airbrush primer can keep your workflow consistent.
For future skill scalingModel material?
Plastic, resin, and metal each take primer differently, so preparation matters more for some materials.
For material durabilityPrimer methods: spray, brush-on, and airbrush
Each method covers a model differently. The steps below show how to use each one and where it tends to go wrong.
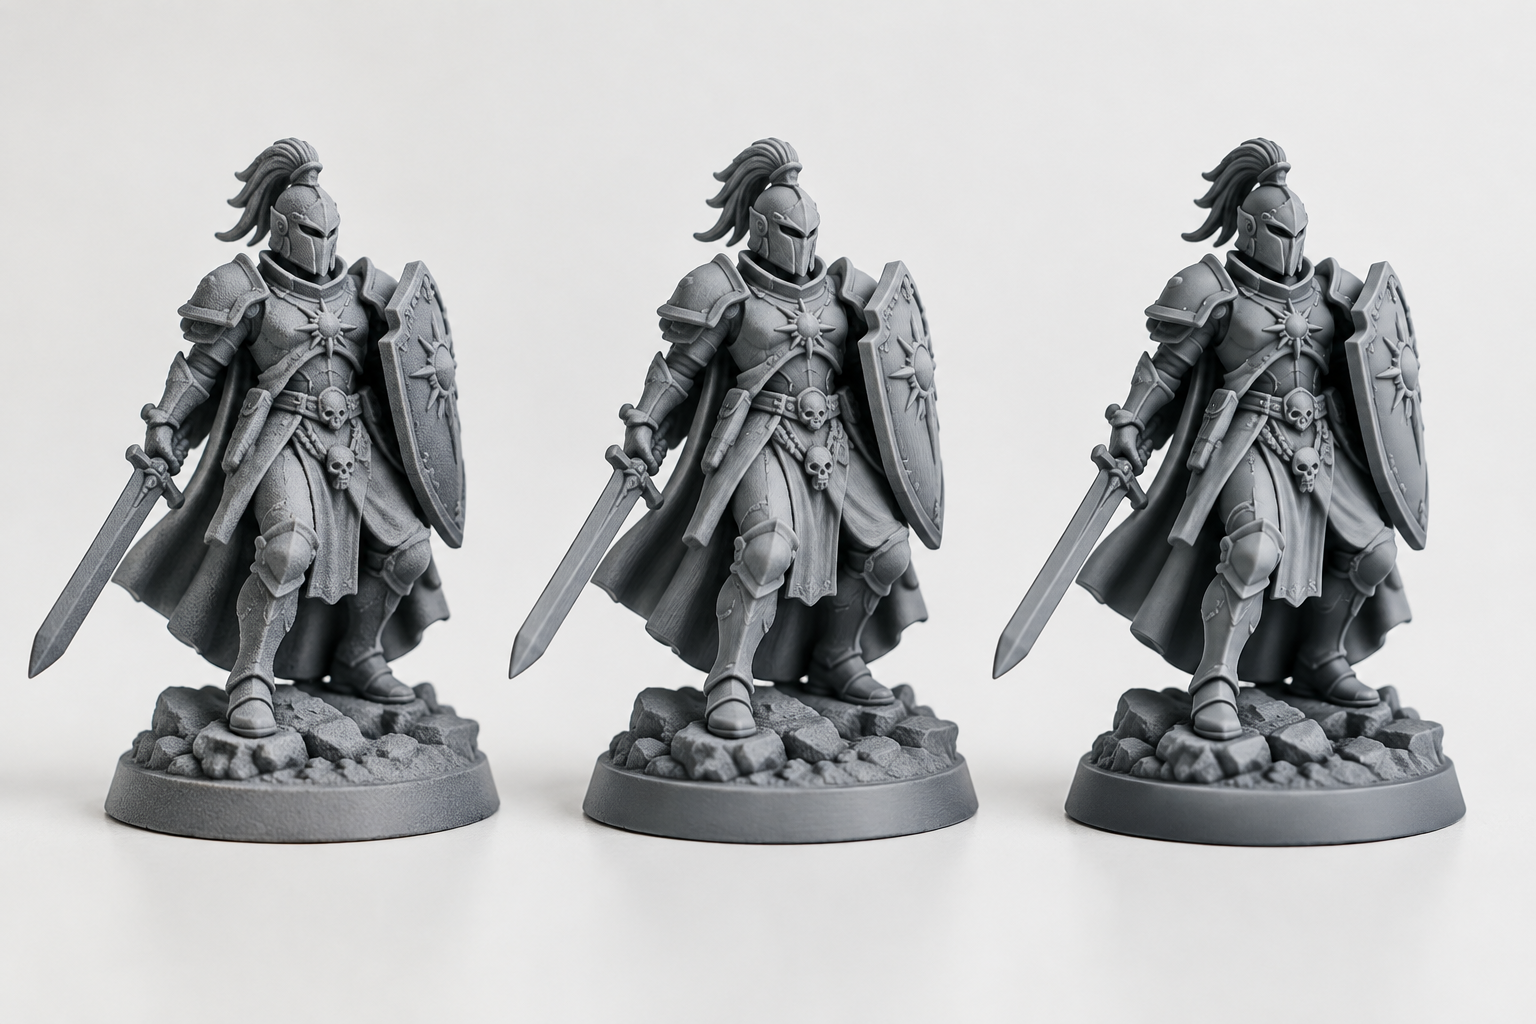
Spray can primer
Spray can primer covers many figures quickly and gives an even, matte surface when it is applied in light passes.
Shake the can for the full time the label gives.
Spray in light, sweeping passes from the distance recommended.
Let each coat dry and turn the models to cover all sides.
Common Mistakes
Pooling in fine detail, grainy finish from cold/humid air, or skipping ventilation.
Bottled brush-on primer
Works well for a few models, for spot repairs, and for areas a spray can cannot reach easily.
Stir well, thin only as the label directs.
Brush on thin coats in one direction.
Check recesses and sculpt lines before moving on.
Common Mistakes
Thick coats filling detail, dirty brush contamination, or rushing dry time.
Airbrush primer
Sprayed through a compressor. Gives the most control over coverage and suits painters who will airbrush base colors.
Thin to recommended consistency for your airbrush.
Adjust air pressure and spray light, steady coats.
Clean the airbrush immediately after use.
Common Mistakes
Clogging from thick primer, runs from spraying too close, or leaving paint in the cup.
Prepare the models before you prime
Primer can only bond to a clean, smooth surface. Each preparation step prevents a specific problem you would otherwise see after priming.
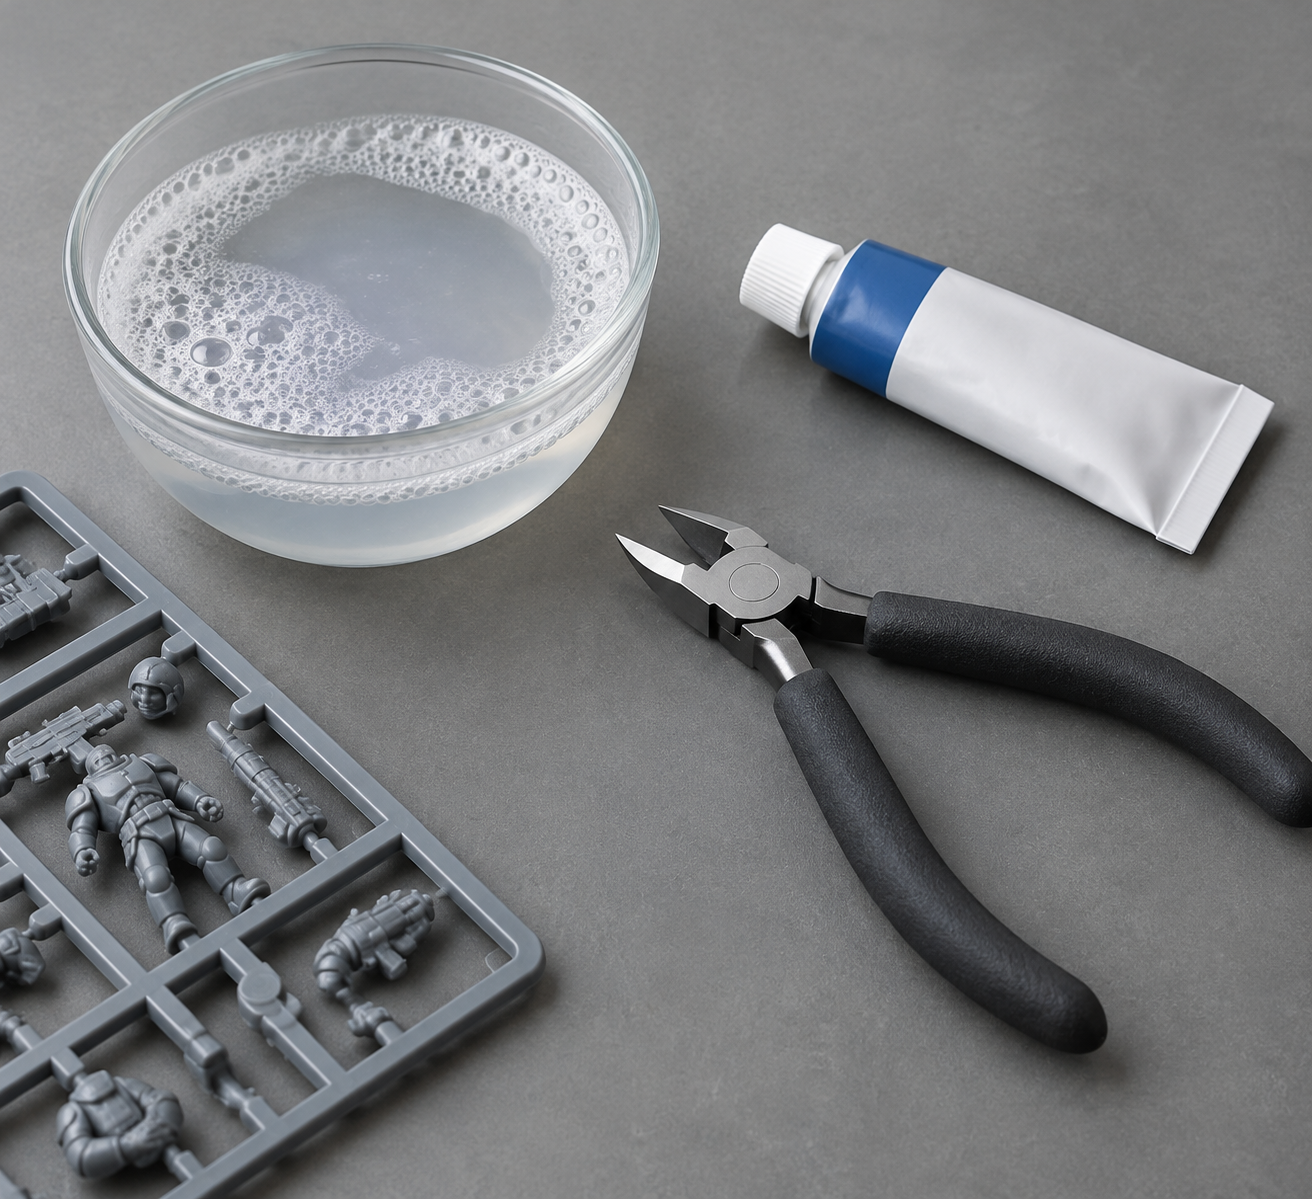
- 01
Wash off mold release
Scrub in warm water with dish soap, rinse, and dry completely. Prevents primer from beading or peeling.
- 02
Trim sprue nubs & lines
Remove plastic stubs and smooth seams. Rough seams show clearly through a smooth coat of primer.
- 03
Fill gaps with putty
Fill seams between parts and let cure fully. Unfilled gaps show as dark lines in the final paint.
- 04
Dust the models off
Remove fibers before priming so they do not become bumps in the finish.
Skipping these steps leads to peeling edges, beaded primer, and grainy surfaces that show up under the base color.
How primer color changes your base colors
Primer color is the first layer your paints sit on. Matching it to your planned colors can save several coats.
Black Primer
Shadows and recesses stay dark. Best for dark armor or models you plan to shade later. Light colors need more coats.
For high-contrast shadingWhite Primer
Light colors cover easily. Dark colors may look washed out and need extra layers.
For vibrant palettesGray Primer
The middle ground. Suits mid-tone colors and is the ideal choice for a beginner's first set.
For general versatilityColored Primer
Saves coats on your main color. Plan other colors around it as it can shift lighter paints.
For speed-paintingChoose the primer color based on the models' main colors, and keep the same color across a batch so the finish matches.
Plastic, resin, and metal need different care
Plastic
Clean mold release thoroughly and check the seams before priming.
Resin
Wash well and let dry fully to remove production residue and moisture.
Metal
Clean grease and dust from the surface, and check that the primer is metal-suitable.
Ventilation, drying times, and safety precautions are listed on each product label. Follow the label and work in a ventilated space.
The beginner path from assembly to base color
Use this order for your first batch of models.
Assemble
Assemble the models and test-fit the parts.
Clean & Prep
Wash off mold release, trim seams, and fill gaps.
Dry & Dust
Dry the models completely and remove all dust.
Prime
Prime in light coats in a ventilated space, then let dry fully.
Base Color
Apply base colors starting with largest areas and working toward details.
Once your primer is dry, the beginner painting walkthrough covers the base coat and the steps that come after it.
Planning to use an airbrush? Read the beginner airbrush kit guidePrimer questions beginners ask
Should a beginner start with spray or brush-on primer?
A spray can is usually faster for several models, provided you have a ventilated space. Brush-on primer suits a few models or spot repairs and needs no extra equipment.
Do I need an airbrush to use airbrush primer?
Yes. Airbrush primer is sprayed through an airbrush connected to a compressor. If you do not have one, a spray can or brush-on primer is a better starting point.
Why does my primer look grainy or bumpy?
Common causes are spraying in cold or humid conditions, applying the coat too heavily, holding the can too close, and dust on the surface before priming.
Should I thin brush-on primer?
Follow the product label. Thin only as the label directs, and apply thin coats so the primer does not fill fine detail.
Do I need to wash models before priming?
Yes. Mold release and oils left on the surface can stop primer from bonding and cause it to peel or bead up.
Is primer safe to use indoors?
Work in a ventilated space and follow the safety instructions on the product label.
Ready for your base colors?
Prime your models, let them dry fully, and move on to the beginner painting walkthrough.