What "Glow in the Dark" Actually Means on a Miniature
Two different pigments get sold under the same glow language, and they behave nothing alike.
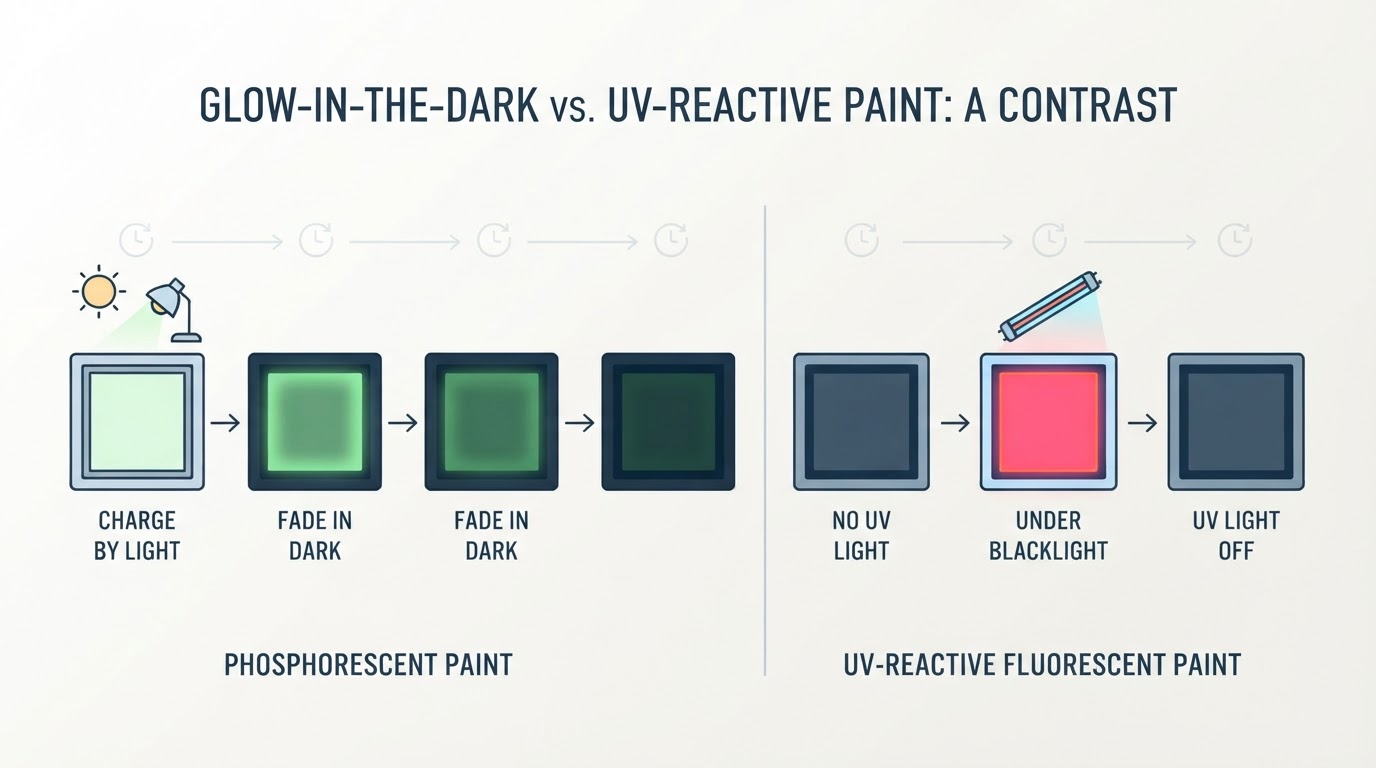
Phosphorescent paint — usually labelled glow paint, luminous paint or photoluminescent paint — absorbs light and re-emits it slowly. Phosphorescent materials are charged by exposure to light, and the afterglow then decays over a range that runs from minutes to hours depending on the pigment and how much light it took on (Wikipedia, Phosphorescence). This is the paint that keeps glowing after the room light is off.
Fluorescent paint — the neon and UV colours in many hobby ranges — can look unusually bright under suitable illumination, particularly UV light. It does not store light for an afterglow: the fluorescence stops when the exciting light is removed. Vallejo's Game Color range identifies its Fluo paints as transparent or semi-opaque and recommends a white primer for the strongest effect.
That difference decides where each paint belongs on a model. Phosphorescent paint is a darkness effect after charging. Fluorescent paint can add a vivid accent in normal light and appear stronger under UV, but it will not keep glowing once the lights are off. Check the product label and how a promotional photo was lit before buying.
How to Paint a Glow Effect on Miniatures: A Practical Workflow
Manufacturers of fluorescent acrylics give a consistent method, and it is worth following for any glow or UV paint you buy (Green Stuff World, fluorescent paints):
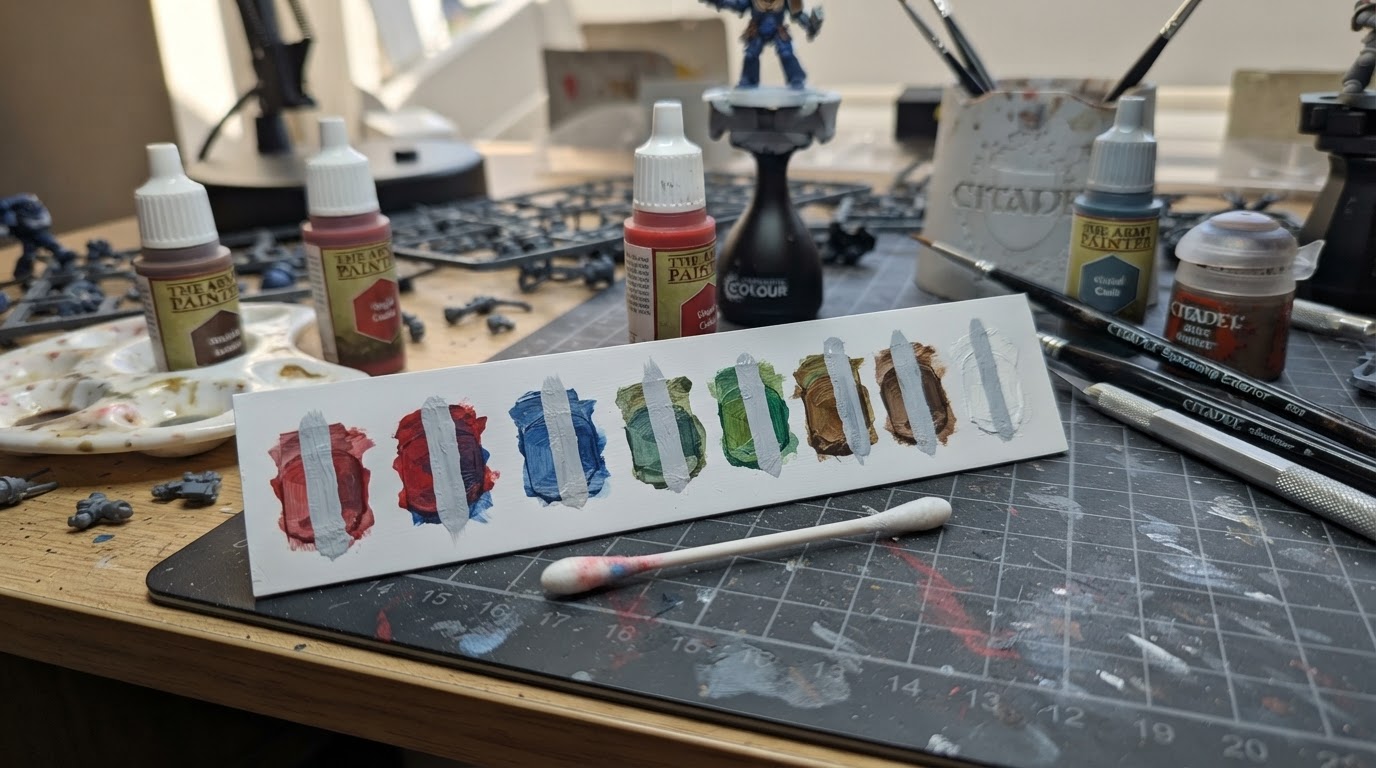
- Start from a white or light base. Fluorescent colours are at their brightest over a white or light surface, and darker surfaces mute them.
- Build thin layers. These paints can be fairly transparent, so several thin coats read better and more evenly than one heavy coat. Let each coat dry before the next.
- Check coverage under the right light. UV pigments only show their real colour under a UV source, so keep a blacklight handy while you work.
- Seal the work if the model gets handled. A sealant protects the finish on miniatures that are picked up and moved often.
- Charge phosphorescent paint before you judge it. Sunlight or a bright lamp charges the pigment; the glow is brightest straight away and fades from there.
For a phosphorescent bottle, read that product's own instructions first: particle size, pigment load and binder vary between brands, and the label knows which pigment is in the jar.
Test It on a Spare Part Before You Commit
Glow effects are easy to get wrong on a finished model and hard to undo. Test on a spare part, a base, or an underside you will not see.
- Pick a spare surface with the same primer as your model.
- Paint a light patch — white or light grey — next to a patch of your normal base colour. This is the control: it shows how much the basecoat changes the effect.
- Apply two or three thin coats of the glow paint on both patches, drying between coats.
- Charge it under a bright lamp or in direct sunlight, then look at it in a dark room. For fluorescent paint, look at it under the blacklight instead.
- Record two results: how the paint reads in normal light next to an ordinary highlight, and how long the phosphorescent glow stays visible after charging.
You have finished testing when you can answer both questions for your own light setup. If the glow fades before your typical game session ends, that paint is an accent for display or for a blacklight table, not a substitute for an ordinary highlight.
Glow Effect or Ordinary Highlight?
Decision point | Glow / UV paint | Ordinary highlight |
|---|---|---|
Where it reads | In the dark (phosphorescent) or under UV (fluorescent) | In normal light, on the table |
What it needs | A charge of bright light, or a blacklight while viewing | Nothing |
Best use on a model | Small focal details: eyes, runes, coils, cables, energy effects | Edges, volumes, faces, armour panels |
Normal-light appearance | Often thinner and flatter than regular acrylics | Full control of value and saturation |
Fails when | The glow fades, or no UV light is available | You want the model to look self-lit in the dark |
Pick it when | The model should change character under different lighting | The model must read clearly in normal light |
A practical compromise is to use both: an ordinary highlight for the shape, with glow or UV paint on the small area that should light up — the same split Warhammer and other tabletop armies use for plasma coils, eyes and magic effects.
Limits Worth Knowing Before You Buy
- Phosphorescent glow always fades. The stored energy runs down: brightest right after charging, then dimming. Recharging means more light.
- Fluorescent paint has no afterglow. It may look bright under suitable light, but it cannot illuminate itself once that light is gone.
- Dark basecoats mute the effect. White and light surfaces give the pigment the best chance to read.
- One thick coat is not the shortcut. Thin layers dry evenly and keep detail; heavy layers can bury the shape underneath.
- Do not judge colours from product photos. Blacklight shots are the norm for fluorescent paints, not a normally lit table.
- Read the label on your bottle. "Glow" and "neon" are marketing words, not chemistry, and not a safety category.
FAQ
Does glow in the dark miniature paint work without any light?
No. Phosphorescent paint has to be charged by light before it glows, and fluorescent paint needs an active UV source. There is no glow without an energy source.
Can I paint UV paint over black primer?
Yes, but expect a much weaker effect. Manufacturer guidance is to apply fluorescent colours over a white or light surface for maximum brightness; a dark primer absorbs and mutes what you are trying to show.
How many coats of glow paint should I use?
Several thin coats over a light base, not one thick coat. The pigment can be fairly transparent, so thin layers build colour evenly; the exact number is on the product's instructions.