What Drying Does To Acrylic
Water and other volatile ingredients leave the paint, the acrylic particles move closer together, and they eventually deform and pack into a continuous polymer film. GOLDEN calls that final step coalescence and describes the resulting film as stable against moisture and against later coats of paint (Investigating the Drying Process of Acrylic Color and Gel Medium). Liquitex describes its dried Basics Acrylic Fluid as permanent and water-resistant (Basics Acrylic Fluid Color).
A permanent film is the paint working as intended, not a fault to undo. Once the particles have coalesced there is no separate dispersion left for water to wet, and wetting a cured film is not the same operation as thinning paint that is still liquid.
Two limits apply to that explanation. Both sources describe artists' acrylic in general; they are not a restoration trial for any specific miniature paint line, and hobby paints differ in binder, medium and additives. And everything here covers conventional water-based acrylic only. Metallic, wash, contrast-style and solvent-based products follow their own formulations, so thinning and reviving questions belong to that product's maker rather than to a general rule.
Work Out Which State The Pot Is In
Look at the paint and move it with a clean tool. You are sorting it into one of three situations.
Separated. Liquid sits above settled pigment. If the two combine into an even paste when mixed, the paint is still dispersed and the liquid belongs to the original formulation. Mix first, before adding anything (Miniature Paint Separating in the Bottle).
Thick but still wet. The paint moves, but it has stiffened. If a tool can fold a lump into a smooth paste, there is still a dispersion to work with.
Rubbery or hard. A skin that holds together when lifted, a stretchy mass, or a solid puck is film rather than concentrated paint. Flakes and crusts are the same material, and stirring them back in only suspends film fragments in whatever sits below. One pot can hold more than one state at a time, with a firm top over softer paint, so judge the portion you would actually use rather than the surface.
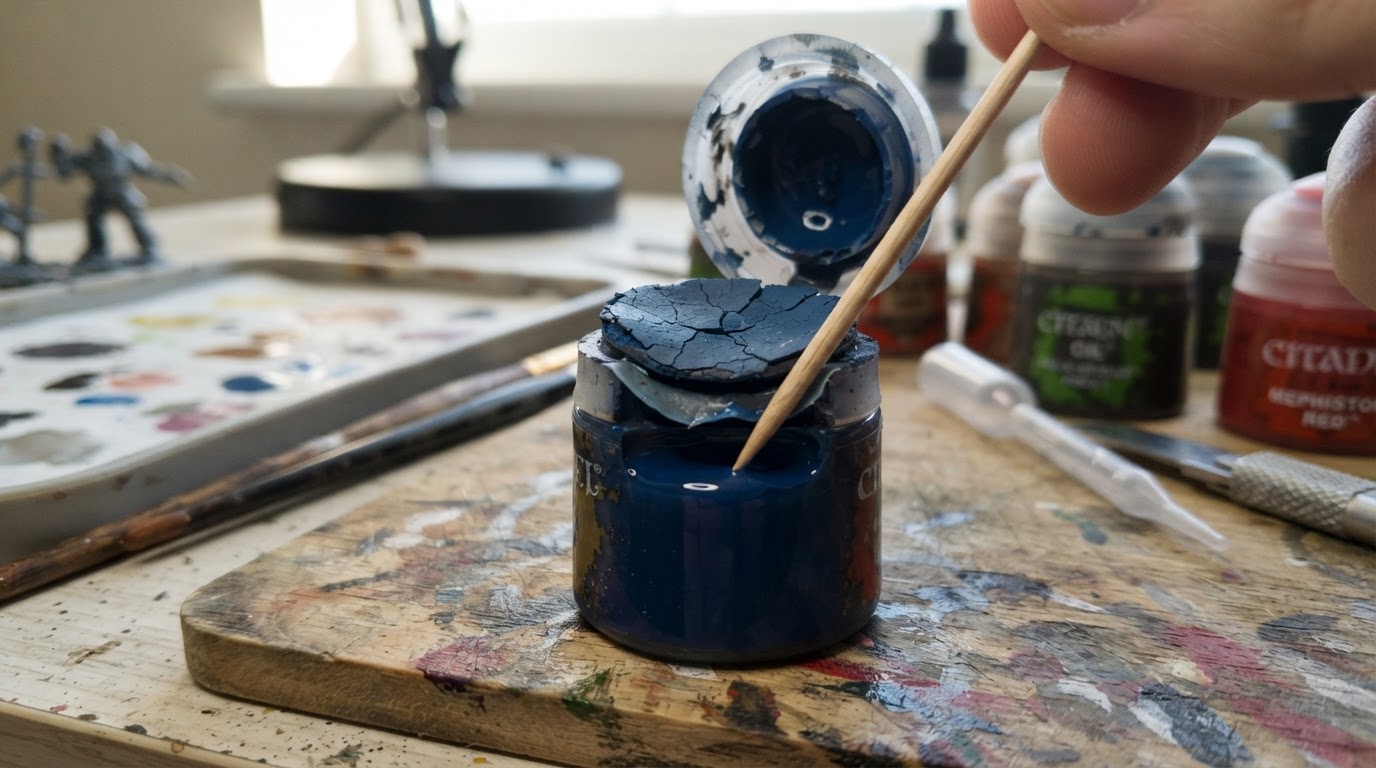
Lifting an edge with a tool shows what the surface is doing and nothing more. It does not establish that the paint underneath is undamaged: a paste that looks smooth can still contain partially coalesced particles that behave badly on a model, and a stretchy top does not prove the whole pot has cured. The only practical check is a coat of paint.
One Sequence To Try
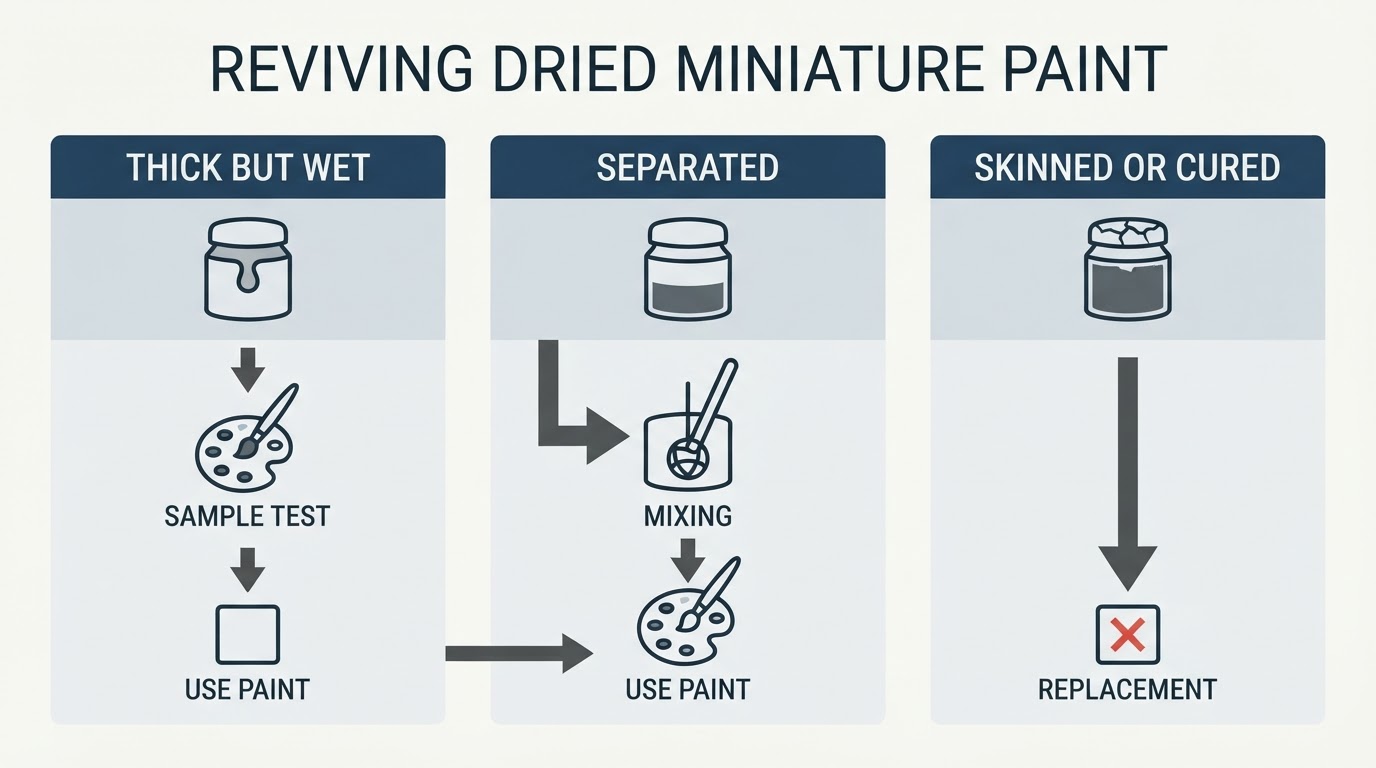
- Sort the state first. If the paint has separated, mix it back before doing anything else. If it has skinned over, treat the skin as waste rather than as paint.
- Take out the dry material. Lift the skin or crust with a clean tool and discard it, along with any flakes in the threads, the nozzle or around the rim. Dried fragments do not dissolve back into the pot, and forced through a brush or an airbrush they clog the tool and leave grit in the paint you are applying.
- Sample a small amount. Move a pea-sized portion of the still-wet paint onto a clean, non-absorbent surface, and keep the rest of the pot closed while you work. A failed attempt then costs you that portion only.
- Add thinner only if the label allows it. Use water, or a medium the product's maker names for that paint, a little at a time, and fold it in with a stiff tool rather than a brush. A brush bends its bristles and pushes paint up into the ferrule. Water also lowers the pigment and binder share, so paint that needs a large addition will not handle like fresh paint even when it turns fluid again.
- Try a normal thin coat. Apply the sample to a scrap of primed plastic or paper at the thickness you would use on a model, then judge how it flows, covers and dries against the product's own directions. A coat that releases evenly, sits at working thickness and dries to the expected sheen is usable. A coat that stays tacky, drags lumps or dries to a different finish is not.
- Decide once. If the sample still behaves poorly, replace the paint instead of nursing the pot.
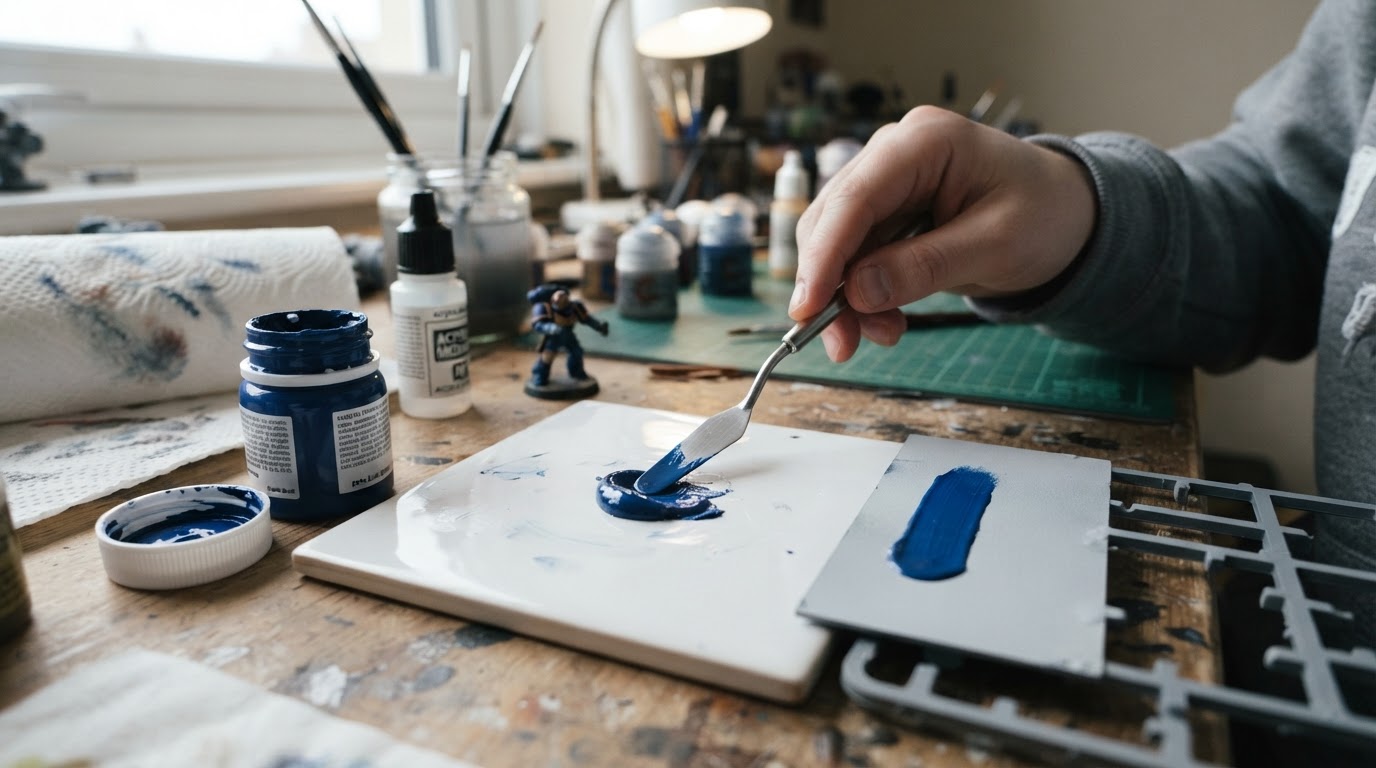
Step 5 is a usability check: it tells you whether this paint can do the job on a model. It is not a validated restoration test, and one sample says nothing conclusive about the rest of the pot. There is no universal drop count, soak time or rub threshold to aim for, and following a fixed number of hours instead of the label is how a workable pot turns into a wasted one.
If a coat dries glossy when it should be matte, check the finish on its own terms before adding anything else, because that change rarely improves by putting more product in the pot (Miniature Paint Drying Glossy?). Do not add household cleaner or an improvised solvent to the paint; use only thinning products specifically approved for that exact formulation.
When To Replace It
Replace the pot when the paint has become a solid puck, when a skin will not lift cleanly off usable paint, or when the sampled coat fails step 5. That covers the usual losses: an open palette blob that dried out, a bottle whose tip and threads filled with set paint, a pot that sat with a loose lid.
Wiping the rim, closing the lid, and not leaving a working blob out on the bench is most of the maintenance a pot needs.