Expensive to start, cheap to keep going
"Expensive" is doing two different jobs in this question. There is the cost of getting set up, and there is the cost of keeping the hobby running. They behave nothing like each other.
Getting set up means a printer, whatever the box does not include, and a place to put it. That number can be real money, and it lands in one hit. Keeping the hobby running means filament or resin, a bit of electricity, the occasional spare part, and the material that goes into prints that fail. That number is small per print, and it only turns into a big number if you print a lot.
That split explains why two people can give opposite answers and both be right. Someone who prints one model, then decides the hobby is not for them, has paid the full entry cost for a single object, which makes it an expensive object. Someone who prints most weekends has spread that same entry cost across dozens of objects, which makes it cheap per object. The real question is not whether 3D printing is expensive. It is expensive per what.
One thing worth clearing up before the numbers: the cheapest printer is not the cheapest way to start. A low sticker price usually means more of the setup bill moves into accessories, consumables, and the time you spend getting the machine to print well. Judge the total, not the headline.
What a starter printer really costs
There are two families of machine, and they come with two different bills.
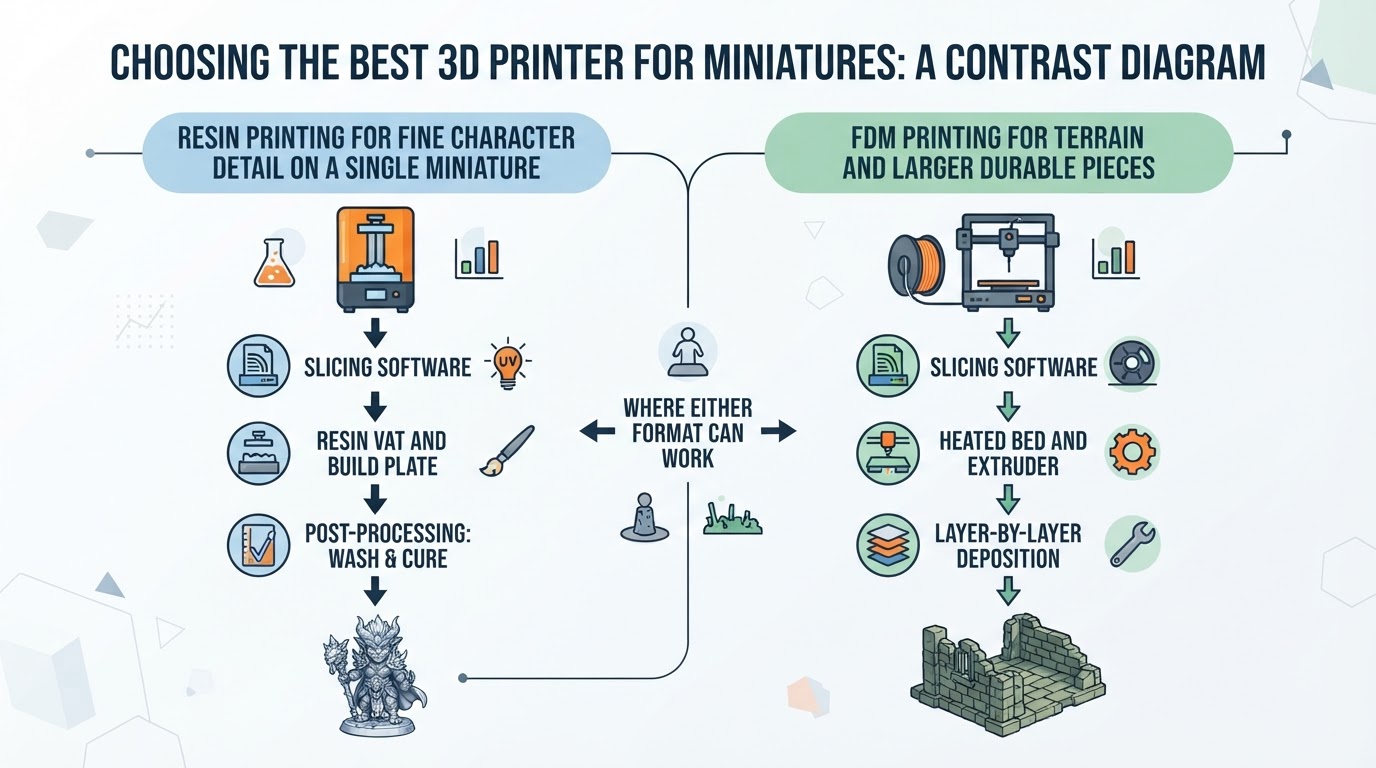
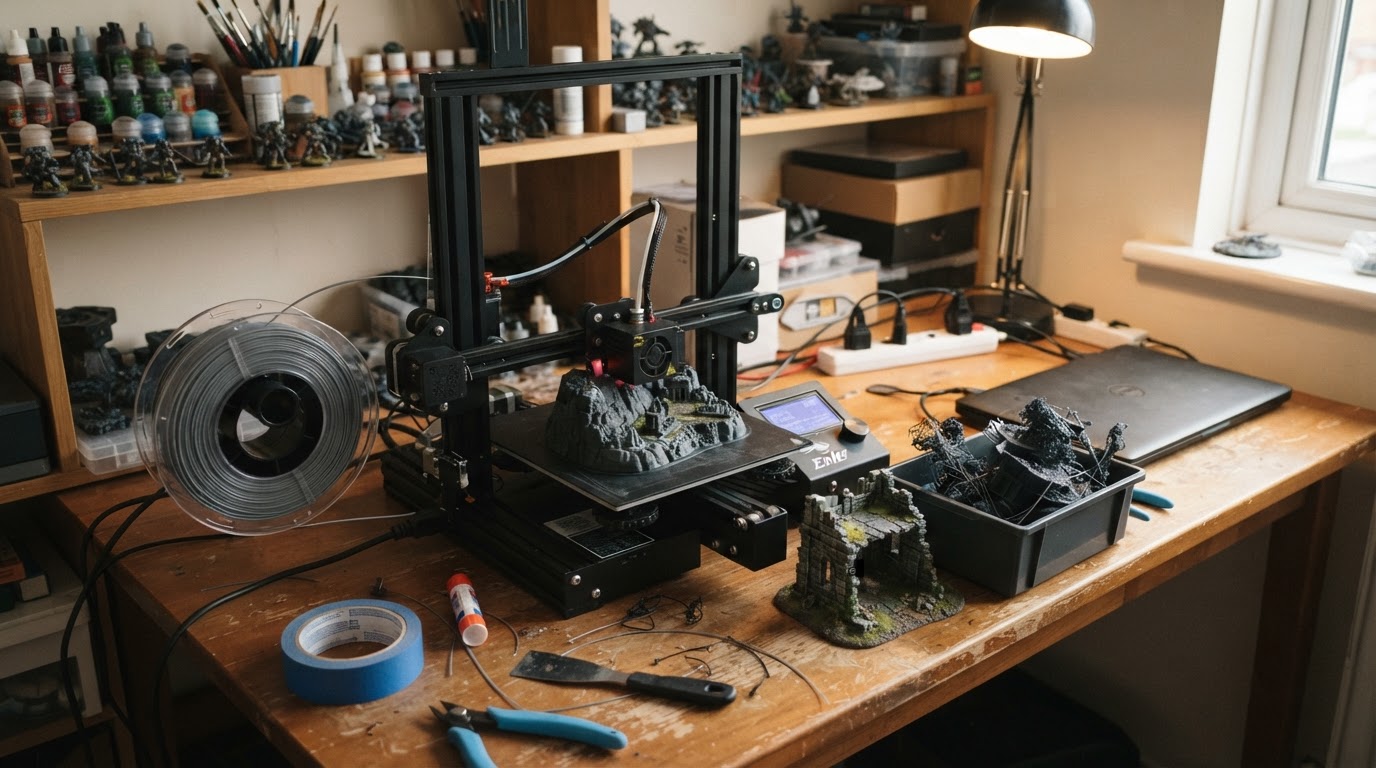
Filament printers melt plastic and build a part layer by layer. The machine is the main purchase, and the material is sold by weight. When you compare them, look past the price and check the physical facts: how big a part it can print, whether the frame is rigid, whether the bed heats, whether it is enclosed, whether the nozzle and hotend are standard parts you can replace, and whether spares are easy to find.
Resin printers cure liquid resin with light and are chosen for fine detail. The printer is only the start. A resin print needs washing and curing afterward, which means extra equipment and a ventilation plan. Resin is also a chemical you have to handle, store, and dispose of sensibly. The machine may look cheap next to a filament printer. The setup rarely is.
Then there is the part of the bill that never makes it onto the listing page:
- Material for your first prints. A printer often arrives without any.
- Basic tools: cutters, scrapers, tweezers, and a way to level or clean the bed.
- Spare parts: nozzles, films, tubing, and anything else designed to wear out.
- Safety and handling gear for resin: gloves, ventilation, and a wash-and-cure station.
- Somewhere to put it: a table, a shelf, or an enclosure if smell, noise, or pets are a factor.
When you compare two machines, compare them at the same finish line: printer plus everything you must buy to complete one successful print.
The costs nobody warns you about
The first one is failure. Every failed print costs the same material, machine time, and electricity as a good one, and it teaches you something you did not want to pay for. This is why a beginner's cost per object is highest in the first weeks. Calibrate once, learn one material properly, and print small test pieces before committing to a long job.
The second is consumables. Nozzles wear, films scratch, bed surfaces lose their grip, and cleaning supplies run out. None of these are big on their own. Together they are the reason a spool purchase is not your actual monthly cost.
Electricity is the third. It is easy to estimate and easy to forget: check the machine's power draw, multiply by the hours a print runs, and multiply again by the rate on your electricity bill. A heated bed draws more than the motors, and a long print is like leaving a small appliance running for hours. If you use a curing station, count that too.
Time is the fourth, and it is the one people argue about. Slicing, setup, support removal, sanding, and cleanup all take real time. If you count your own hours at any hourly rate, the hobby looks expensive. If the making is the point, it does not count as a cost at all. Decide which one you mean before you compare it to anything.
And the fifth is space. A printer needs a stable surface, some clearance, and somewhere the noise and smell do not bother anyone. If that forces an enclosure or a different room, the cost just changed.
How to work out the true cost of a print
You can do this on paper in a few minutes, without a calculator and without a spreadsheet.
- Material. Divide what you paid for the spool or the bottle of resin by its weight. Multiply that by the grams the slicer says the model needs. A model that uses a quarter of a spool costs a quarter of the spool price.
- Electricity. Take the printer's power draw in watts, divide by 1,000, multiply by the hours the print takes, then multiply by your electricity rate. Repeat for a curing station if you use one.
- Consumables. Add a per-print share for the things that wear out: nozzles, films, cleaning supplies, adhesives.
- Failures. Multiply the material and electricity figure by your real failure rate. If one print in five fails, add 25 percent.
- The machine itself. Take what you paid for the printer and divide it by the number of prints you expect to make before it wears out. The more you print, the smaller this number becomes.
- Finishing. Add paint, sanding supplies, and anything else the object needs before it looks the way you want.
The total is your cost per finished object. Compare it to buying the same thing ready-made, if a ready-made version exists, and compare it to how much you enjoy the process. Both halves of that comparison matter.
One common mistake is treating a free model file as a free print. The file may cost nothing, but the material, the electricity, and the hours are the same as any other print. The other mistake is treating the printer as free after the first month. It is a one-time cost, not a no cost, which is exactly why step five exists.
When printing your own is the cheaper choice
The math gets friendlier the more objects you make, and friendlier still when the thing you want is not sold in the shape you need.
- Batches. Terrain, bases, tokens, stands, and small gifts: one setup, many objects, and the cost per object drops with every print.
- Replacement parts. A clip, a bracket, a knob, or a discontinued piece nobody stocks is often cheaper to print than to hunt down, and sometimes it is the only option.
- Custom sizes. When the object you need does not exist off the shelf, printing is not competing with a mass-produced price at all.
- Tabletop projects. A full set of scenery or an army's worth of small pieces is where printing looks best against buying each piece on its own.
- Skills that compound. The more you learn about your machine, the fewer failures you pay for, which makes every later print cheaper than your first ones.
None of these depend on today's prices. They depend on quantity and on whether a ready-made version exists. Those are the two questions worth asking.
When it makes more sense to buy
Printing is not automatically the frugal answer, and pretending otherwise leads to a shelf full of expensive good intentions.
Buy the finished object when it is mass-produced, sold cheaply, and does not have to fit anything. Buy it when you want one good piece and you do not enjoy the making. Buy it when your printing volume would be a handful of objects a year, because the entry cost never gets a chance to spread out. Think twice if you do not have a suitable space, or if resin handling is not something you want to do at home.
There is also a cost that appears in no budget: attention. A printer rewards the person who checks on it, cleans it, and adjusts it. If that sounds like a chore rather than part of the hobby, buying is the cheaper route.
The faster path if you just want the answer
If you would rather skip the arithmetic and read the short version, Tactile Hobby keeps a library of question-shaped guides about hobby costs and safety, and this exact question is one of them. That is a reasonable shortcut while you are still deciding whether to start at all. Come back to the steps above when you are comparing two specific machines, because that is when the numbers have to be your own.
First screen of the 3D Printers blog category (https://tactilehobby.com/category/3d-printers/): '3D Printers' heading with article listing of 3D-printing guide posts.
What to check before you buy
Run through this list, in this order, before you spend anything:
- The total entry cost: printer plus everything it needs to complete the first successful print.
- The build volume: can it make the size of object you actually have in mind? Splitting a model into pieces changes both the cost and the work.
- Spare parts and consumables: are nozzles, films, and bed surfaces available, and are they priced like consumables or like repairs?
- The material: what it costs by weight, how it is stored, and whether it needs special handling.
- Ventilation, noise, and space: where will this machine live, and does everyone who shares that space agree?
- Electricity: what a long print would add to your bill, using your own rate.
- Your real printing volume: how many objects a month, honestly?
- Failures: what you will do when the first print comes out wrong, because it will.
If the total still looks acceptable after that list, the hobby is usually cheaper than its reputation. If it does not, you have saved yourself the cost of finding out the expensive way.