What separates non-metallic metal from metallic paint
NMM is a technique, not a product. The painter uses ordinary matte colours and paints the reflections by hand, the way a two-dimensional artist would. TMM is the pigment route: the paint contains flakes of mica or another reflective material, so the surface catches real light. The True Metallic Metals tutorial at Light Miniatures draws the line that way and notes that the two approaches produce very different aesthetics rather than one being a better version of the other.
That distinction is the whole decision. You are not choosing between a good metallic bottle and a bad one. You are choosing whether the shine will be painted onto the model or supplied by what is in the paint. A pot of silver does not make a model NMM, and a grey-to-white blend is not TMM just because it ends up looking shiny.
The work each approach asks for
NMM front-loads the thinking. You decide where the light sits, what the metal is reflecting, and how the darkest and brightest values connect across a curved or angled surface. Then you build the contrast and blend the transitions. The Light Miniatures tutorial calls NMM one of the trickiest techniques in miniature painting because getting the placement of highlights to look right is so hard, and that difficulty is the main cost of the approach.
TMM asks less planning up front. The paint already reflects, so a solid base coat gives you a metallic surface almost immediately. In the same tutorial, the metallic workflow includes a base coat, a glaze over the metal to tone down the shine, focused shading and a series of highlights. The author says he might stop after the highlight stage for clean metals or an army.
Neither method is a one-coat finish. The difference is where the effort goes, not whether effort is required.
Metallic paint still gets deliberate shading and highlights
A common shortcut is to treat metallic paint as a single pass that cannot be controlled. The tutorial treats it as a full painting process instead. After the base coat, the painter checks where the reflections actually fall, glazes the metal to bring the shine down to a workable level, and then places the shading and highlights deliberately. The point is not to copy a fixed recipe but to treat the reflective surface as something you can shape.
That is deliberate placement, not a wash-and-hope approach. Metallic paint can be glazed, shaded and highlighted, and the painter still decides where the light lands. What the pigment gives you is a safety net: if the placement is a little off, the surface still reads as metal, while a misplaced reflection in NMM can leave the area looking less metallic.
The tutorial also names the hybrid that grows out of this: when the base coat and highlights are metallic but the shading is done with non-metallic paint, the result is sometimes called demi-metallic. It is a useful option if you want deliberate painted shadows without painting every reflection by hand.
How the two surfaces behave as you move around the model
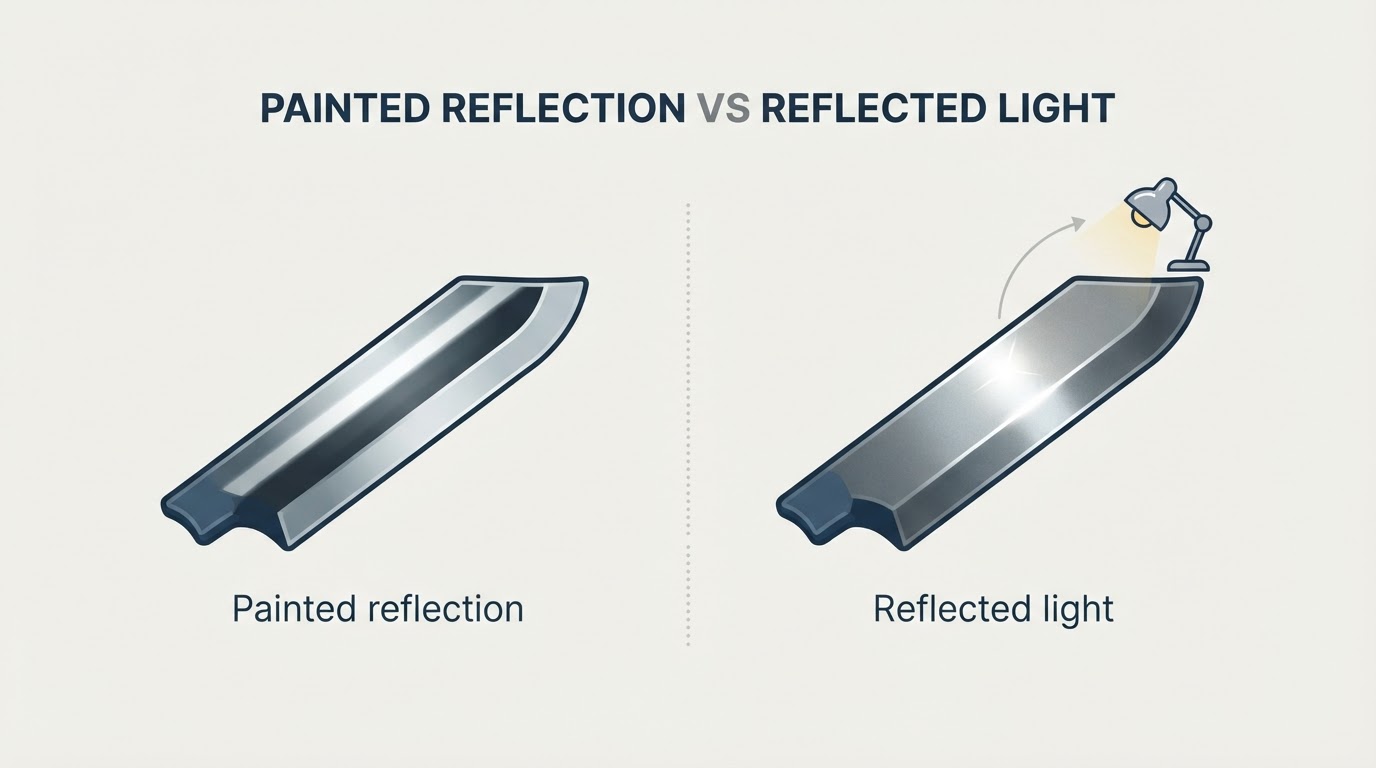
This is where the viewing question starts to matter. TMM uses real reflection. The flakes in the paint catch the light in the room, and the glint shifts with the viewer's perspective. That is exactly what some painters want on a gaming piece that will be handled, turned and seen from several directions.
NMM commits to a painted light story. The highlights stay where the painter put them, which is an advantage when the model is seen from the angle and under the lighting the painter had in mind. The trade-off is that those painted reflections do not follow a new light source. Move the model or change the lamp, and the highlight that was supposed to be the brightest point may no longer line up with the actual light, so the illusion can weaken. It is not guaranteed to hold from every viewing angle or lighting condition.
That makes the choice a viewing decision before it is a painting decision. If the model will mostly be seen from one angle, or photographed under controlled light, a fixed painted reflection can be the more reliable effect. If it will be picked up and turned across a table, the shifting reflection of metallic paint has an obvious appeal. Both can look convincing; one changes as you move, the other stays where you painted it.
A shorter decision path
Start with where the model will be seen. A fixed display angle or close-up photographs reward reflections that stay put; a piece that gets handled and turned rewards reflections that move with the room. Then decide how much control you want over the light. NMM lets you place every highlight, but you also have to place every highlight. TMM lets the paint and the room do some of that work, with the trade-off that the result is less fixed.
If those answers pull in different directions, the hybrid is legitimate. Using metallic paint for the base and highlights while shading with non-metallic paint keeps the reflective surface and puts the darkest passages under painted control, without painting every reflection by hand.
If you are still deciding on the overall look, the miniature painting styles overview sorts grimdark, box art, comic and painterly approaches by how they handle light and edge separation. Pick the finish there, then use this choice for the material that gets you there.
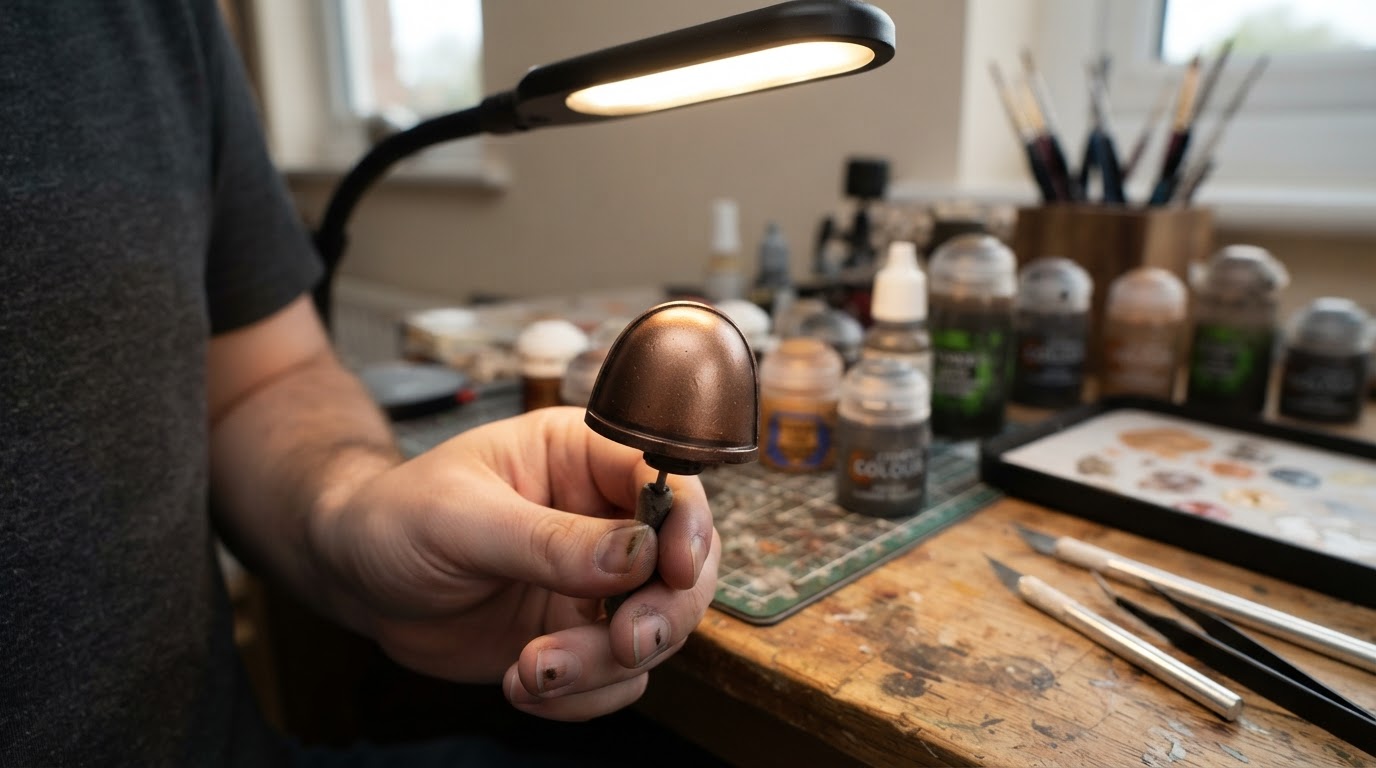
The painter behind the Light Miniatures tutorial uses both approaches and says he generally gets better results with metallic paints in his own work, but that is a personal outcome rather than a universal verdict. Both routes can produce a model worth putting on the table. If you want the reflections fixed and designed for a chosen view, paint them. If you want the shine to respond to the room and you would rather guide reflections than draw them, use metallic paint.