Quick answers
Question | Short answer |
|---|---|
How do you paint a D&D miniature? | Clean and prime it, basecoat the main colors, wash the recesses, highlight the raised edges, then seal it. |
What should a total beginner paint first? | A spare or rank-and-file figure, so the lesson does not cost you a favorite model. |
What is the easiest method? | Prime in one color, basecoat two or three colors, wash the whole figure once, drybrush one lighter tone, then seal. |
Do you need a starter kit? | No. Primer, a few acrylic paints, two brushes, a palette, and varnish cover the same ground. |
Which paint should you use? | Water-based acrylic hobby paint. Craft acrylics work, but they need more thin coats on small detail. |
Where should the first money go? | A brush that feels good in your hand, then primer and varnish. Airbrushes and big paint collections can wait. |
The five-step paint job, start to finish
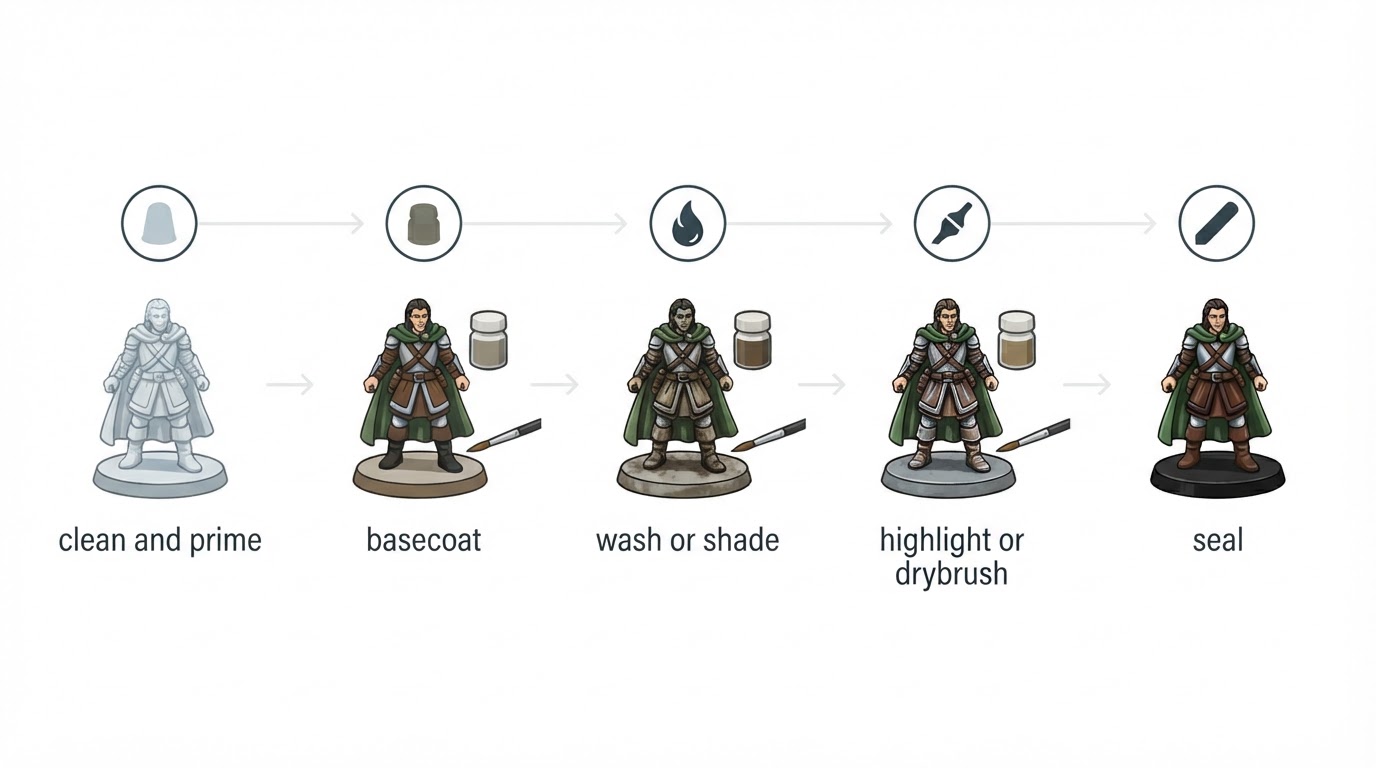
Clean and prime the figure, lay down its base colors, run a wash into the recesses, lift the raised edges, then seal the paint with varnish. Every guide to painting D&D miniatures is a variation on those five moves. The details change with the model and the materials; the order does not, because each step works on the surface the last one left behind. Five moves, in that order, take a bare plastic figure to something you can put on the table without apologizing for it.
1. Clean and prime the figure
Scrub the mold release off in warm soapy water, let the model dry completely, then give it one thin, even coat of primer.
New miniatures come out of the mold with a release agent on the surface, and paint beads on top of it instead of gripping. A soft toothbrush, a drop of dish soap, and lukewarm water are enough — warm enough to cut the grease, not hot enough to soften thin parts. Let the model air dry somewhere it will not collect dust.
While it dries, look for mold lines and flash: the thin fins of plastic left where the two halves of the mold met. Scrape them gently with the back of a hobby knife blade or the edge of a fingernail. You are removing a ridge, not carving detail, so light passes beat force.
Primer gives the paint something to hold on to. A spray primer applied in short passes — start the burst beside the figure and sweep across it, one light coat rather than one wet one — is the fastest route. If a rattle can is not practical, brush-on primer does the same job more slowly. Primer color sets the mood: gray shows contrast, white keeps colors bright, and black hides the spots you miss.
2. Basecoat the main colors
Block in flat, opaque color over each area, using two thin coats instead of one thick one.
Thin the paint on a palette with a little water until it flows like milk, load the brush lightly, and paint each area in smooth single-direction strokes. Two thin coats cover better than one heavy coat, and they leave the sculpted detail intact where a thick layer would fill it in. Do not judge a coat while it is wet — acrylics look patchy until they set.
Paint the biggest, most recessed areas first and the most exposed details last: flesh, then clothing and armor, then straps, pouches, weapons, and finally any facial detail. Working from the inside out keeps your brush away from finished areas, which means fewer touch-ups.
3. Wash or shade the recesses
Flow a thin, dark wash over an area and let it settle into the recesses, where it draws the shadows for you.
A wash is thin paint with low surface tension. Brushed over a basecoated area, it runs into the gaps between plates, around rivets, and under folds of cloth, then dries there as a darker version of the color underneath — the closest thing this hobby has to free detail. Loading the brush lightly and letting the paint do the work is the habit that separates an even coat from a blotchy one.
Two practical notes. First, do not let the wash pool on flat surfaces; touch the pooled liquid with a dry brush and wick it away before it dries, or it leaves a stain. Second, expect a wash to shift the tone of everything it touches and to dry with a slight shine. That is normal: the varnish at the end flattens the finish again.
4. Highlight or drybrush the raised areas
Drybrush a lighter tone across raised texture, or draw a thin line of lighter paint along the sharpest edges.
Drybrushing is the fastest way to add contrast. Load a stiff, dry brush, wipe almost all of the paint onto a paper towel, then drag the brush lightly across the model so only the raised points catch pigment. The bristles should feel nearly empty; if the figure looks dusty or chalky, too much paint was still on the brush. Work in one direction and reload often.
Edge highlighting is the fine version of the same idea. Thin your lighter paint, load only the tip and side of a detail brush, and run it along the sharpest edges: armor rims, the edge of a cloak, the ridge of a helmet. You do not have to trace every line — picking out the edges the eye lands on does more than covering the whole figure evenly.
5. Seal the paint
One or two thin coats of matte varnish lock the paint down so normal handling does not wear it off.
D&D miniatures get picked up, packed in foam, and set down on the table, and paint that looks fine on a shelf chips at the corners within a few sessions. Matte varnish is the layer that prevents it. Apply it in thin passes under warm, dry conditions, exactly as carefully as you primed: a heavy coat of varnish clouds the paint underneath just as a heavy coat of paint fills in detail. Varnish also takes the shine off the wash and matches every area to the same matte finish.
What a first miniature actually requires
A small set of acrylic paints, two brushes, primer, and matte varnish will carry you through the whole workflow; a starter kit is a convenience, not a requirement.
A starter kit simplifies the first purchase, but most kits are built around one brand's paint range and you will outgrow parts of it. Bought individually, the floor is low:
- Primer. A rattle can or a bottle of brush-on primer, for the reason in step one.
- Acrylic paint. Water-based hobby acrylics are made to be thinned and to sit in small detail. Craft acrylics work, but their pigment is coarser and their coverage is thinner, so they need more coats on a miniature. If craft paint is what you own, paint a test figure first, then add hobby colors only where the coverage frustrates you.
- Two brushes. A larger brush for basecoats and drybrushing, and a fine one for detail and edges. Two brushes you enjoy using beat a cheap set of ten.
- Something to hold the paint. A plastic lid or a ceramic tile works as a palette. A wet palette keeps acrylics from drying out mid-session and is the one early convenience worth considering.
- Varnish. Matte varnish closes the job.
Everything else — airbrushes, magnifiers, display cases, dozens of colors — can wait until the process itself stops being the hard part.
The easiest way to paint D&D miniatures
Prime in one color, basecoat two or three colors, wash the whole figure once, drybrush one lighter tone, then seal it.
That is the shortcut through the five steps, and it produces a figure that reads clearly on a tabletop. Keep the palette small: one color for flesh, one for the main clothing or armor, one for a secondary detail, and a wash darker than any of them. Skip the eyes on this pass — a face painted with flesh, a wash, and a careful re-highlight of the brow reads better at table distance than a pair of eyes painted too early.
Painting your first figure is more about brush control and patience than about supplies, so treat the shortcut as the standard and the full five-step version as the upgrade.
Mistakes that make a first miniature look worse than it is
Most disappointing first miniatures come from thick paint, an overloaded brush, a washed-out drybrush, and no varnish — not from a lack of talent.
Each of those has a simple fix:
- Paint straight from the pot. Acrylics out of the bottle are thicker than the surface needs. Thin them on a palette first, every time.
- Judging a coat while it is still wet. Wet acrylic changes appearance as it dries. Wait, then decide.
- Loading the brush to the ferrule. Paint belongs in the belly of the bristles, not in the metal. Paint that dries in the ferrule stiffens the brush and creeps into the joint.
- Drybrushing with a wet brush. Moisture smears pigment instead of catching high points. Wipe until the paper towel barely shows color.
- Stopping at the wash. A wash alone leaves a figure flat and shiny. The highlight and the varnish are what make the depth read.
- Repainting the same spot forever. A miniature is finished when it reads clearly from arm's length, not when it survives inspection under a magnifier. Put it down at that point and start the next one.
Beginner questions, answered
Most first-figure questions have short answers.
Do you have to assemble the model before priming? Assemble it first in almost every case, then clean the mold lines and prime the whole figure. The exception is a piece that covers a large area — a shield across the chest, a cape — which is easier to paint separately on a temporary holder and glue on afterwards.
Do you need special miniature paint brushes? No, but you do need two that hold a point. A cheap set of ten splits, sheds, and curls; one larger brush and one fine brush that keep their shape will outlast it. Rinse them in water and reshape the tip after every session.
Do you have to use a wash? It is optional, but it is the single step that improves a beginner's result the most for the least effort. If you skip it, you will be painting the shadows in by hand.
Do you have to paint the base? The base is part of the presentation and the easiest part to finish. A neutral brown or gray over the top, a solid dark color around the rim, and the figure looks deliberate instead of unfinished.
Can you strip paint off a miniature and start over? Yes. Acrylic paint can be removed from most metal and plastic figures with a soak in a stripping solution, a soft brush, and patience. The mistake is rarely permanent.
How do you know when a miniature is done? When it reads clearly at arm's length. Step back, look at it next to another figure, and if the shapes and colors separate at that distance, stop.
Keep learning
The fastest way to improve is to finish another figure and compare the two.
Tactile Hobby collects its beginner-focused painting material on one Miniature Painting topic page, built around step-by-step starter tutorials and a deliberately minimal approach: as few steps as possible, so you get a result to build on.
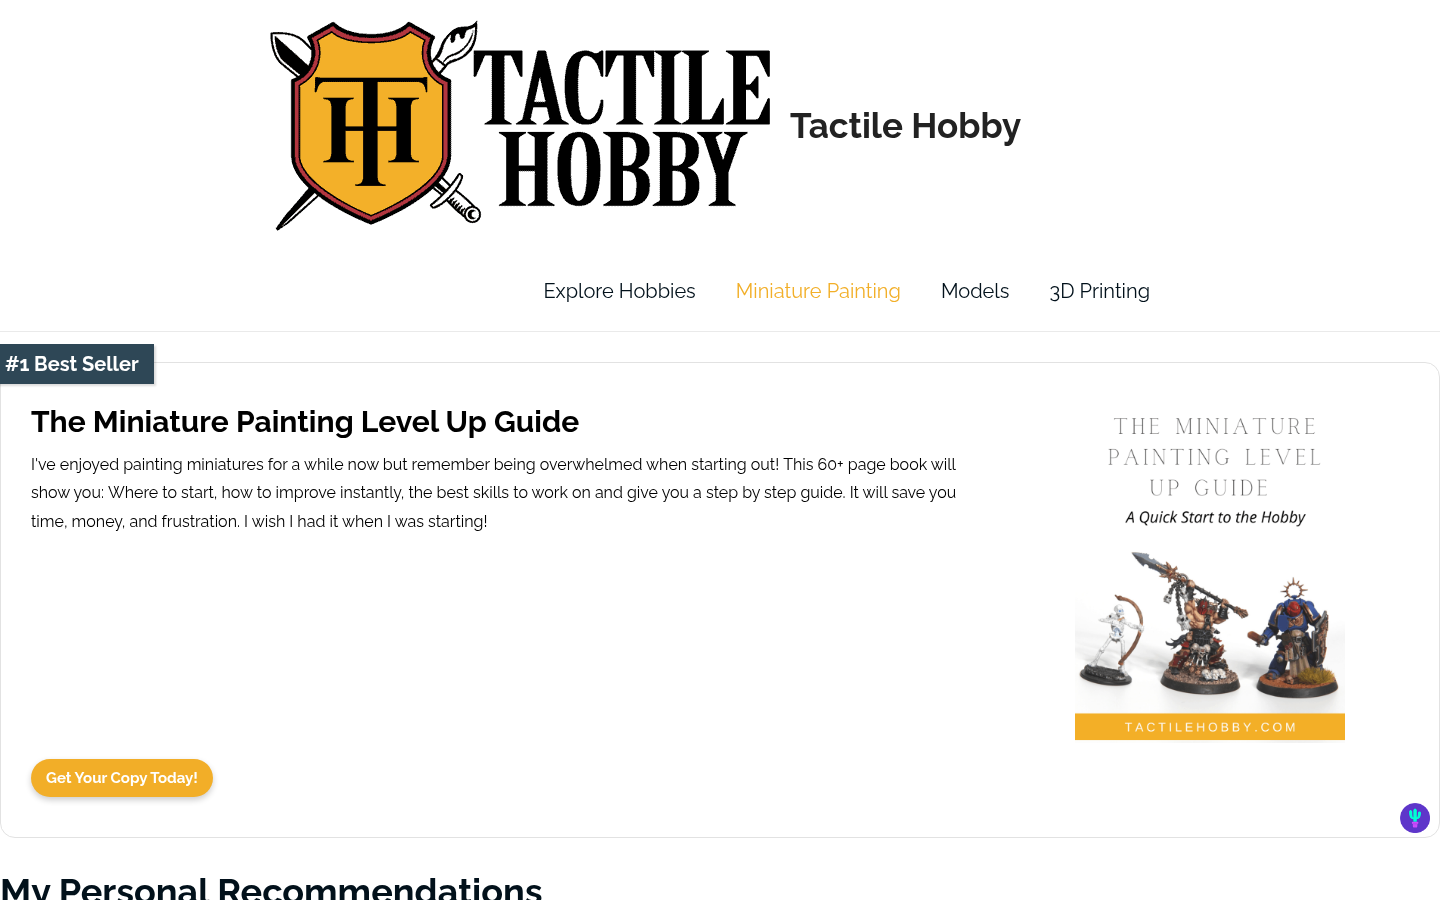
First screen of the Miniature Painting topic page (https://tactilehobby.com/hobbies/miniature-painting/): recommended resource block featuring 'The Miniature Painting Level Up Guid
Every technique in this article gets easier the second time, so paint the five steps on a spare figure and let the next model be the one where the wash goes where you meant it to.