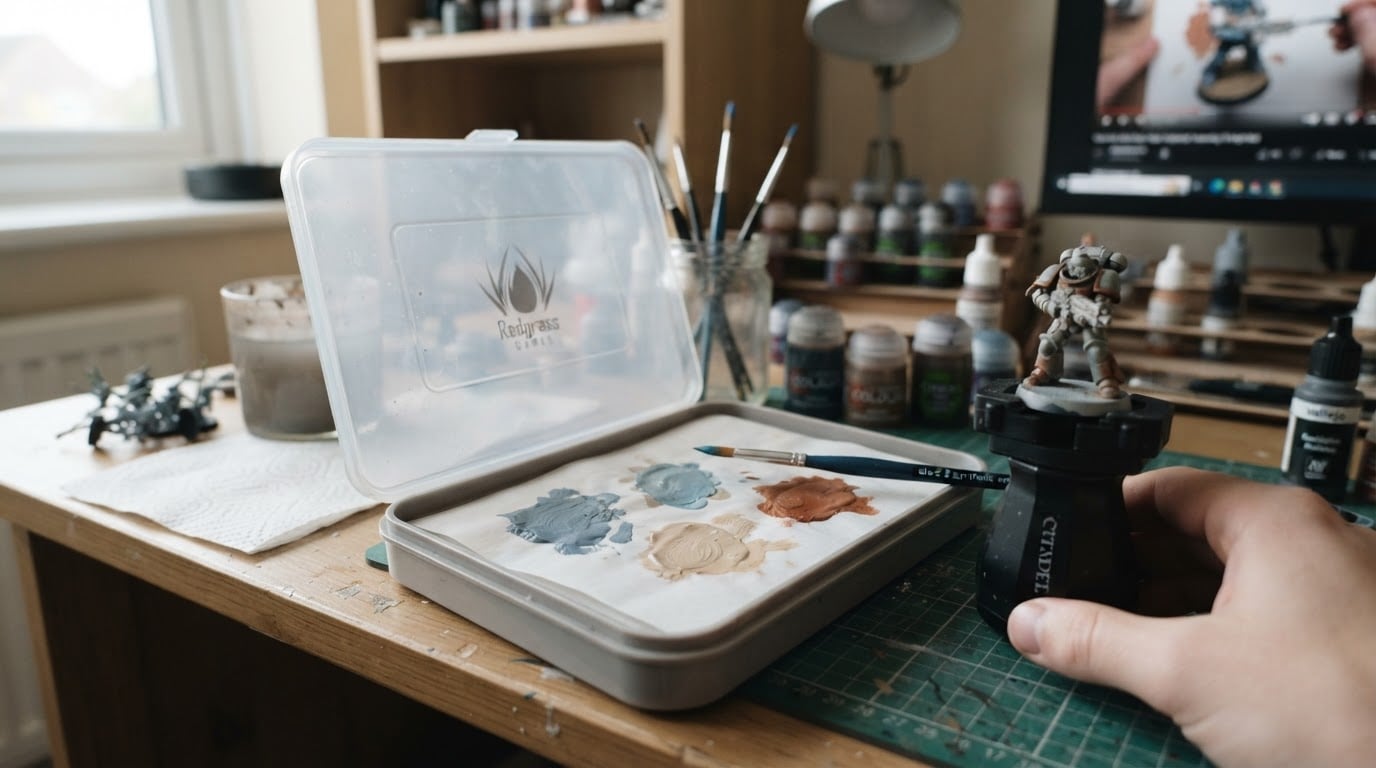
What zenithal priming actually is
Zenithal priming is a multi-tone priming method, not a single flat color. You start with a dark primer over the whole miniature, then spray one or more lighter primers from above so raised surfaces catch more light and recesses stay darker.
The word zenithal just means “from the zenith” — the light source is imagined as overhead, the way a table lamp or the sun usually hits a model on the table. Black (or another dark tone) becomes your shadow map. Grey or mid-tone fills the mid-values. White or off-white hits the tops of shoulders, helmets, noses, and edges that face the sky.
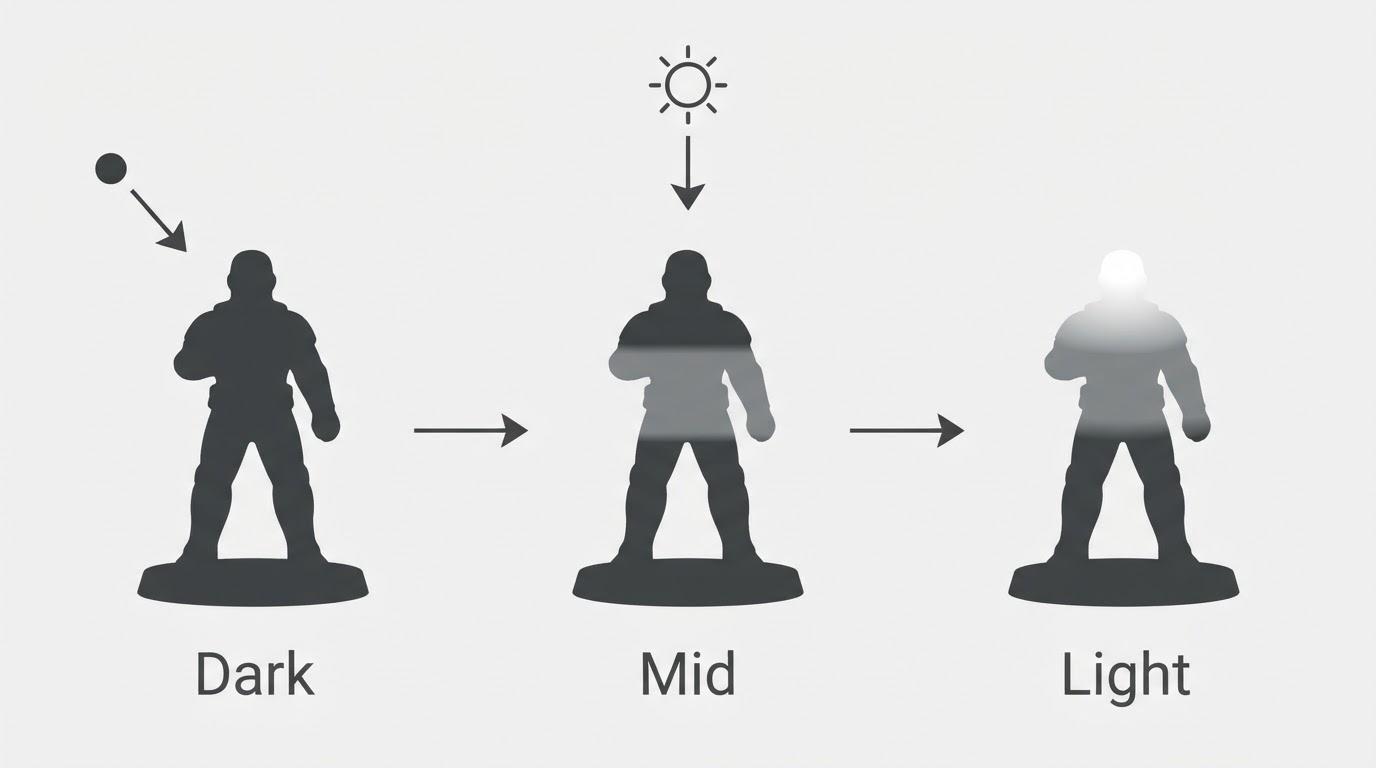
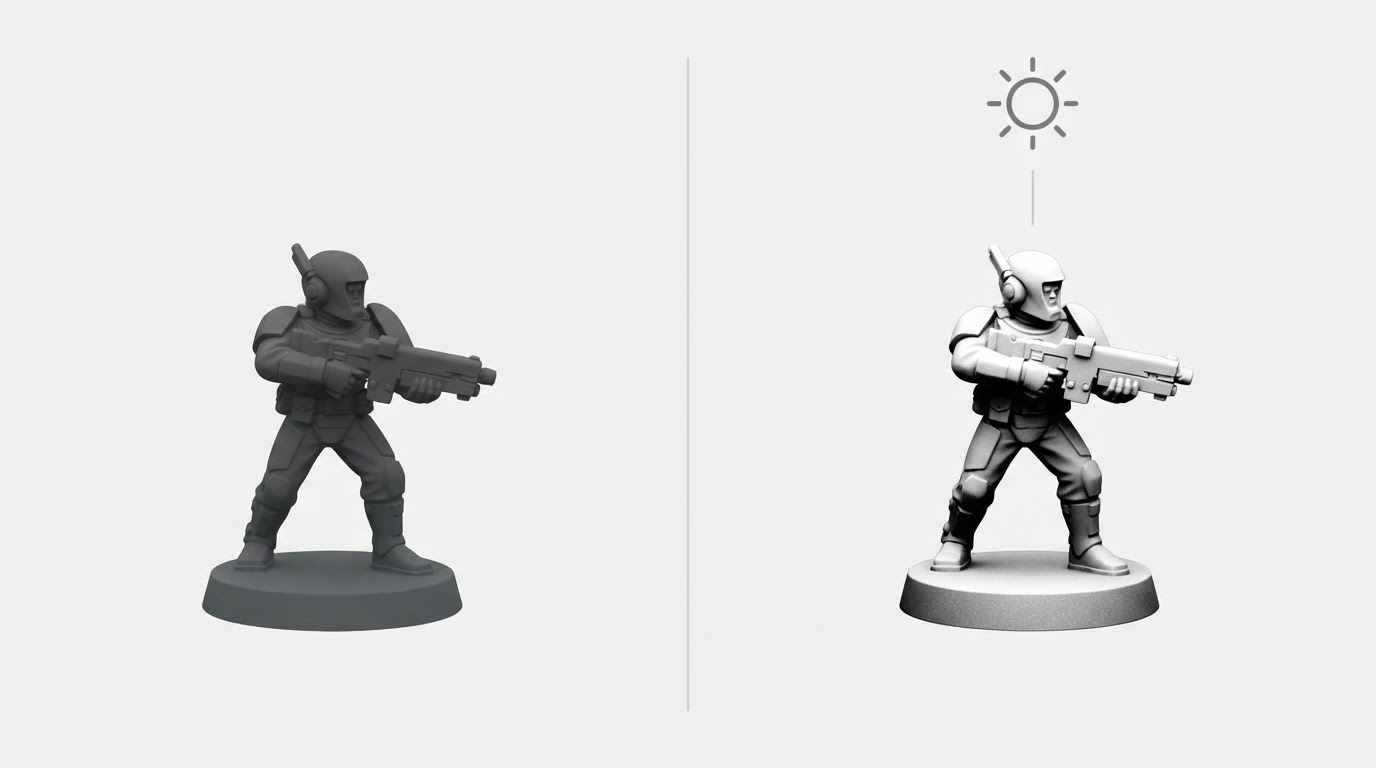
When you look at a finished zenithal mini before any color, you should already see a readable light-and-shadow pattern. That pre-shading is the whole point: paint later can sit on top of that map instead of fighting a flat grey or pure black base.
Why painters use it
Painters reach for zenithal priming for a few practical reasons:
- Built-in value map. You can see where shadows and highlights “want” to live before you mix a single basecoat.
- Faster volume. Transparent, glaze-friendly, or contrast-style paints can pick up the underlying gradient and look more three-dimensional with less brush work.
- Detail readability. Edges and raised surfaces pop against dark recesses, which helps when you are still learning where to place midtones.
- More forgiving base for some styles. If you like sketching with thin coats or slapchop-style contrast over a strong value underpainting, zenithal gives you that underpainting in one priming session.
It is not magic. Opaque basecoats can cover most of the effect. Heavy, chalky primer layers can hide detail. And if you hate rattle cans and do not own an airbrush, the setup cost may outweigh the gain on a single model. The technique earns its keep when you want a head start on light and shadow — not because every mini must be primed this way.
What you need before you start
You do not need a full studio. You do need a way to lay down even coats and a place that is safe for spray fumes.
Core kit
- Dark primer (black is classic; deep brown or dark grey also works)
- Lighter primer for the zenith pass (white, light grey, or bone)
- Optional mid-tone grey if you want a three-step gradient
- Spray cans, an airbrush, or both
- A well-ventilated area outdoors or a spray booth with appropriate filtration
- Gloves, eye protection, and a mask rated for what you are spraying
- A stick, cork, or holder so you can rotate the mini without fingerprinting wet primer
Safety first (this is not optional)
Spray primers put solvent and pigment into the air. Work outside when you can, stand upwind of the spray, and keep kids, pets, and open food away from the area. Let minis dry fully before bringing them indoors. If you use an airbrush indoors, treat ventilation and filtration seriously — “a little bit of primer mist” still adds up. If a product label lists curing time, flash-off time, or PPE requirements, follow that label over any blog tip, including this one.
How to do zenithal priming with spray cans
Spray cans are the beginner-friendly path for many painters. The workflow is simple; the skill is even coats and distance.
- Prep the mini. Clean mold release if needed, assemble what you can prime as one piece, and mount it on a stick or cork.
- Shake the can thoroughly. Cold cans spit. Warm the can gently in your hands if the day is cold, and shake longer than you think you need.
- Lay the dark base. Hold the can roughly 20–30 cm (about 8–12 inches) away and use light, moving passes. Cover the whole miniature, including undersides and deep recesses. You want opaque coverage without flooding detail.
- Let it set. Give the dark coat enough time to dry to the touch. If you blast white onto wet black, you get mud instead of a gradient.
- Zenith pass from above. Angle the mini so the “top” faces the can. Spray lighter primer mostly from overhead and slightly toward the front if that matches how the model will be viewed on the table. Keep the can moving. Tops of heads, shoulders, and raised edges should lighten; deep folds and undersides should stay darker.
- Optional mid-tone. Some painters spray a grey band between black and white for a smoother step. Others skip straight from black to white for stronger contrast.
- Check the silhouette. Hold the mini under a normal desk light. If the light map reads clearly from arm’s length, you are done. If everything is still one flat tone, your light coats were too timid or too even from all angles.
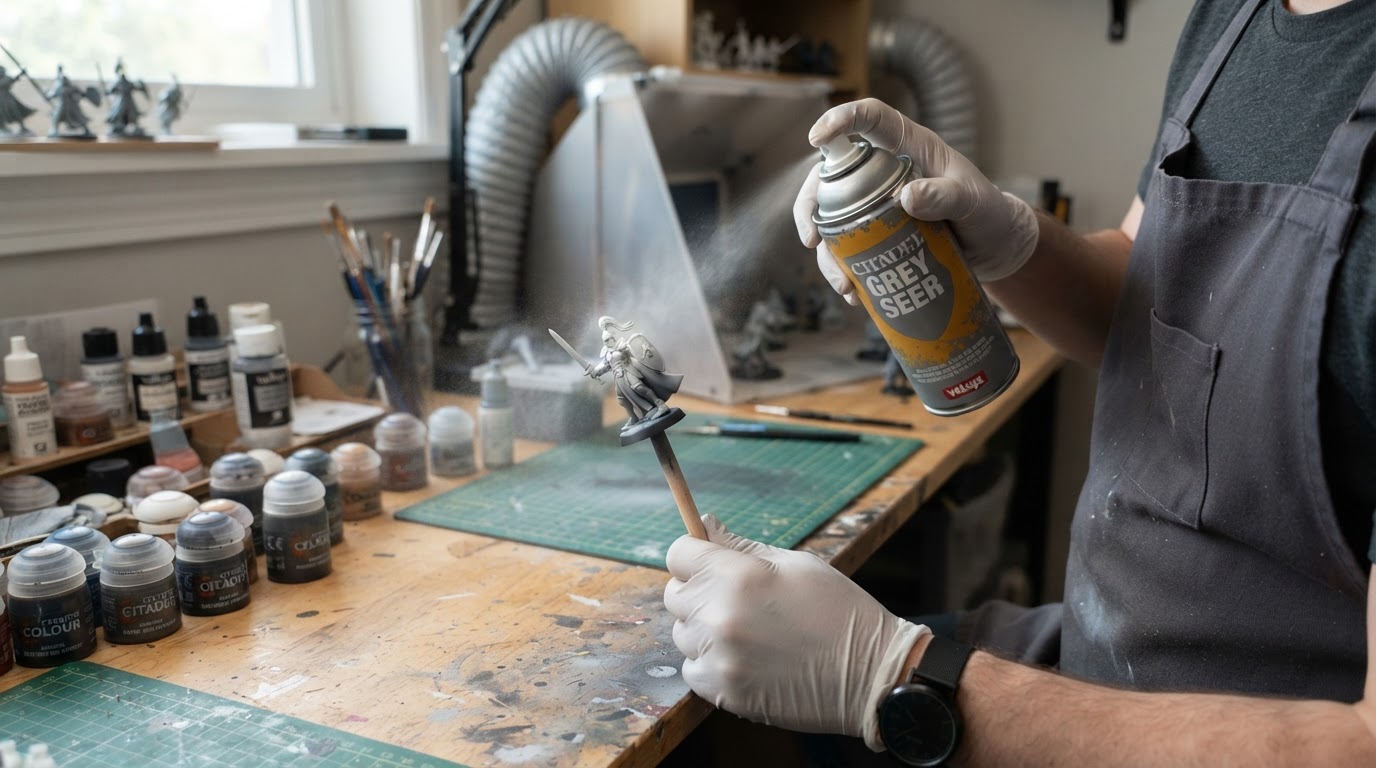
Can-specific tips
- Short bursts beat long, wet streams.
- Start and finish the spray off the model so the first and last sputter miss the miniature.
- If humidity is high or the can is cold, expect more texture and spatter — wait for better conditions when you can.
- Prime in thin layers. You can always add another light pass; you cannot easily unclog a filled eye socket.
How to do zenithal priming with an airbrush
An airbrush gives finer control over the gradient and uses less paint on small batches, but it adds cleanup and a learning curve.
- Dial in thin primer. Follow your primer’s thinning guidance. Airbrush primer should atomize smoothly without spider-webbing or dry tip spatter.
- Dark base all around. Rotate the mini and cover every surface. Keep the airbrush farther back for a soft, even coat.
- Build the zenith gradually. Switch to your lighter tone. Come from above in light passes. You can feather the transition more gently than a rattle can usually allows.
- Control the hotspot. Pure white on only the highest points often looks better than bleaching the whole upper half. Think “desaturated light from a ceiling lamp,” not “dipped in white paint.”
- Clean immediately. Primer left in a needle is tomorrow’s clog.
If you only own an airbrush for basecoating later, you can still zenithal with cans and save the airbrush for color. The reverse also works: can for the dark shell, airbrush for a soft white highlight. Mix tools if it helps you finish the army.
Slapchop and other common variations
Classic two-tone zenithal is dark all over, light from above. That is the core technique.
Three-tone zenithal adds a mid-grey between dark and light. It softens the jump and can look more natural under semi-opaque paints.
Slapchop-style workflows usually start with a strong zenithal (or a drybrushed light pass over black) and then use contrast, speed paint, or other translucent paints so the value map shows through. The brand names change; the idea does not: dark recesses, light ridges, translucent color on top.
Drybrush zenithal substitute is useful when you cannot spray. Prime black (or dark), then drybrush grey and white from above with a large, mostly dry brush. It is messier and less even than spray, but it teaches the same light logic and needs no can.
Underpainting for specific light directions pushes the light source off-center — for example, a strong side light for a dramatic display piece. Tabletop armies usually stick to overhead light so units match when ranked up.
Zenithal plus contrast or glaze stacks is where many people fall in love with the method. Thin color preserves the underpainting. Heavy opaque layers erase it. Choose your paint style on purpose.
Mistakes and fixes
Mistake: chalky, thick primer.
Fix: Sand carefully if safe for the material, or strip and restart on a test model. Next time, lighter coats and better distance.
Mistake: light sprayed from every angle.
Fix: You flattened the map. Reintroduce dark into recesses with a careful black glaze or a targeted dark spray from below, then redo a restrained zenith pass.
Mistake: white only on the front.
Fix: That reads as a headlamp, not overhead light. Add light from true top and slightly back so shoulders and head crowns catch it.
Mistake: priming over greasy plastic or resin.
Fix: Clean first. Primer on mold release peels. Warm soapy water and a soft brush (or the cleaner your material allows) save you later grief.
Mistake: painting opaque basecoats that bury the zenithal.
Fix: That is not a failed prime — it is a style choice. If you wanted the map to show, switch to thinner coats, glazes, or contrast-style paints. If you wanted a solid color block, keep the opaque base and treat zenithal as optional next time.
Mistake: rushing dryness between coats.
Fix: Let layers set. Wet-on-wet primer turns into texture you did not ask for.
Mistake: ignoring safety “just for one mini.”
Fix: Do not. One mini still means airborne primer. Step outside, mask up, and give yourself room.
Is zenithal priming worth it for beginners?
Worth it when:
- You are painting more than a one-off display mini and want a repeatable light map.
- You like contrast paints, inks, glazes, or other translucent layers.
- You struggle to “see” shadows while basecoating and want training wheels.
- You already own primers in two values, or you are buying primer anyway.
Skip or postpone when:
- You are still learning to assemble and basecoat and do not want extra variables.
- You only have one primer color and no way to drybrush a substitute.
- You plan heavy metallic or fully opaque coverage that will hide the effect.
- You cannot ventilate spray safely right now — brush-on primer and a later drybrush zenithal is the better call.
A practical beginner path: zenithal your next infantry squad with cans, then paint half with your usual opaque method and half with thinner or contrast-style coats. Compare side by side under the same light. Your eyes will tell you whether the extra priming step is buying real results for your style — not someone else’s Instagram.
A simple completion standard
You are done priming when all of the following are true:
- No bare plastic, resin, or metal shows through the dark base in recesses you can see at arm’s length.
- The lightest values sit on upward-facing surfaces, not randomly on the sides.
- Detail is still sharp — rivets, eyes, and fabric folds are not filled.
- The mini reads as three-dimensional in grey-scale before any color.
- The surface is fully dry and ready for the paint system you actually use.
If step 4 fails, adjust the zenith passes. If step 3 fails, your coats are too heavy. If step 1 fails, your dark base is incomplete. That checklist beats chasing a perfect recipe.
Bottom line
Zenithal priming is a pre-shaded underpainting applied with primer: dark where shadows live, light where overhead light would hit. Use spray cans for speed, an airbrush for control, or a drybrush stand-in when spray is not an option. Pair it with paint styles that let value show through if you want the full payoff, and treat safety and thin coats as non-negotiable. For a beginner deciding whether the effort is worth it, run a small side-by-side test on real models — that single experiment answers the question better than any absolute rule.