The short version
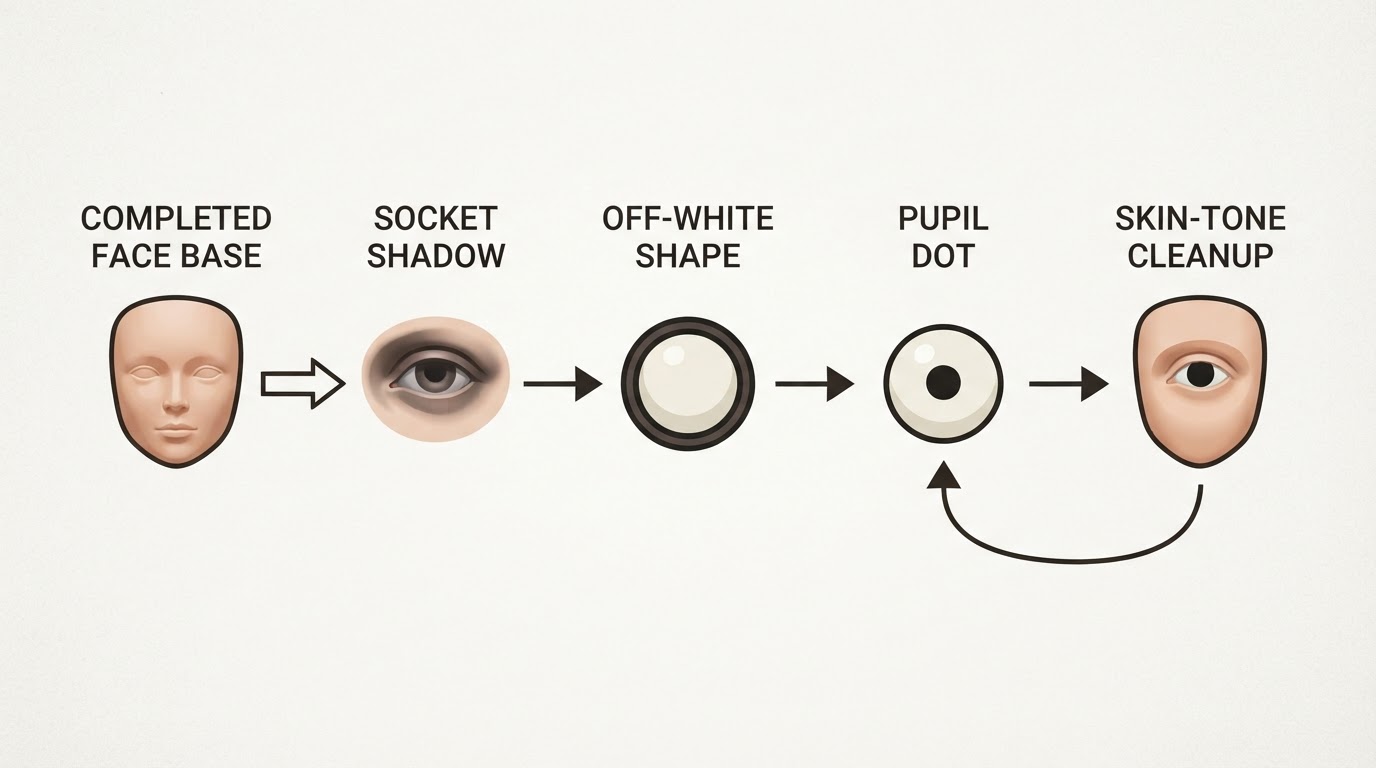
Eyes are the smallest detail on a 28-32 mm figure, and the fastest route to a cross-eyed look is overpainting them. Reaper Miniatures notes that one slip of the brush can turn a warrior into a cross-eyed caricature (Reaper's eye tutorial). The repeatable order is face base, socket shadow, a small off-white eye shape, one dark pupil dot per eye, then cleanup with the surrounding skin tone.
Why miniature eyes go cross-eyed
Three mistakes cause most cross-eyed or startled faces:
- The white is too large. A big white circle lets the pupil slide, so it never looks placed.
- The pupils sit in different positions. A small offset reads as a figure looking two ways at once.
- The white is too bright. Pure white glares at this scale, and every wobble in its edge shows.
Painting the eyes last is a fourth cause: with the skin already finished there is no margin for cleanup. The Citadel Colour masterclass on Warhammer Community recommends painting the eye early so the flesh tone can fix its size later (Warhammer Community).
How much eye detail does this face need?
Situation | Detail level | What to paint |
|---|---|---|
Horde figures, helmets, deep hoods | Suggested only | A shade or Contrast wash over the skin base |
Typical 28 mm face with a defined eyeball | Minimal | Dark socket, off-white shape, one dark dot |
Display piece, clean sculpt, forward gaze | Full | Off-white, shaped pupil, optional reflection dot |
Figure looking to one side | Direction-led | Minimal, with both pupils shifted the same way |
Small eye in a shallow or rough socket | Suggested only | A thin dark line under the brow; no white |
Warhammer Community's beginner route: thinned Guilliman Flesh over Cadian Fleshtone, plus Reikland Fleshshade around the brow, forms natural shadows where the eye should be.
Step 1: Build the face base and socket shadow
Paint the flesh basecoat and let it dry. Reaper paints the whites right after priming, before the rest of the face, so the later skin coat cleans the eye's edges for free. The eye should sit inside a darker socket: deepen the brow and lid crease with a thin shade and keep the eye centre light.
Step 2: Use off-white, not pure white
Reaper recommends an off-white such as White Leather instead of straight white such as Dragon White, which can be too glaring; save the pure white for the brightest skin highlights. The masterclass agrees: an off-white base stops the eyes looking too bright and hides micro mistakes, naming Celestra Grey, Grey Seer and Corax White. Paint a small almond or thin oval inside the socket, leaving shadow visible above and below it. With acrylic miniature paint, work in two thin layers; thickness is what turns a correction into a mess later.
Step 3: Place one pupil dot per eye
Use a dark colour such as Dragon Black or Walnut. On smaller figures Reaper paints the iris and pupil as a single dot, which is all the illusion needs at 28 mm. Steady the brush by bracing the heel of your brush hand against the heel of your other hand and bring the tip down until the bristles just yield into a round mark. Place the dot slightly above centre so the upper lid overlaps its top and more white shows below. Warhammer Community's intermediate route uses a vertical line of thinned Corvus Black across the full height of the white, which avoids the "caught in the headlights" stare. Whichever mark you choose, check both eyes at arm's length and repaint the one that is off rather than matching the good eye to it.
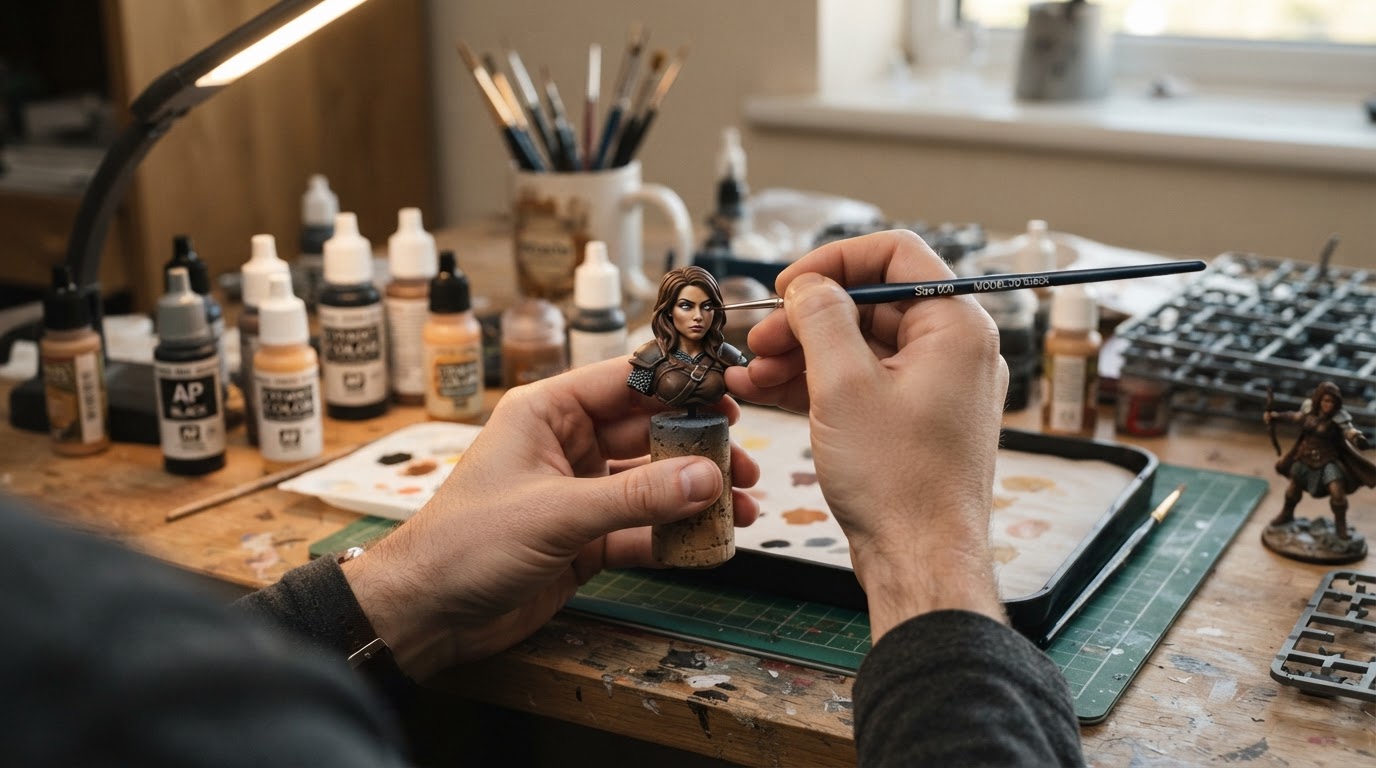
Step 4: Shape the eye with skin tone
Paint the flesh tone around the eye, working from the inner edge outwards and away from the eye. A very thin dark line frames the eye; a thick one gives the face a raccoon look. Reaper lines the lids first - brown for lighter flesh, black for darker skin - then applies base flesh over brow and cheek, which sets the size and shape of the white.
Step 5: Add an optional reflection dot
The masterclass places a tiny White Scar dot in the upper left or right corner of the pupil. If too much paint lands on the eye, cover it with Corvus Black and try again.
How to fix a cross-eyed or drifted eye
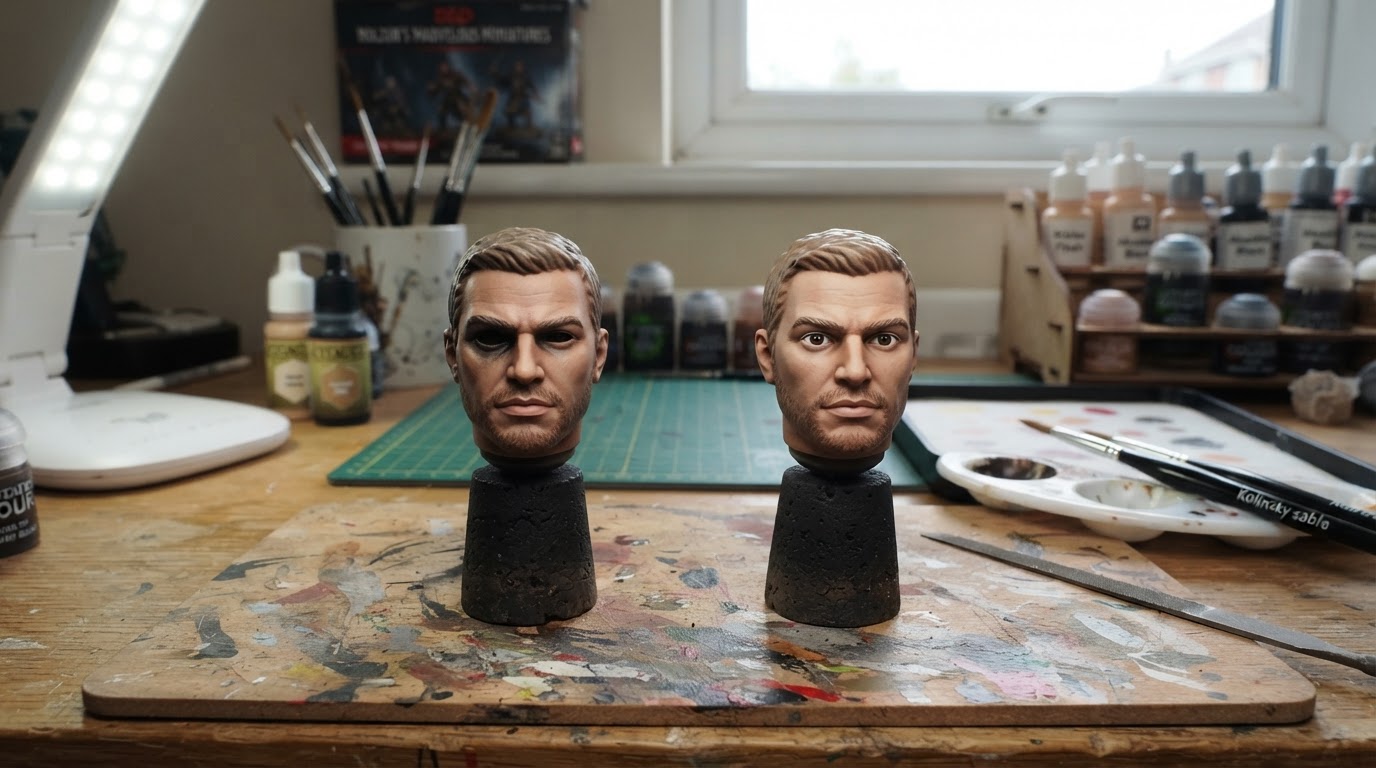
Repaint it. Reaper suggests painting over the dot with your off-white and placing it again, or shaving it with off-white to reshape; for dark-based eyes the masterclass covers the mistake with Corvus Black and starts again. If corrections have built a ridge of paint, let the eye dry and reset the area rather than adding another layer.
When to leave tiny eyes suggested
Many small figures have no room for a white, an iris, a pupil and a highlight without distorting the face, which is why Warhammer Community's beginner advice is to skip the eyes and let shade or Contrast paint do the work. Suggested eyes are not unfinished eyes. Hoods, helmets, deep sockets and rough sculpts all look better with a shadowed socket and, at most, a thin dark line under the brow.
For the rest of the figure, see the separate D&D miniature painting guide; this page stays focused on the eyes.
Honest limitations
- A 28-32 mm eye is near the smallest mark a brush tip can place cleanly, and results depend on the sculpt, brush point, paint consistency and light.
- The deeper the off-white, the more mistakes it hides and the less the eye pops.
- Every correction adds a layer, so a face has a practical limit of attempts before the surface turns uneven.
FAQ
Should I paint the eyes before or after the rest of the face?
Before you finish the skin. Reaper paints the whites early so the later flesh tone cleans up the edges.
Both pupils look centred, so why does the face still look cross-eyed?
Centred on each white is not aligned to the socket. If one socket is carved differently, or a pupil sits lower, the figure looks two ways at once. Check each pupil against its own lid and repaint the eye that is out of position.
Can I skip painting the eyes on small miniatures?
Yes. Shade or Contrast paint over the skin base forms natural shadows; at arm's length the face reads as having eyes without a single white mark. Add a thin dark line under the brow for more definition.