Start with an off-white midtone, not pure white
Painting white armor is mostly a problem of value contrast, not of finding a special white paint. A pure white base coat can still be shaded darker, but it leaves very little room for brighter highlights, and any shading you add has to be placed precisely. Nor does pure white automatically dry chalky; a chalky finish usually comes from how the paint is thinned and built up, not from the white itself. Begin with a light grey or off-white that already reads as white at tabletop distance, then build the effect in three zones: that midtone across the panels, a darker tone kept in the recesses, and the brightest white only on raised edges. That contrast is what makes armor read as white.
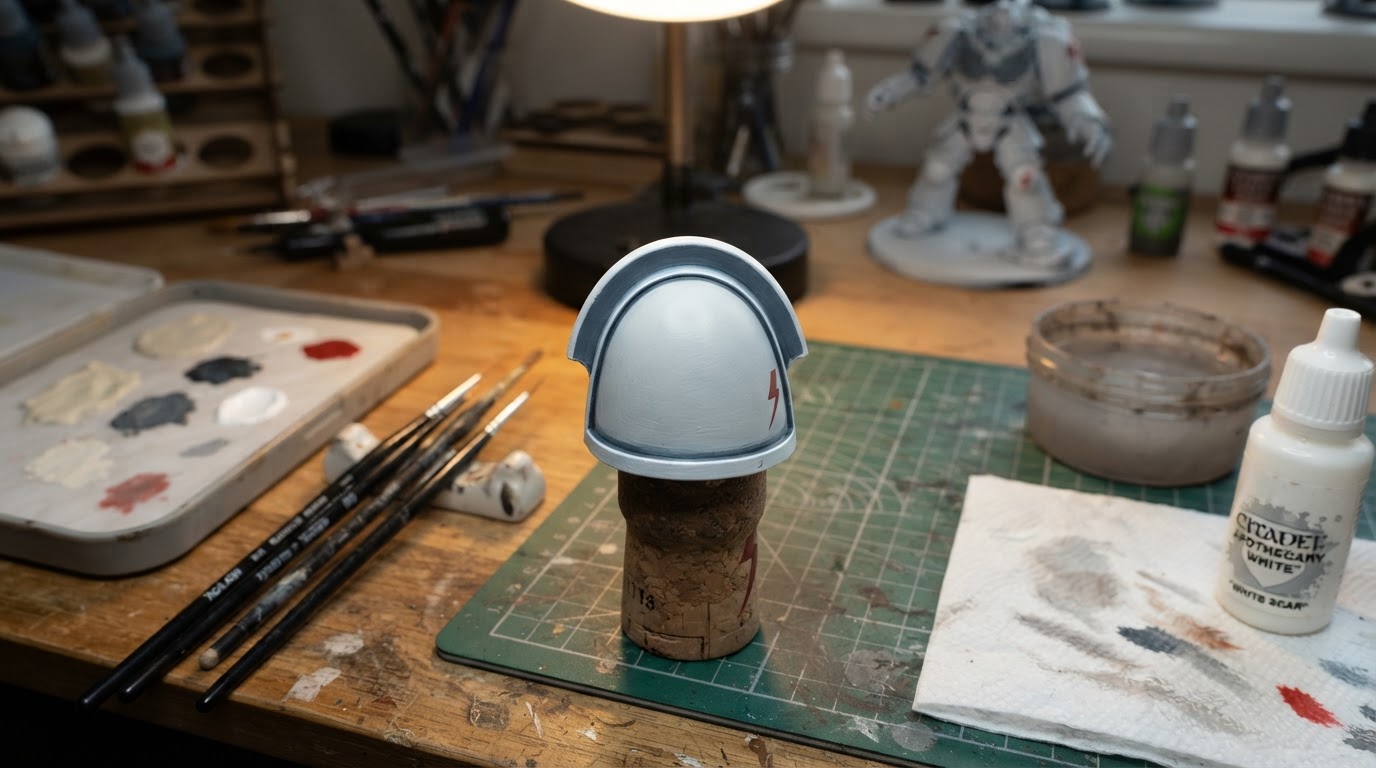
Choose the temperature of the off-white before you commit. A cool, blue-grey off-white suits clean, futuristic armor and white helmets, while a warm bone or ivory tone suits aged, dusty, or ceremonial schemes. Match it to the rest of the palette, especially the trim and any red or gold accents. For white armor in 40k or a White Scars force, a cool off-white is a common starting point, but the model in front of you matters more than the label.
Shade the recesses, not the whole panel
Once the midtone is dry, place a thin dark grey or blue-grey wash only into panel lines, joints, and deep recesses. Use a small brush, work one section at a time, and push the liquid into the recess rather than scrubbing it across the surface. If a pool forms on a flat panel, wick it away with a clean, slightly damp brush while it is still wet. Large smooth armor plates punish an all-over wash because the liquid has nowhere to run and can dry into rings; selective application keeps panels bright and shadows crisp.
Let each pass dry fully before you judge it. If a recess is not dark enough, add a second thin pass; if the panel looks stained, the wash was too broad or too heavy. Our guide to glazes and washes explains why the surface, not the label, should decide whether you flow a wash or place it.
Bring the white back on the edges
After the shade dries, reload the midtone and tidy any wash that crept onto a flat panel. Then switch to a brighter off-white or pure white for the edges. Drag the side of a detail brush along the upper-facing rims, rivets, and trim with thin paint and a light touch. The goal is a narrow catch of light, not a white outline around every plate. Leave the shaded recesses untouched so the panels keep their shape.
The order matters more than the brand. Army Painter's Horus Heresy White Scars tutorial uses Brigade Grey as an off-white base, Strong Tone pushed into selected recesses, a tidy-up pass with more Brigade Grey to soften the gradients, and Matt White for the final highlights. That is maker teaching, not a demonstration we ran, and it is a starting point rather than a fixed recipe.
A scrap-model practice plan
Before you touch the finished model, prime a spare arm, shoulder pad, or scrap miniature. Paint one panel with your chosen midtone, shade one recess, and highlight one edge. Note how the paint covers, how much you thinned it, and how wide the highlight looks at arm's length. If the panel reads grey rather than white, raise the midtone one step; if the highlight disappears, brighten it or make it narrower.
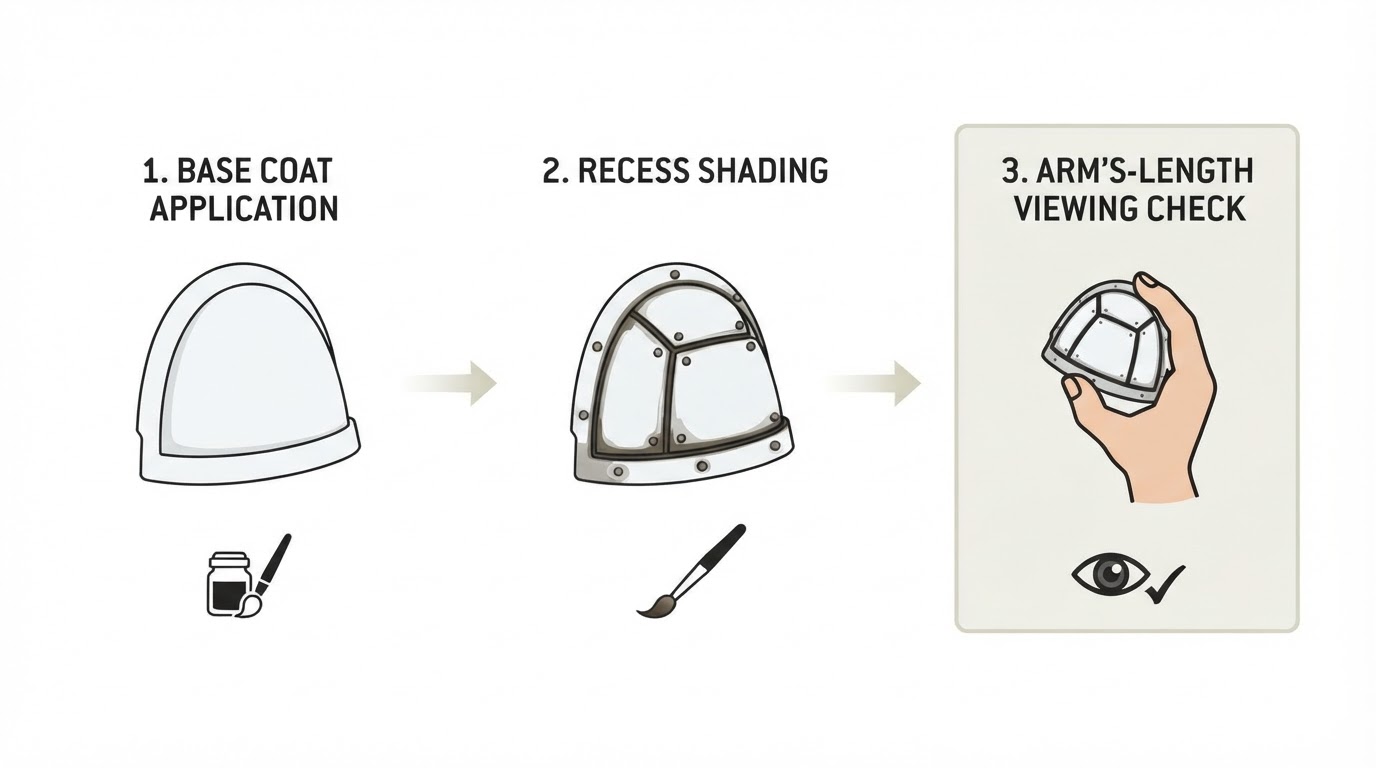
Run the test again with a different dilution if you are unsure. No universal paint-to-water ratio or fixed coat count works for every brand and every pot; the right amount is the one that covers without filling detail on your model. Do not assume a white Speedpaint or any single product will be opaque in one pass. The same caution applies to white helmets, which show pooling and tide marks readily.
Quick fixes for a flat finish
Match the symptom to the fix, then test the change on the scrap part first.
Symptom | Possible cause | What to try |
|---|---|---|
Panels look chalky and detail is soft | Paint may be too thick, built up in too many coats, or drying before it settles | Test a thinner layer on a spare part; if the texture stays, thinning further is not the answer — cut the number of coats and reload the brush less often |
Dark rings or tide marks on flat armor | Wash may have pooled on a smooth panel | Wick excess while wet; shade only the recesses |
Armor reads grey, not white | Midtone may be too dark or the highlight too weak | Raise the midtone one step and brighten the edge pass |
Edges look drawn on | Highlight may be too wide or too thick | Narrow the brush load and use the side of the tip |
Check the model at normal viewing distance, not under a magnifier. If the panels read white, the recesses read darker, and the edges catch the light, the paint job is doing its job. For the base sequence behind these steps, see our beginner guide to painting miniatures with acrylics.