Test One Model Before You Commit the Unit
Treat the test model as a starting reference rather than proof that the scheme will repeat. Paint a single model to the standard you actually intend for the unit, including the shortcuts. If you plan to skip a highlight on the rank and file, skip it on the test too, so the test model represents the real job rather than a showcase version of it.
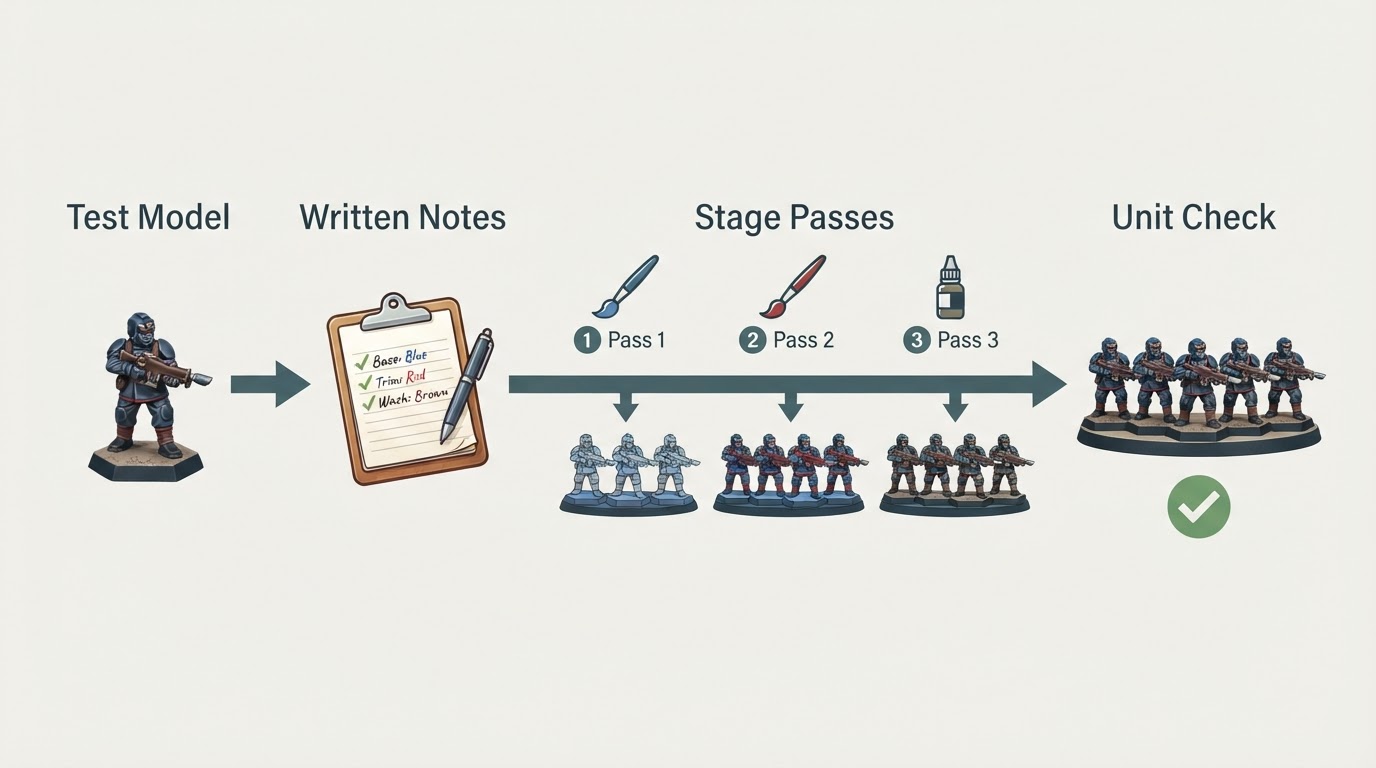
Decide what "finished" means for this unit before the test model is primed. A unit that stops at base coat, wash and one highlight is a different plan from one that includes freehand and edge highlights on every model. Writing that stopping point down keeps the test model from setting a standard the unit cannot meet.
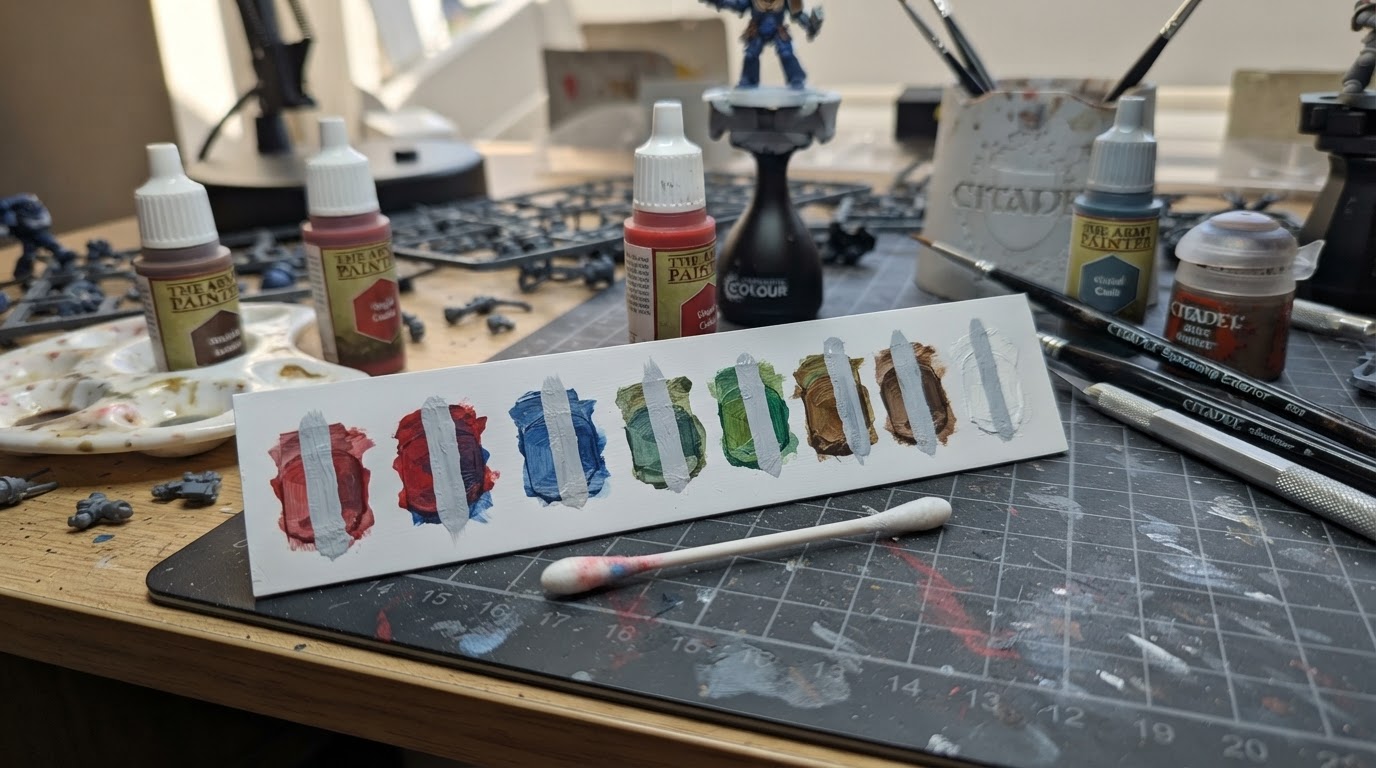
Keep the primer and the paint families the same as the unit will use. Coverage and translucency change with the surface underneath, and a scheme that reads well over one primer may look different over another. Handle each product on its own terms and follow its own recoat and drying instructions. For example, The Army Painter's Arena Challenge painters use Speedpaint over primer on some areas and alongside Warpaints Fanatic on others, depending on the model and the effect they want. That is one maker's example, not a rule for every product, primer or finish.
Write Down What You Actually Did
"Blue armor" is not a plan. Record the exact product line and color name, how much you thinned it, which brush you used, and where it sat in the order of operations. Note the stage you stopped at, because a later session needs to resume at the same point with the same mix. If you are still settling the base-coat, shading and highlight order, this beginner's guide to painting miniatures with acrylic paint walks through those stages in sequence.
A blank color and process note sheet
Copy this table into a notebook or a text file and fill one row per color as you paint the test model.
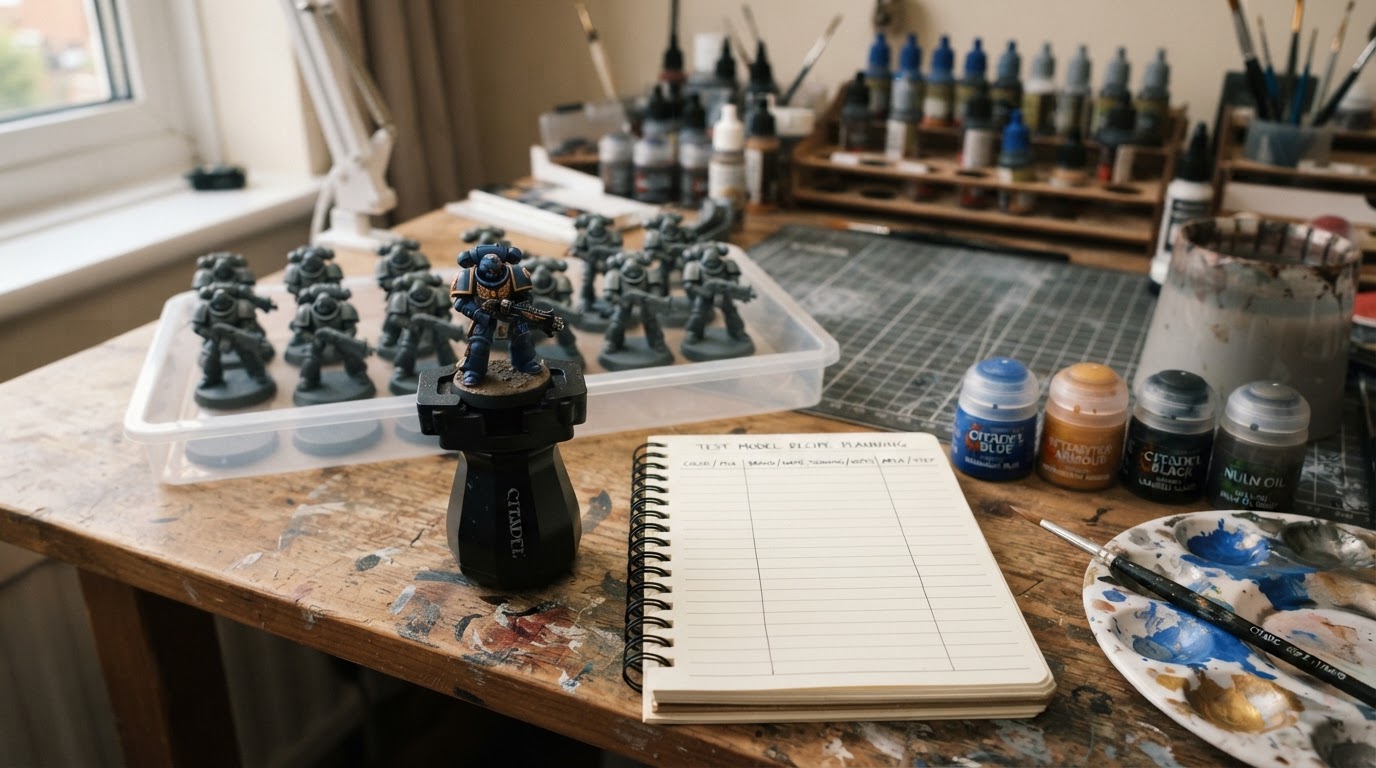
Color or mix | Product line and name | Thinning or handling note | Area on the model | Process step |
|---|---|---|---|---|
|
|
|
|
|
|
|
|
|
|
|
|
|
|
|
Leave the last column for the order of operations, not just the area. "Armor base, then armor layer, then armor highlight" is a repeatable sequence; a list of colors without that order is a shopping list.
Bring the Unit Through in Passes
Once the sheet is filled, run the unit stage by stage: finish the armor on every model, then the skin on every model, then move to the remaining details. Jonathan's Arena Challenge write-up describes that same shape of workflow: basecoat armor and skin, layer and highlight in the same order, then switch to weapons, straps, trousers and shoes with Speedpaint. He reports that the order helped him work quickly; that is his account, not a timed trial or a claim that this sequence is fastest for everyone.
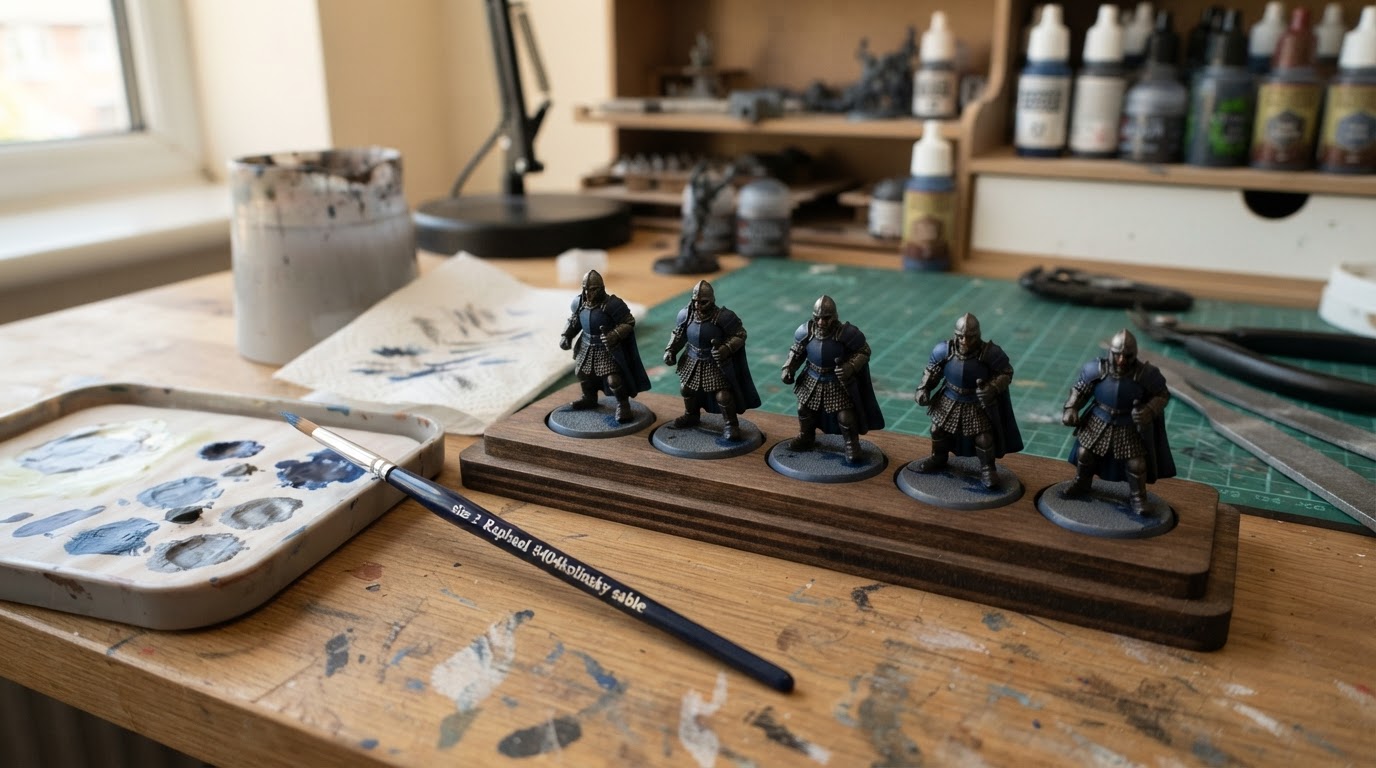
Choose the batch size by the consistency of the mix, how much handling each model needs, and how much time you realistically have in one session, not by a number copied from someone else. Drying between coats is often part of the point of batch painting: while the paint on one model sets, you move to the next, so the unit stays at the same stage. Follow each product's own recoat and drying instructions rather than guessing. If you change models between stages, a handle that fits the base keeps your fingers off fresh paint; this comparison of miniature painting handles covers putty, clamp-style and DIY mounts for different base sizes.
Check the Unit Together, Then Adjust
Line the finished models up under the same light and look at them as a group. Check for missed areas, patchy coverage, and details that drifted between the first and last model. Treat the unit as complete when every model passes the same group check under the same light. A completed sample may still need later adjustment, and that is normal: the test model is a reference to check the unit against, not a guarantee that every model will match it without a correction pass. Decide whether the fix belongs to one model or to the whole unit, and if it is a unit-wide change, apply it across the unit rather than only to the models you noticed first.
When to Split the Batch
Split when a stage stops being repeatable. Common triggers are a mix you cannot match, a detail level that varies across the unit, or a session that keeps getting interrupted. Return to the note sheet, cut the batch to the number of models you can bring through one stage, and keep the recorded order intact. Consistency is easier to hold when the sequence is written down, not when everything is finished in one sitting.