Start With the Metal, Not the Remover
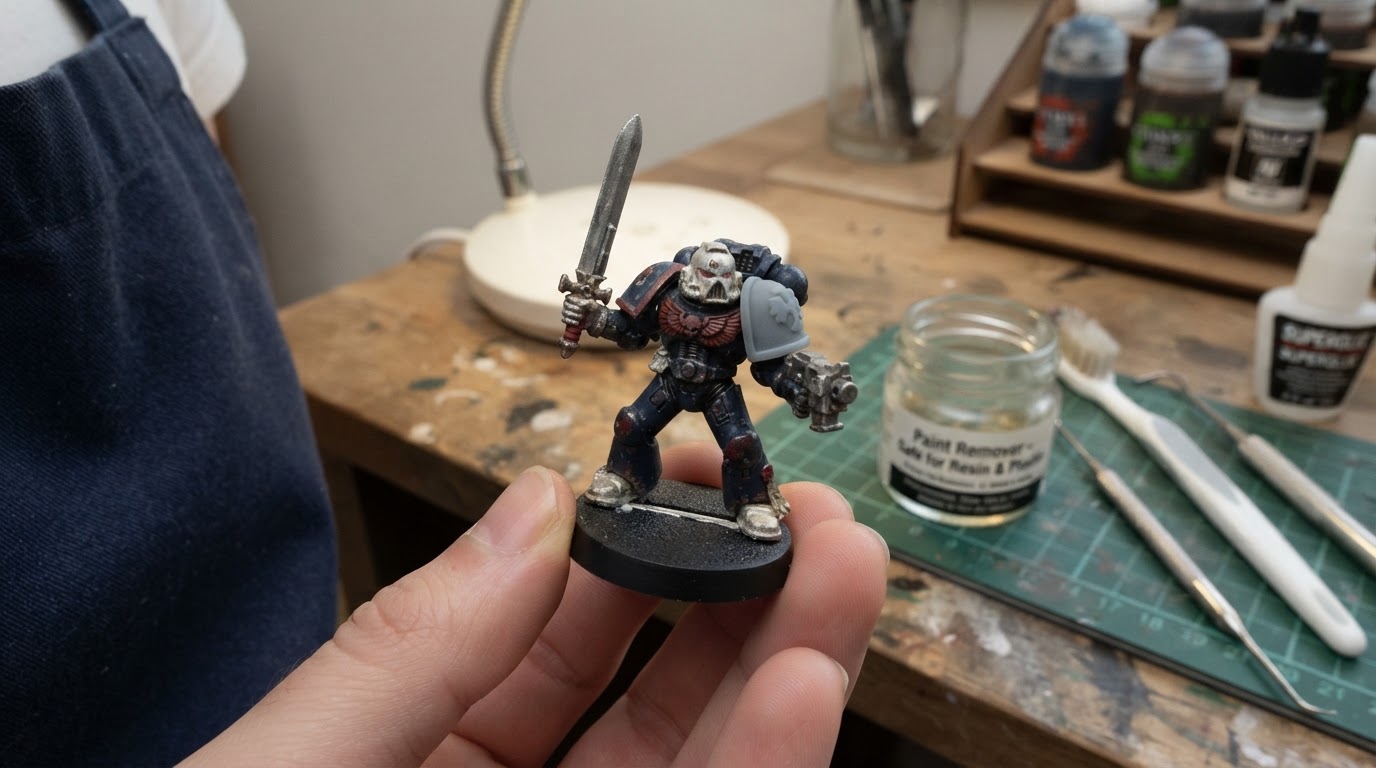
An older metal miniature is often the most forgiving model in the case to rescue, but only if you treat it as a mixed-material object rather than a lump of white metal. The paint sits on cast metal, while the base is frequently glued-on plastic and a conversion may include resin. That applies especially to the oldest Warhammer 40,000 (40k) figures still in service. A remover that is safe for bare metal can still soften a plastic base or a resin detail, and that damage is rarely reversible.
The conservative route this article follows is simple: choose one model-paint remover whose current label confirms it is suitable for every material on the miniature in front of you, test it on a hidden area first, and let the product soften the paint instead of scrubbing it off. Acetone is not part of this route, and neither is leaving the whole model submerged for a long soak.
Identify Every Material Before Anything Touches the Paint
Most guides for how to remove paint from metal miniatures hand you a product list. This route hands you an order of checks instead, and the first check happens before you open a bottle. Work through the miniature part by part under a bright lamp, and note what you actually see.
Bare metal, primer and paint layers
Chipped areas can reveal metal, primer or an earlier coat; color alone does not identify the substrate. If you cannot tell whether a part is bare metal or another material, do not choose a stronger remover based on its appearance. You do not need every trace of sound primer gone to repaint the model; you need an even, clean and non-tacky surface.
The glued plastic base
Look at where the figure meets its base and at the underside. A slotta base or a textured round base is a different material from the model, and the join is usually superglue or epoxy. The base and the glue line are the first places a harsh product will attack, which means they set the limit on what you can use. If the base is plastic, the remover's label has to cover plastic explicitly.
Resin details and conversions
Resin parts — a shoulder pad, a weapon, a head, a cape — can react differently from cast metal to a remover. Texture or a cast seam alone cannot prove which material it is. If any part may be resin, treat the whole assembly as resin-sensitive until you verify it.
Unknown coatings
Some models carry a coating you cannot identify: an enamel layer, a thick varnish, a spray that has yellowed, or a paint job finished by someone else years ago. When the coating is unknown, do not guess and do not escalate to a stronger solvent. A conservative product plus a hidden-area test will tell you more than any assumption.
A Conservative Hand-Stripping Route
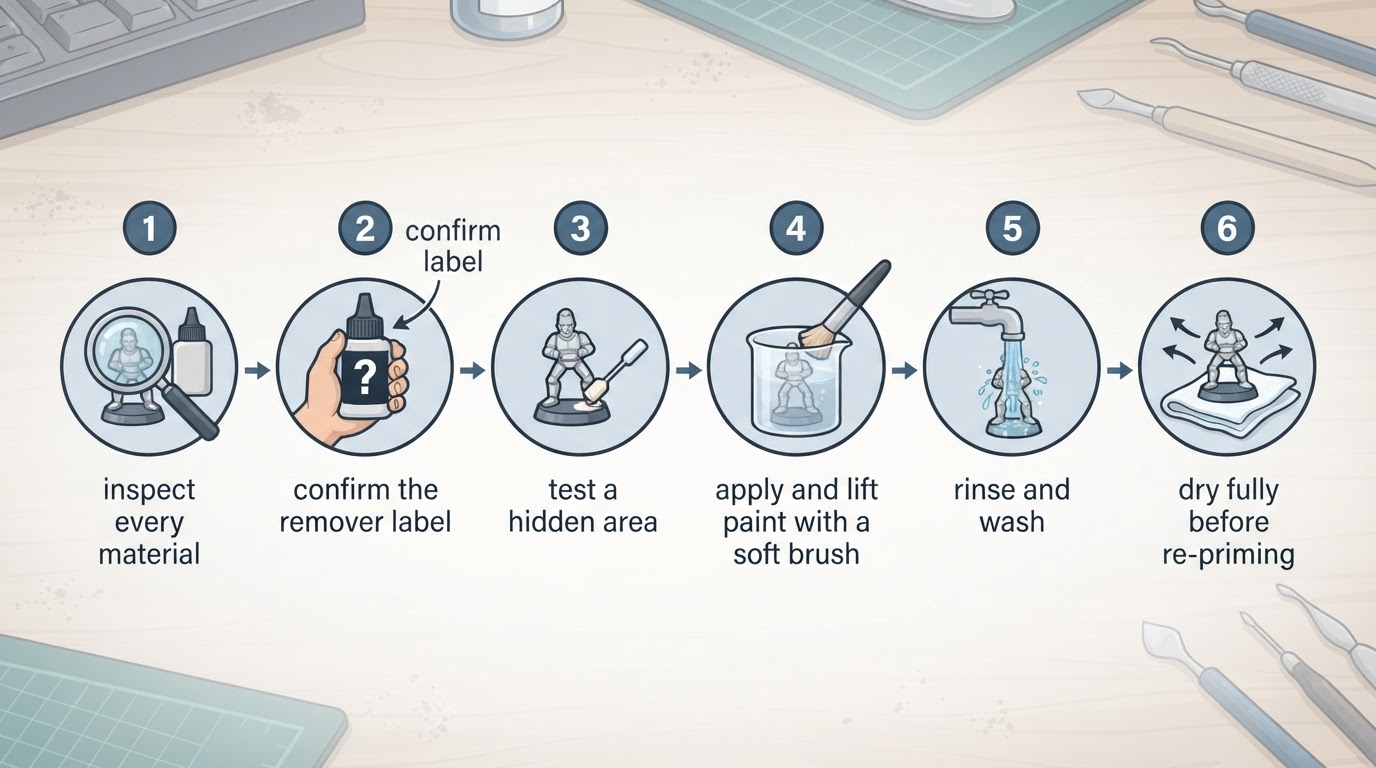
Step 1 — Read the current label, not a forum recipe
Formulations change, and a technique that worked years ago may not match the bottle in front of you. Read the label on the product you actually own and confirm it names the materials present on your miniature. The AK Interactive Paint Stripper product page, for example, states that the liquid removes paint from models and figures without damaging plastic, resin or white metal, and directs you to apply it to the surface, rub with a brush, then wash the piece with soap and water. The same page warns against leaving parts immersed for a long time because the product can damage detail if it is used incorrectly.
The label and safety data sheet are also the authority on protective equipment, ventilation, contact time and cleanup. California's paint-removal safety guide explains why product choice and exposure controls matter. If a hobby shortcut and the label disagree, follow the label.
Step 2 — Test one hidden area
Pick a spot that will never be seen: under the base rim, inside a hollow, or beneath a cape. Apply a small amount of remover there and watch what happens. You are not timing how fast paint comes off; you are checking whether the material underneath stays sound and whether the paint film loosens without force. Stop immediately if plastic softens, resin turns rubbery, a glue joint gives way, or the metal begins to look etched or pitted.
Step 3 — Work in small sections with a soft brush
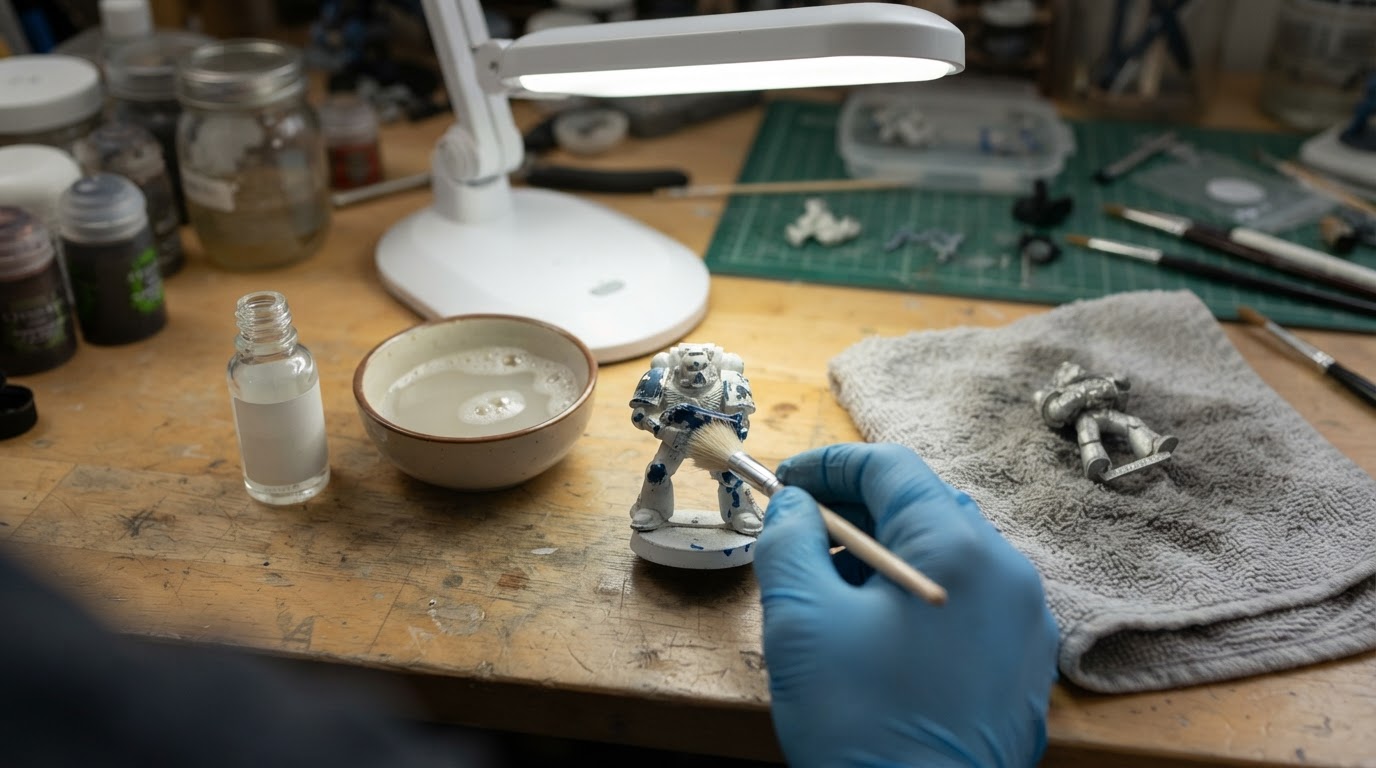
Work on one area at a time rather than coating the whole figure. Apply the product as the label directs, allow the contact time the label permits, then lift softened paint with a soft-bristled brush using light strokes. Start at the highest detail and work outward so loosened paint is not pushed into recesses. A wooden cocktail stick can help in a deep fold, but keep metal tools away from softened surfaces, where they leave scratches that show through new paint.
Step 4 — Rinse and wash off all residue
Once the paint has lifted, rinse the part and then wash it with soap and water, as the product instructions specify. The soap step matters on anything heading back to the painting desk, because leftover remover and grease prevent primer from gripping. Take the rinse water away from your work area and dispose of it according to the label and your local rules.
Step 5 — Dry completely before re-priming
Trapped moisture can undermine a repaint. Water can sit inside a hollow base, under a cape or along an old glue joint. Leave the miniature in a dry, ventilated spot until the surface is dry to the touch and no moisture shows in the recesses. Do not rush this with direct heat, which may damage plastic parts or glue joints.
Decision Table for Mixed-Material Miniatures
What you found | How it changes the route |
|---|---|
Bare white metal on an integral or metal base | The widest range of model-paint removers is usually available, but still test first and follow the label. |
Metal figure on a glued plastic base | The label must cover plastic; keep product off the glue line where you can. |
Metal figure with resin details | Treat the model as resin-sensitive: confirm the label covers resin, keep contact short, and inspect the resin right after the test. |
An unknown coating or a thick old varnish | Stay with the tested conservative product and repeat a controlled cycle; do not escalate to a stronger solvent to save time. |
One part is too risky to strip | Strip the safe parts by hand and repaint over sound existing paint rather than damaging the risky part. |
Why This Route Avoids Ultrasonic Baths and Alcohol Soaks
Two popular alternatives deserve a clear distinction, because both can look like shortcuts.
An ultrasonic cleaner works by vibration in a liquid bath, but it does not make a chemical safe: the same material-compatibility questions apply to whatever solution is in the tank. Do not use a flammable liquid in a hobby ultrasonic bath unless that machine's manufacturer explicitly approves the exact procedure. The site's ultrasonic stripping guide covers equipment-specific limits.
Isopropyl alcohol is discussed separately in the site's resin-miniature stripping guide. Its instructions do not transfer automatically to a metal figure with a plastic base or unknown adhesive. Follow the remover's current label and do not copy a soak time from another material.
Where the Route Most Often Goes Wrong
- Treating the model as metal-only and ignoring a plastic base or a resin detail.
- Trusting a remembered recipe instead of the label on the bottle in front of you.
- Skipping the hidden-area test because the paint "obviously" needs to come off.
- Scrubbing hard before the paint has fully softened, which polishes detail away on soft metal.
- Re-priming before the model is completely dry or before soap residue is fully rinsed away.
What a Finished Strip Looks Like
A strip is complete when all of the following are true:
- Paint lifts with light brush strokes instead of force.
- Recesses hold no tacky residue.
- The surface is uniformly dry.
- The glue joint and any resin parts are still firm and sharp.
- Rinse water runs clear with no flakes of old paint.
If only some of that is true, run one more controlled cycle with the same tested product rather than reaching for a stronger solvent. The goal is a sound model ready for primer, not a bare model at any cost.